5 Kitchen Island Ideas Diy That’ll Make Your Kitchen Look Expensive
So you want a kitchen island, but your budget is giving “maybe next year.” Same. The good news? Kitchen island ideas DIY are basically the cheat code for getting more storage, more prep space, and more “wow, did you renovate?” vibes—without the full-on remodel meltdown.
Below are five doable builds that look legit, work hard, and won’t make you cry into your paint swatches. Pick one that fits your space and your tolerance for sawdust.
1. The “Thrifted Dresser” Island That Looks Shockingly Custom
If you’ve ever looked at an old dresser and thought, “You could totally live your second life as a kitchen island,” congrats—you have the decor gene. This is one of the easiest kitchen island ideas DIY because the storage is already built in. You’re basically just giving it a glow-up.
What Makes It Work
A dresser has drawers (hello, utensils and random batteries), a sturdy top, and the kind of chunky silhouette that reads “custom furniture.” Add a countertop and suddenly it’s the star of the room. IMO, it’s also one of the most fun before-and-after transformations.
Look for something with solid wood construction, not flimsy particleboard that’s one aggressive onion chop away from regret.
Quick Tips To Make It Feel High-End
- Swap the top for butcher block or a cut-to-size countertop remnant.
- Add trim around the base to mimic built-in cabinetry.
- Use furniture-level hardware like brushed brass or matte black pulls.
- Seal everything with a durable topcoat, because kitchens are messy on purpose.
Want bonus points? Add two stools on one side by overhanging the new top a few inches. Suddenly you have “breakfast bar energy” without the contractor bill.
2. The Rolling Cart Island For Tiny Kitchens (Yes, It Still Counts)
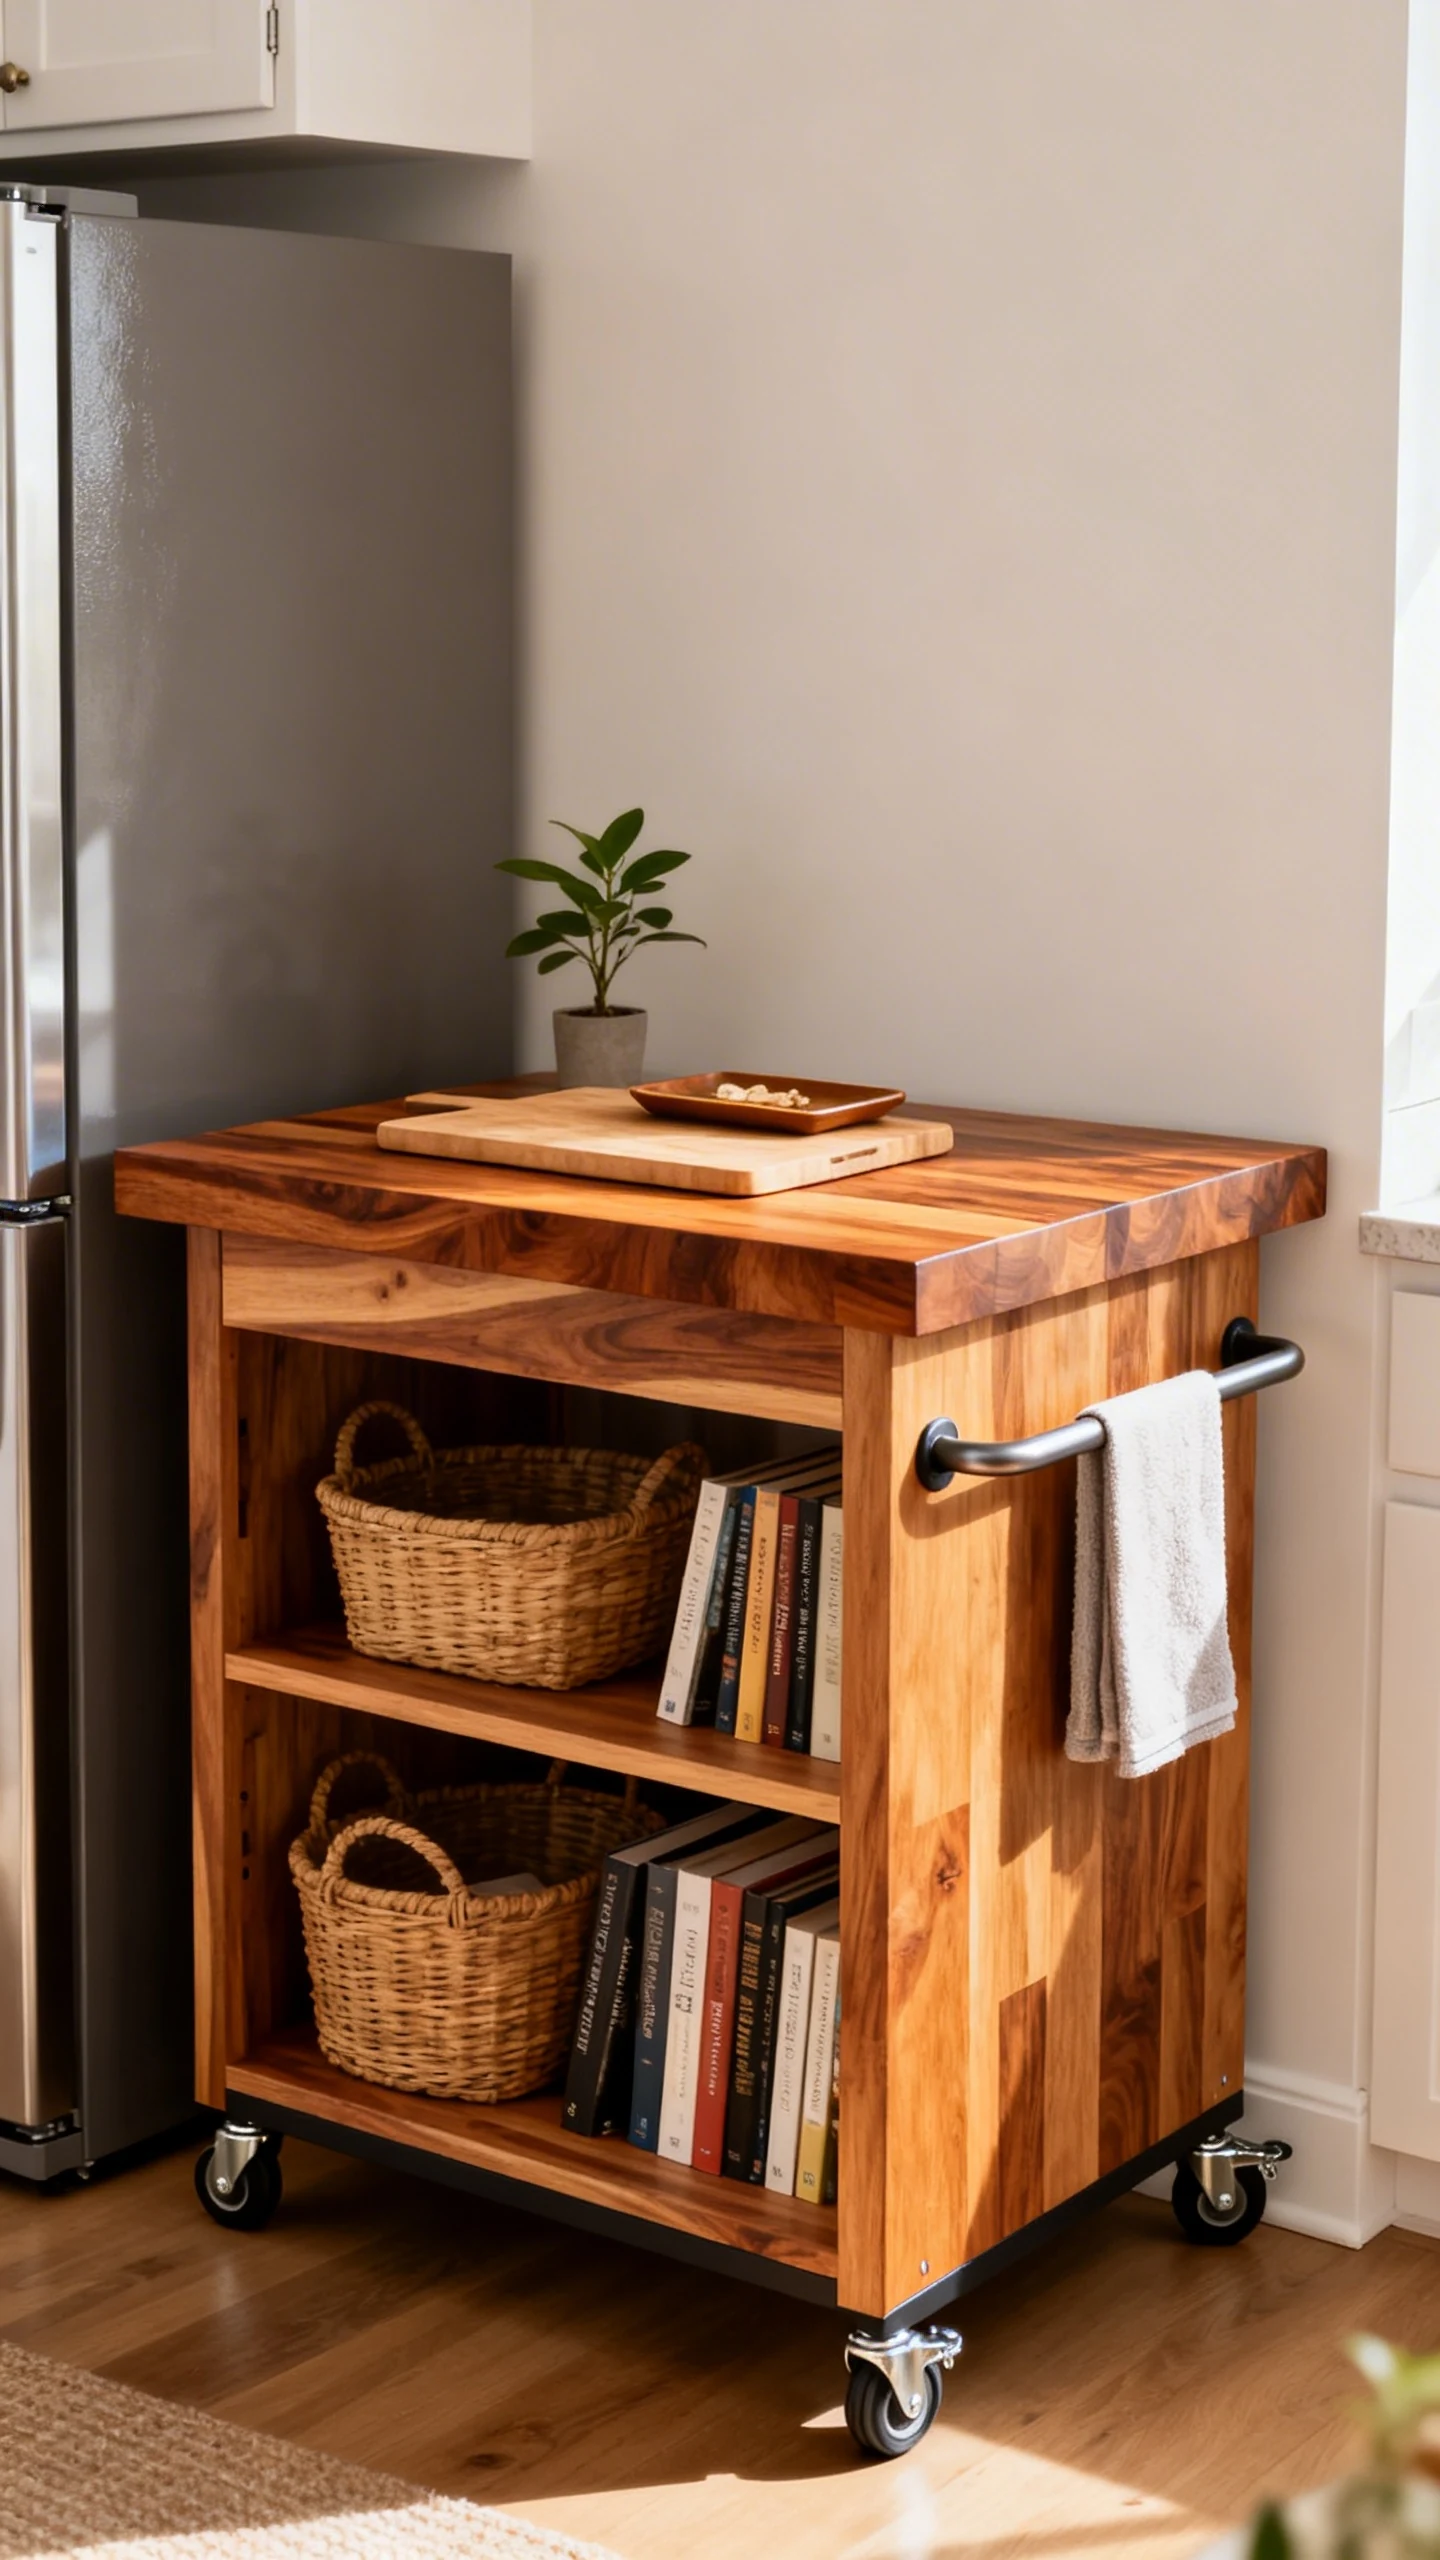
If your kitchen is the size of a polite closet, a massive island is not the vibe. But a rolling kitchen island is absolutely your friend. It moves when you need it, hides when you don’t, and gives you that extra prep surface right when dinner chaos hits.
Also, wheels make everything feel more “professional kitchen,” even if you’re heating up frozen dumplings. No shame.
Design Moves That Keep It From Looking Like a Utility Cart
The trick is making it look intentional, not like you borrowed it from a cafeteria. Choose warm materials and add a little styling so it blends with your kitchen.
- Pick locking casters so it doesn’t roll away mid-chop.
- Use a thick top like butcher block for that “real island” look.
- Add a towel bar on the side for function and cuteness.
- Include open shelves for baskets or cookbooks (aka decor that pretends to be practical).
Where It Shines
Try parking it next to the fridge for a snack station, or near the stove as a prep zone. FYI, if you’re always short on counter space, a cart island feels like finding an extra room you didn’t know you had.
And if you’re worried it’ll look cluttered, pick two or three “permanent” items—like a cutting board, a small tray, and a plant—and keep the rest clear.
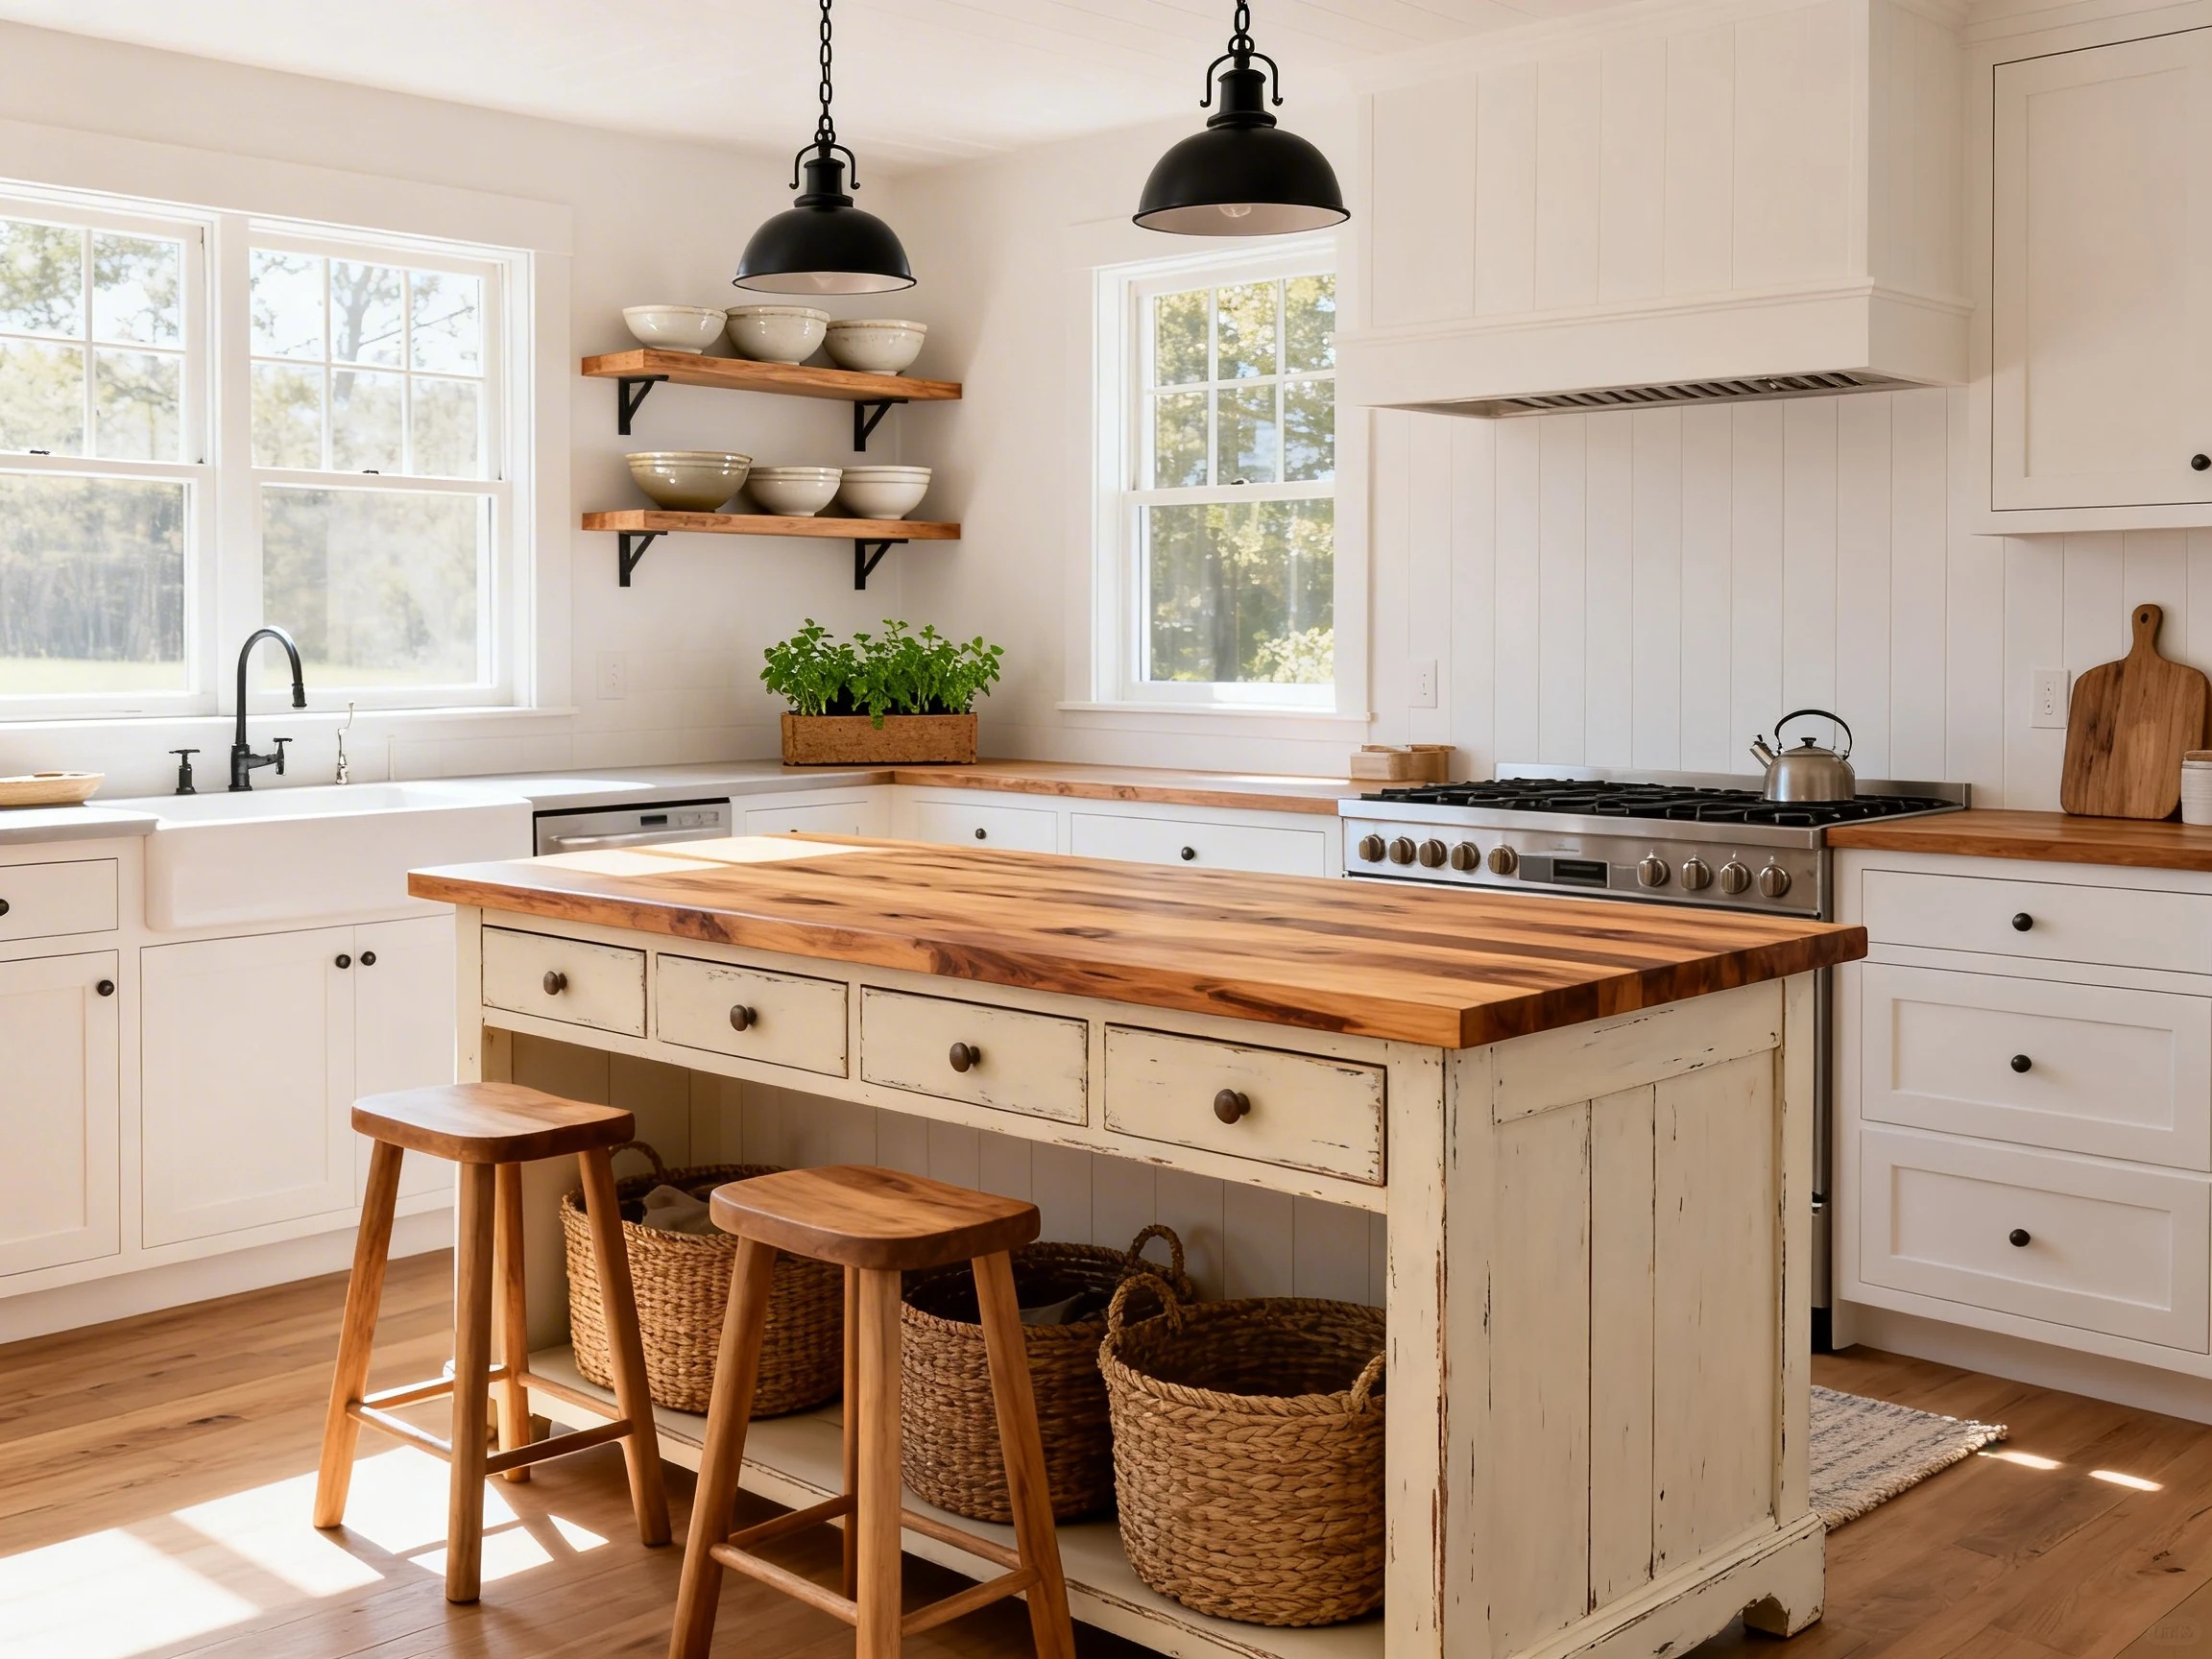
3. The “Bookshelves + Countertop” Island That’s Basically Adult Lego
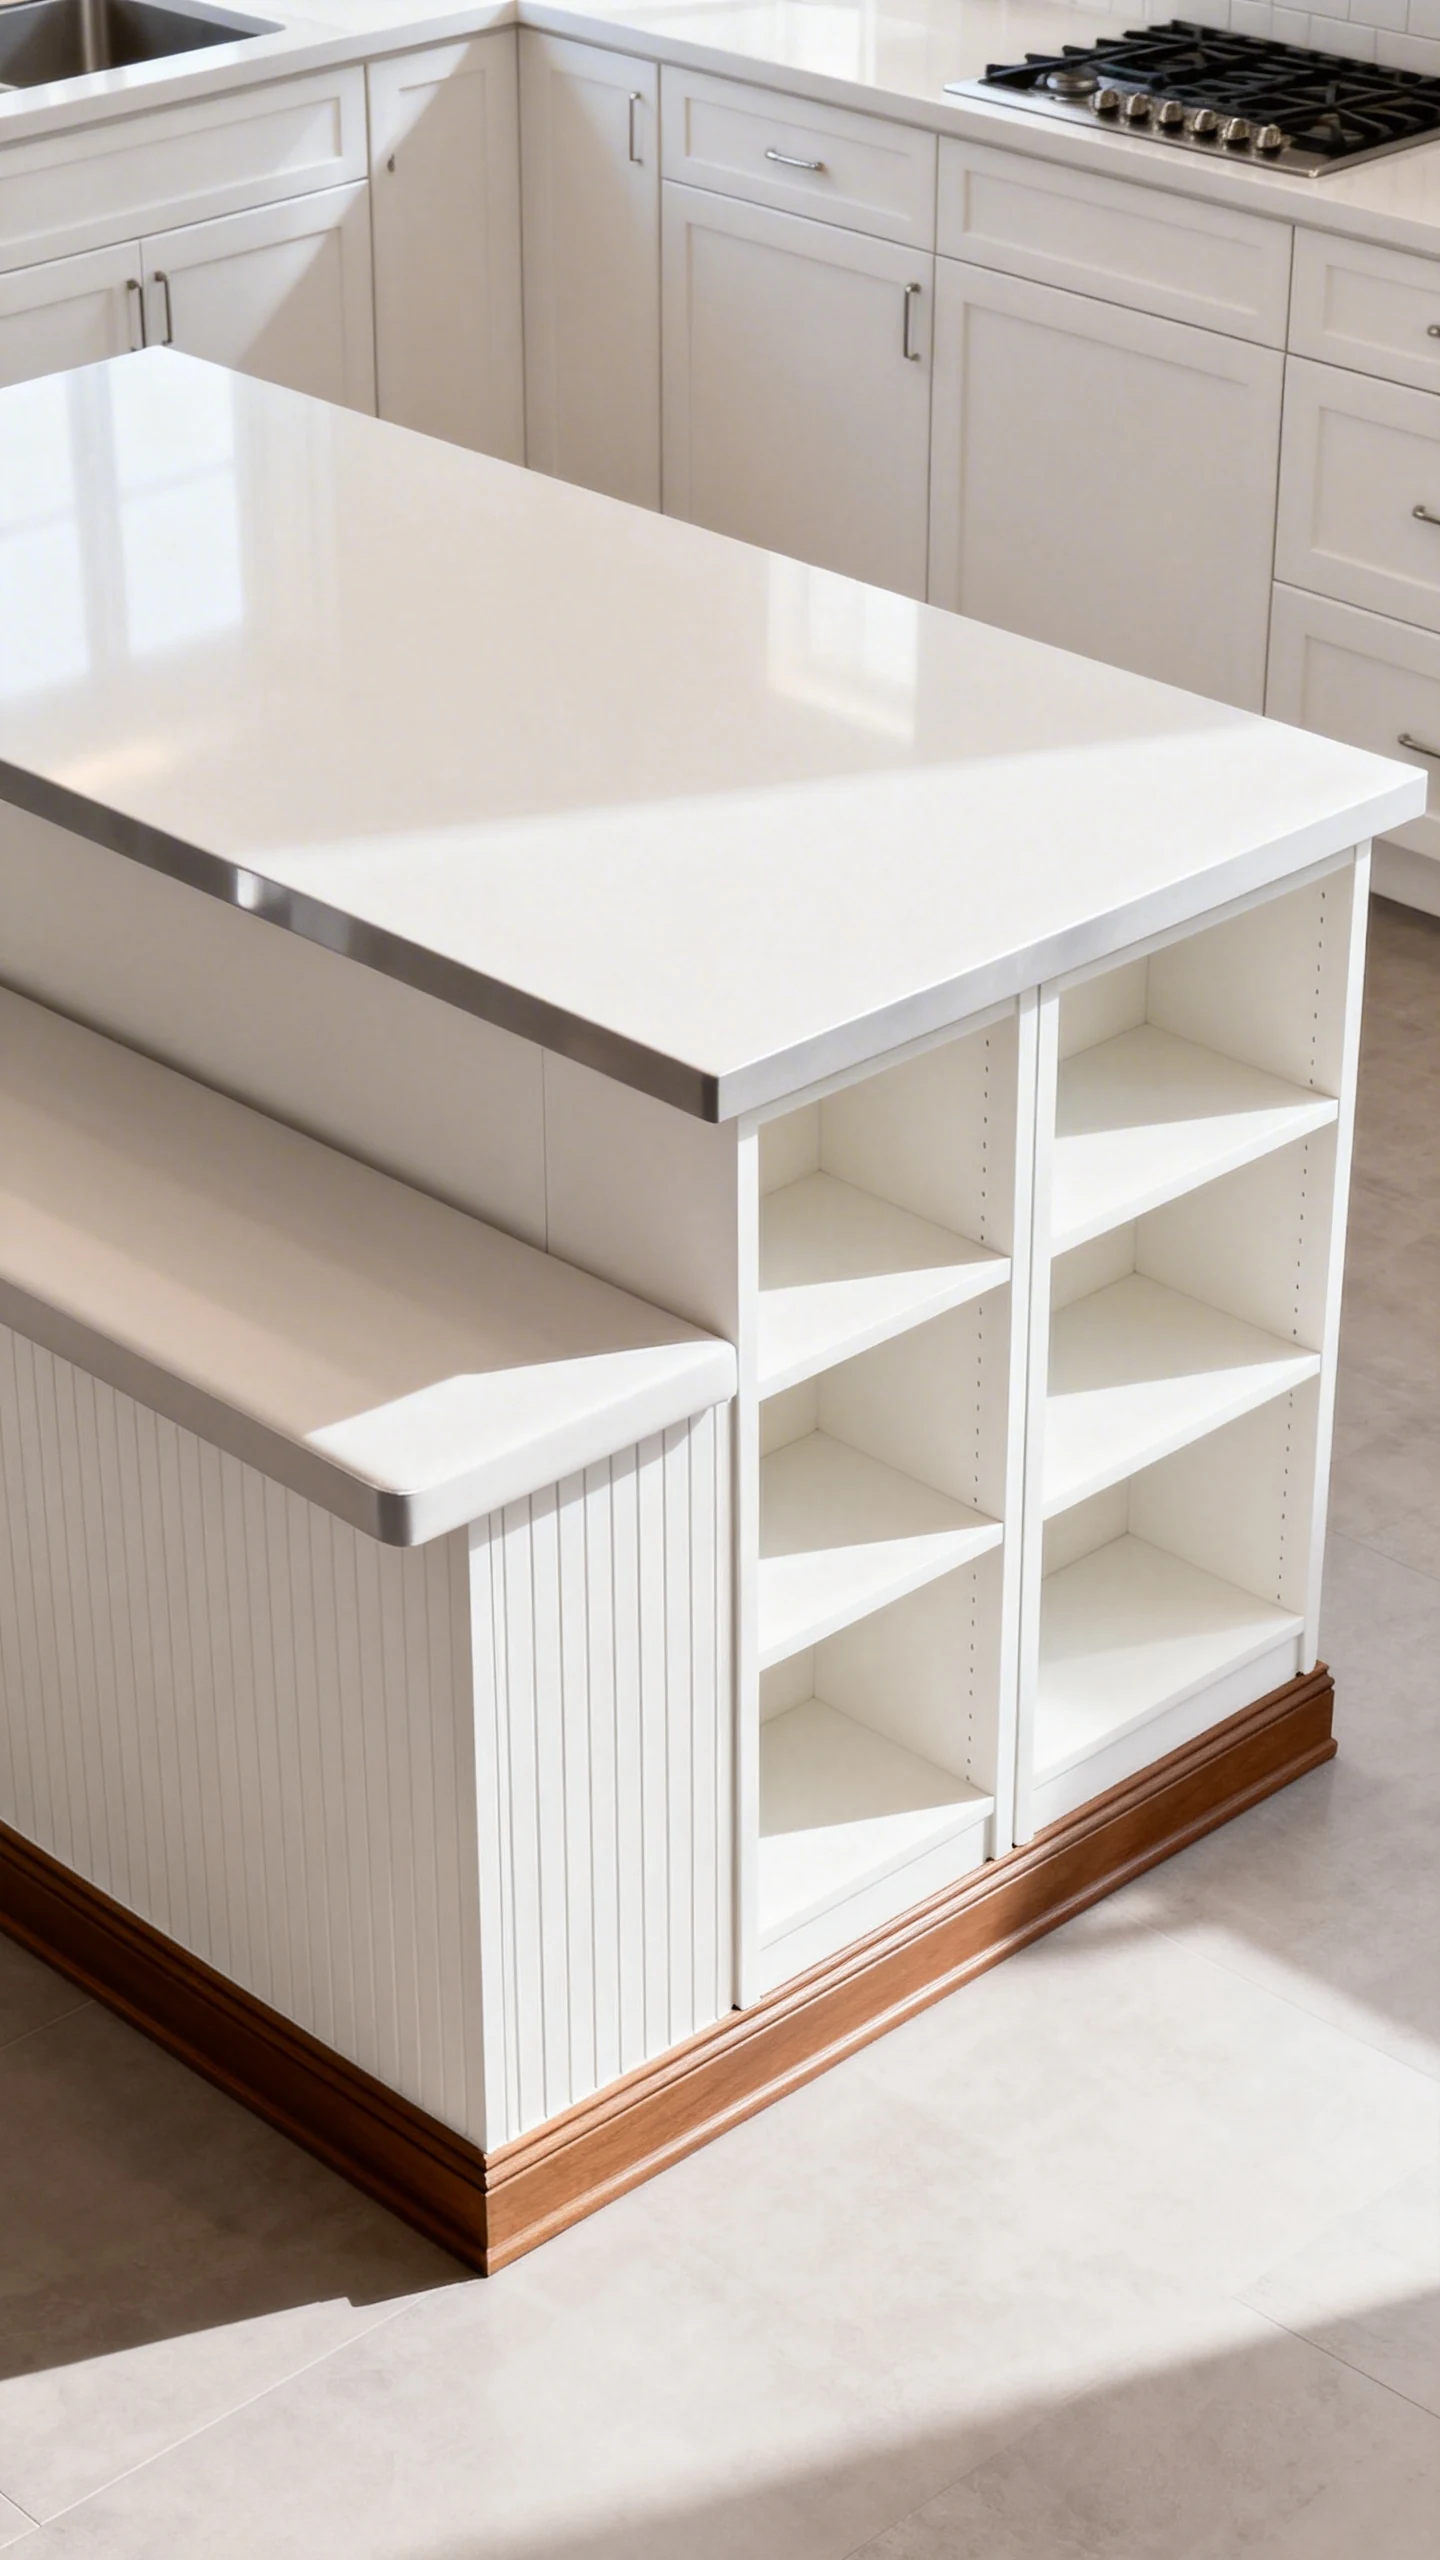
Not everyone wants to build an island from scratch, and honestly, why suffer? This DIY is all about combining ready-made pieces—like bookcases or base cabinets—with a countertop to create a built-in look. It’s one of the smartest kitchen island ideas DIY because it’s customizable without being complicated.
You’re not building furniture, you’re assembling a glow-up. Big difference.
How To Plan The Layout (Without Overthinking)
Pick your base pieces first, then size the top to match. Two short bookcases placed back-to-back can give you storage on both sides. Or put one bookcase and one cabinet together for a mixed look.
Make sure you leave enough walking room around it. If you have to shimmy past it like you’re sneaking through a crowded concert, it’s too big.
Make It Look Like It Belongs There
- Add a toe-kick at the bottom so it reads like cabinetry.
- Paint it to match your cabinets for a cohesive, custom vibe.
- Use paneling or beadboard on the sides to hide seams and add texture.
- Top it with a waterfall edge if you want instant “designer did this” energy.
If you want seating, overhang the countertop on one side and keep the opposite side for storage. That way it works for real life, not just for photos.
4. The Salvaged Door Or Wood-Plank Island That Brings Instant Character
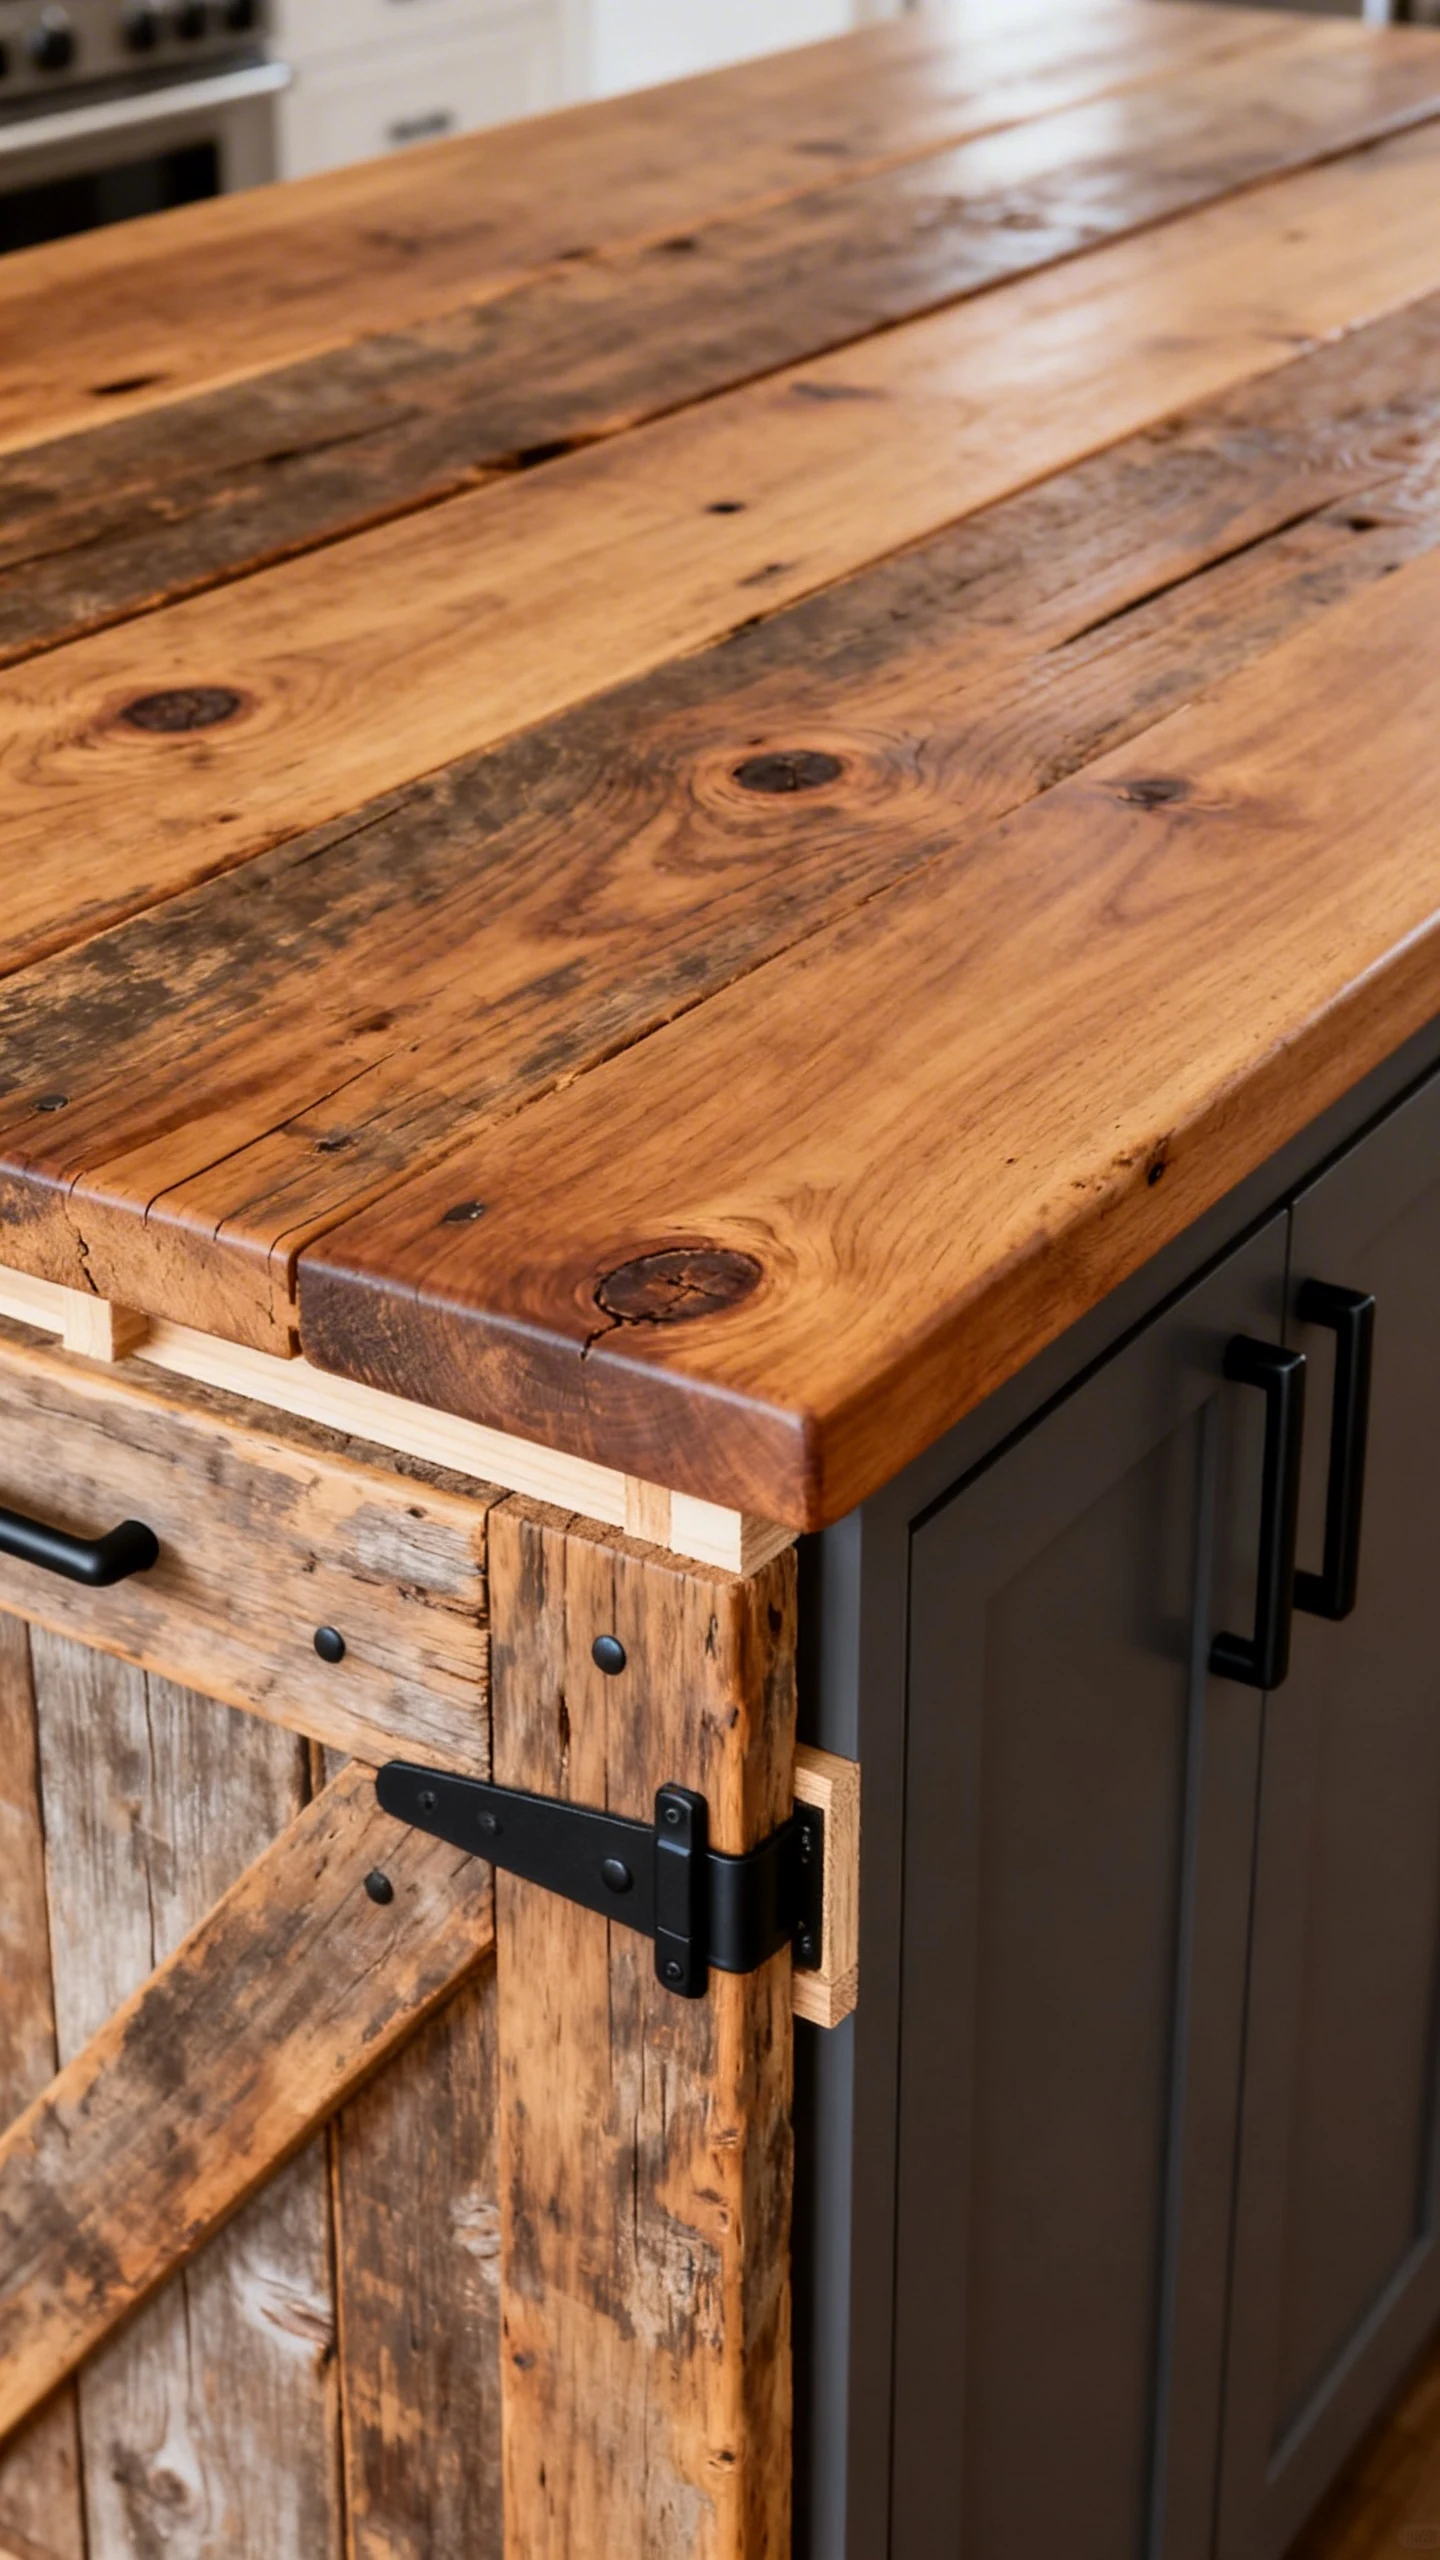
If your style leans cozy, vintage, or “collected over time,” a reclaimed-wood island is your moment. This is where kitchen island ideas DIY get a little more personality and a little less “showroom.” Think salvaged door as a countertop, old planks as cladding, or a chunky farmhouse vibe.
And yes, people will ask where you bought it. You can smile mysteriously and say, “Oh, I made it.”
Choosing Reclaimed Materials Without Regret
Reclaimed wood is gorgeous, but it needs to be clean, stable, and sealed for kitchen life. Avoid anything that’s warped beyond saving, and don’t forget to check for old nails like you’re in a mild suspense movie.
- Sand thoroughly to remove splinters and mystery grime.
- Reinforce from underneath so the top doesn’t flex.
- Use a food-safe finish if it’s a prep surface.
- Mix textures by pairing rustic wood with modern hardware.
Style It So It Looks Intentional
Rustic doesn’t mean messy. Add clean lines elsewhere to keep it balanced. A simple pendant light above it, a sleek faucet in the kitchen, or modern stools can make the whole room feel curated instead of “I found this in a barn and panicked.”
Also, a slightly imperfect surface is kind of the point. If you want flawless, buy quartz. If you want soul, go reclaimed.
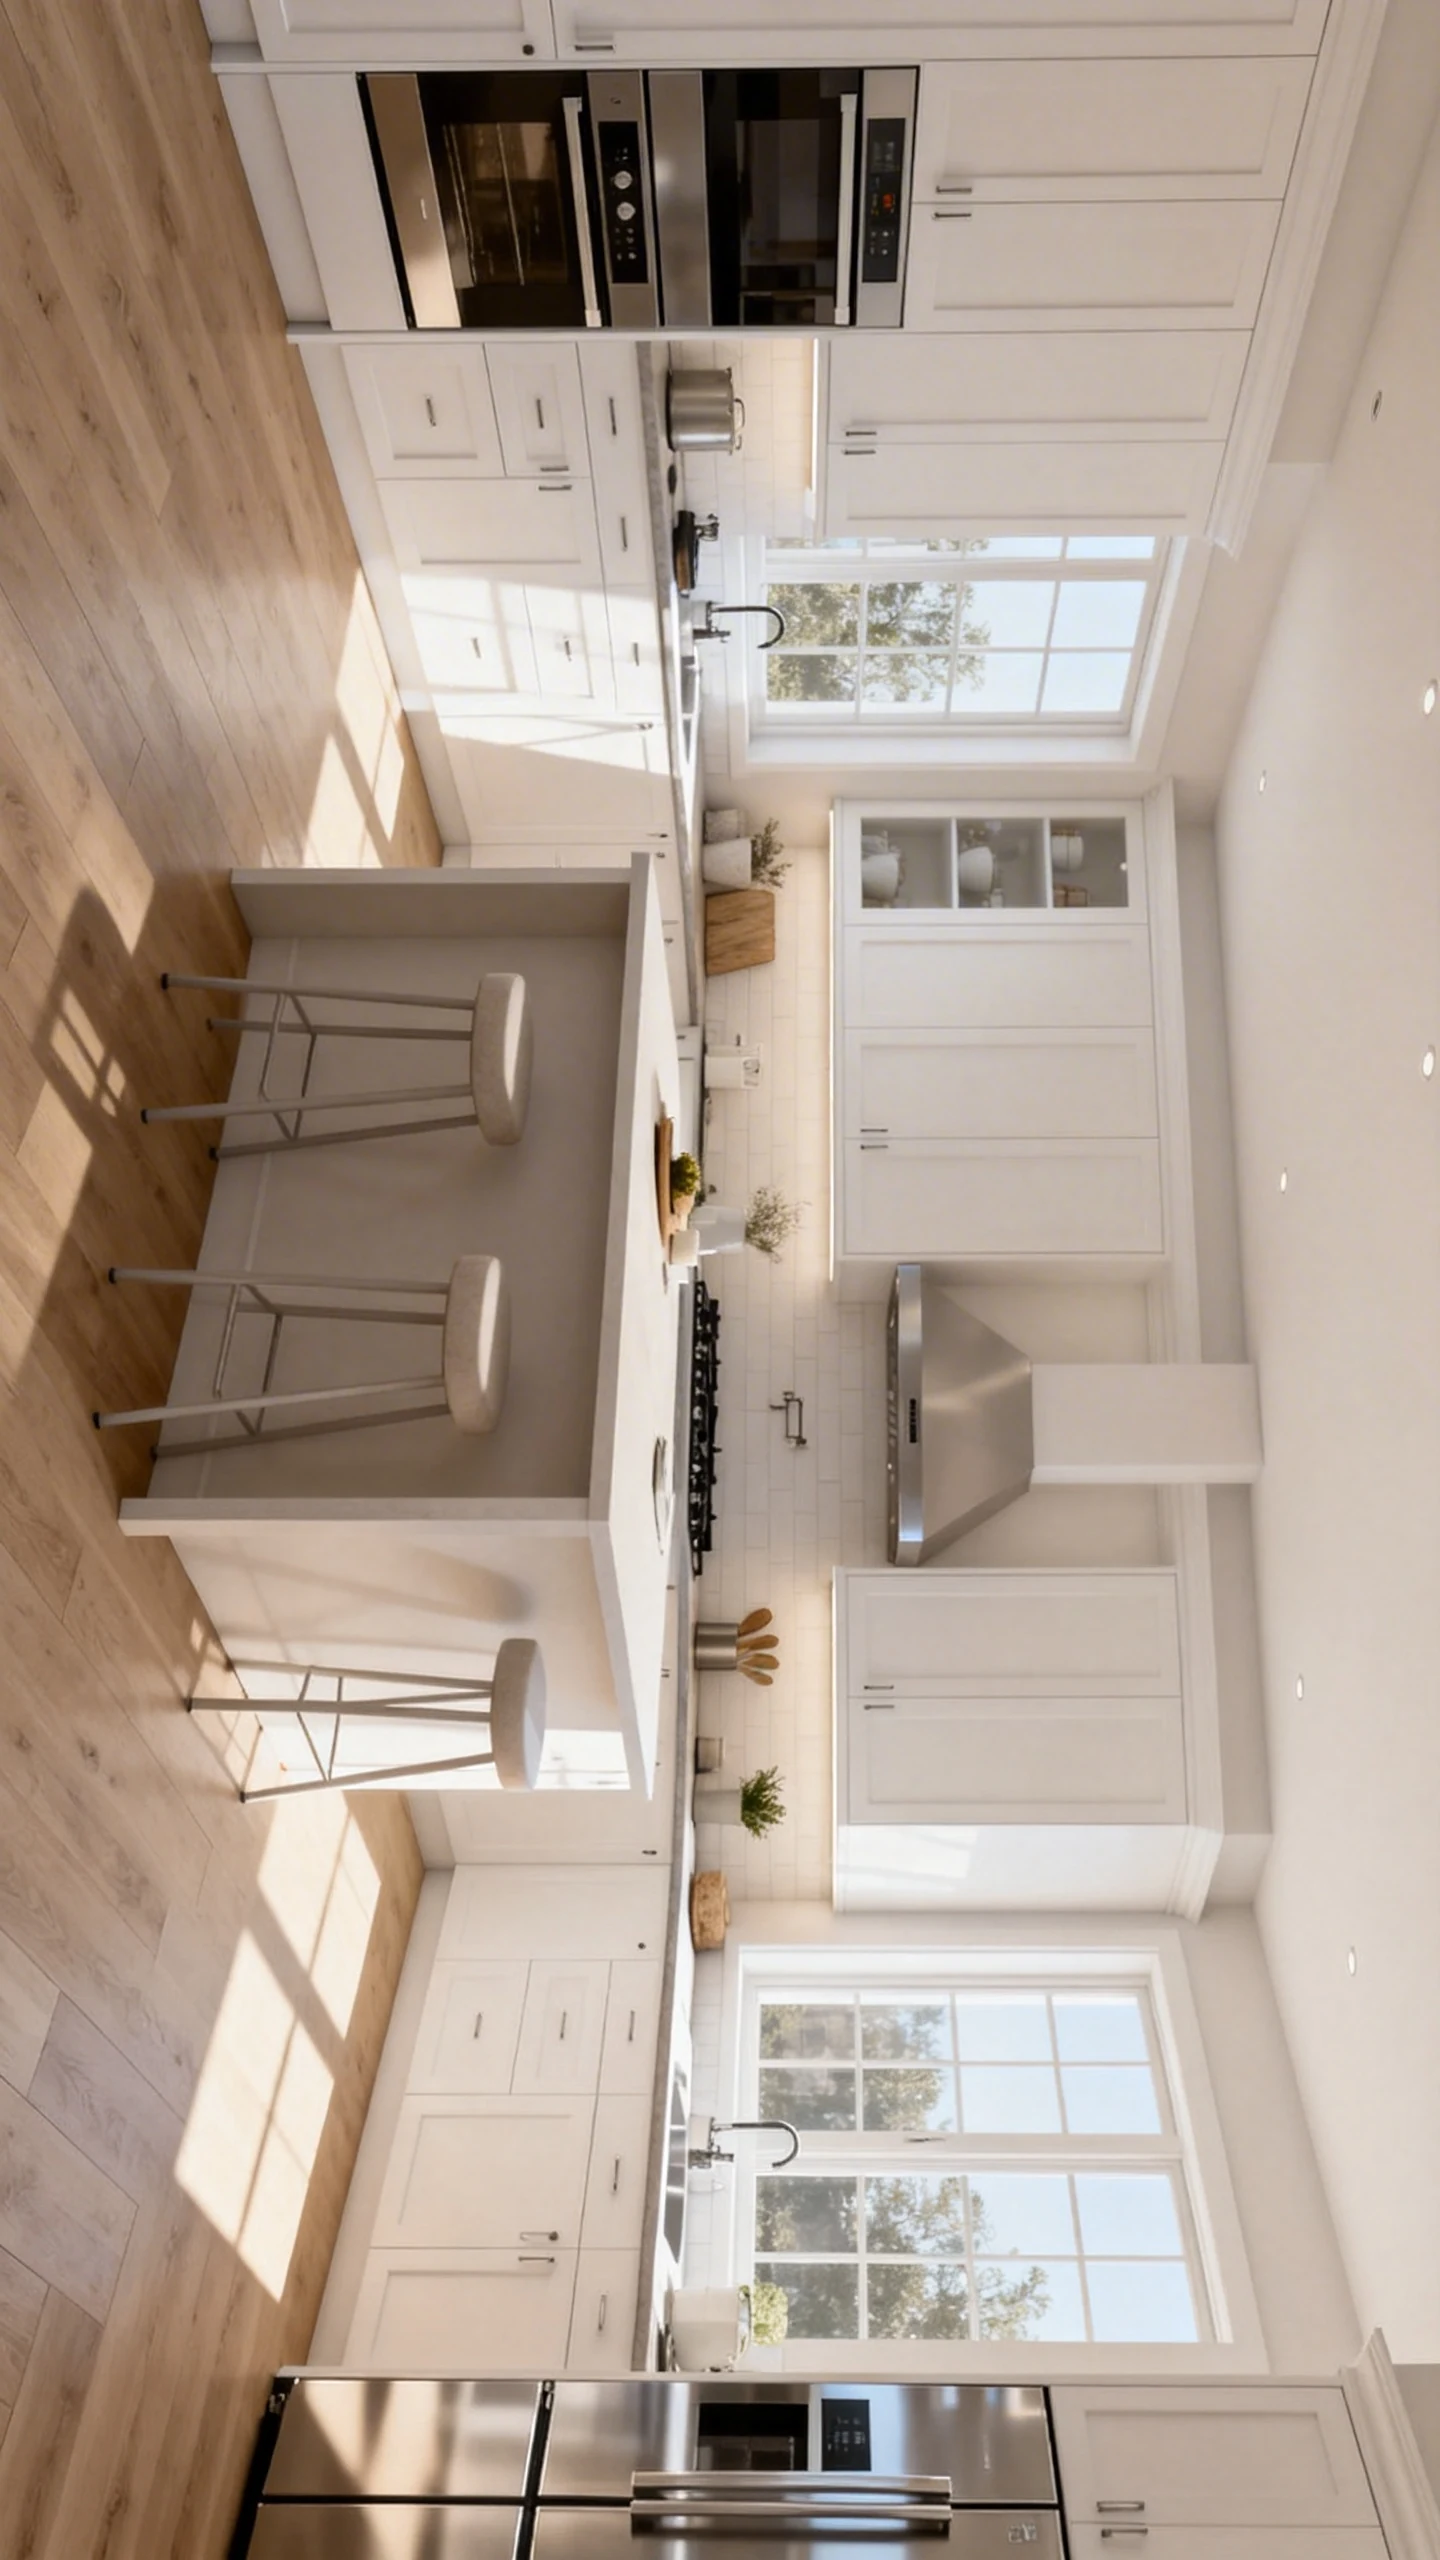
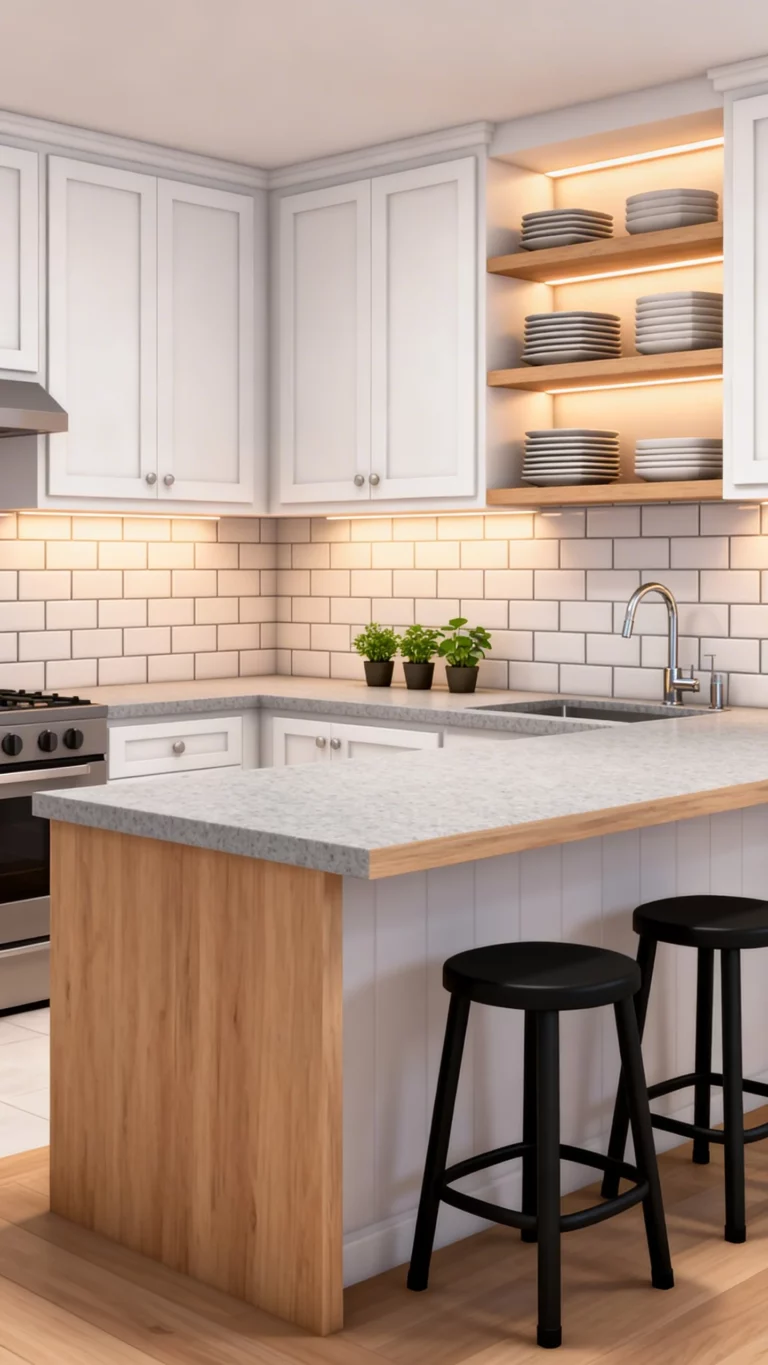
5. The “Built-In Look” Island With Open Shelving (Hello, Pinterest)
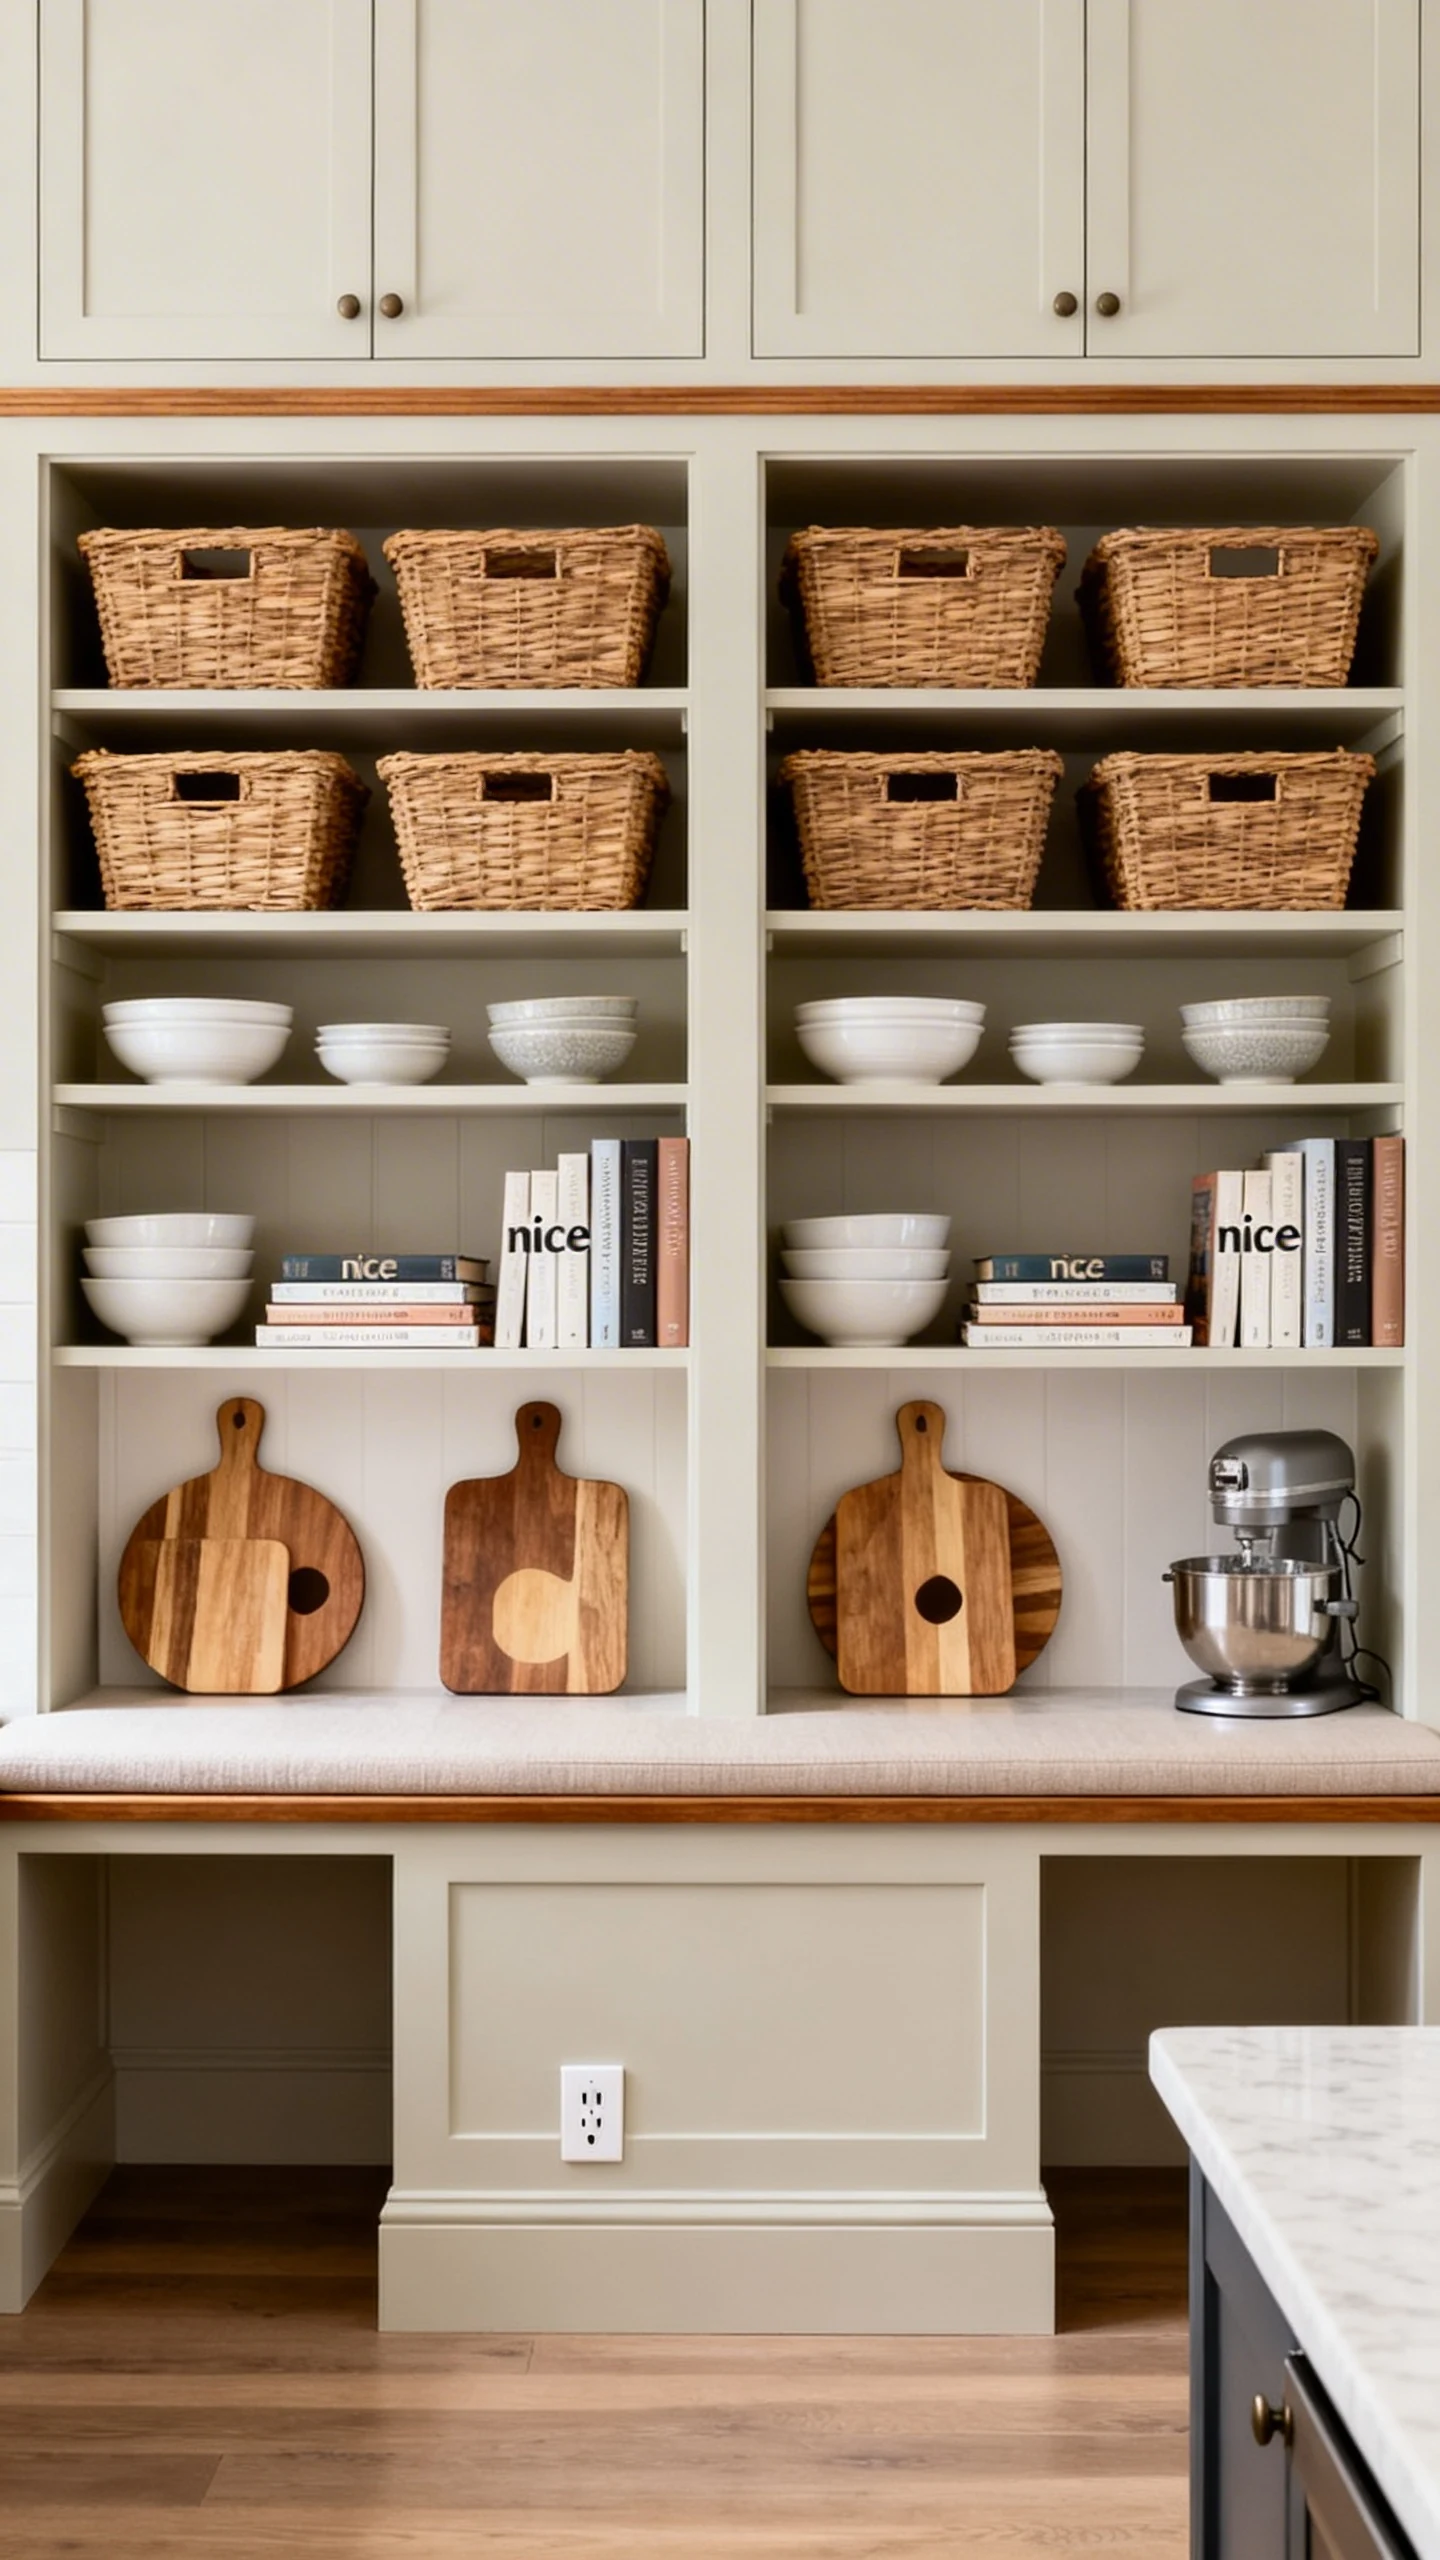
If you want the island to look like it came with the house, this is the idea. A built-in-style island with open shelving gives you storage, display space, and that glossy-magazine feel. It’s one of those kitchen island ideas DIY that looks complex, but it’s really just smart framing and a clean finish.
The secret sauce is symmetry and restraint. Yes, restraint. I know. Tragic.
What To Include For Maximum Function
Open shelving is amazing if you keep it tidy. Use it for pretty, practical things: baskets, serving bowls, cookbooks, or your “nice” cutting boards that never touch actual food.
- Deep shelves for baskets and appliances you don’t want out.
- Shallow display shelves for cookbooks and ceramics.
- A seating overhang if you want it to double as a hangout spot.
- Outlet placement so you can plug in a mixer without performing gymnastics.
How To Keep It From Looking Cluttered
Group items in twos and threes, and stick to a simple color palette. If everything is screaming for attention, the island looks chaotic, not curated. Keep some empty space on the shelves so your eyes can breathe.
And if you’re like, “But I own twelve mismatched mugs,” just put them in a basket. It’s not hiding, it’s styling. That’s the story.
Want an extra polished look? Add subtle trim to the shelf edges and paint the whole island in a slightly different color than your cabinets. A soft contrast makes it feel like a designed focal point.
Final Thought
A DIY kitchen island doesn’t have to be perfect to be amazing. Pick the idea that fits your space, your storage needs, and your patience level, then commit to good finishes and clean lines. Your kitchen is about to feel bigger, smarter, and way more “put together” than it has any right to.