5 Bead Board Backsplash Kitchen Ideas That Look Custom Without the Custom Price
So you want a kitchen backsplash that looks charming, intentional, and not like you panic-bought tile at 9 p.m.? Say hello to bead board, the underrated MVP that can go from cozy cottage to crisp modern in a hot second.
And yes, it’s budget-friendly. Which means you can spend the “saved” money on new hardware you definitely don’t need but absolutely deserve.
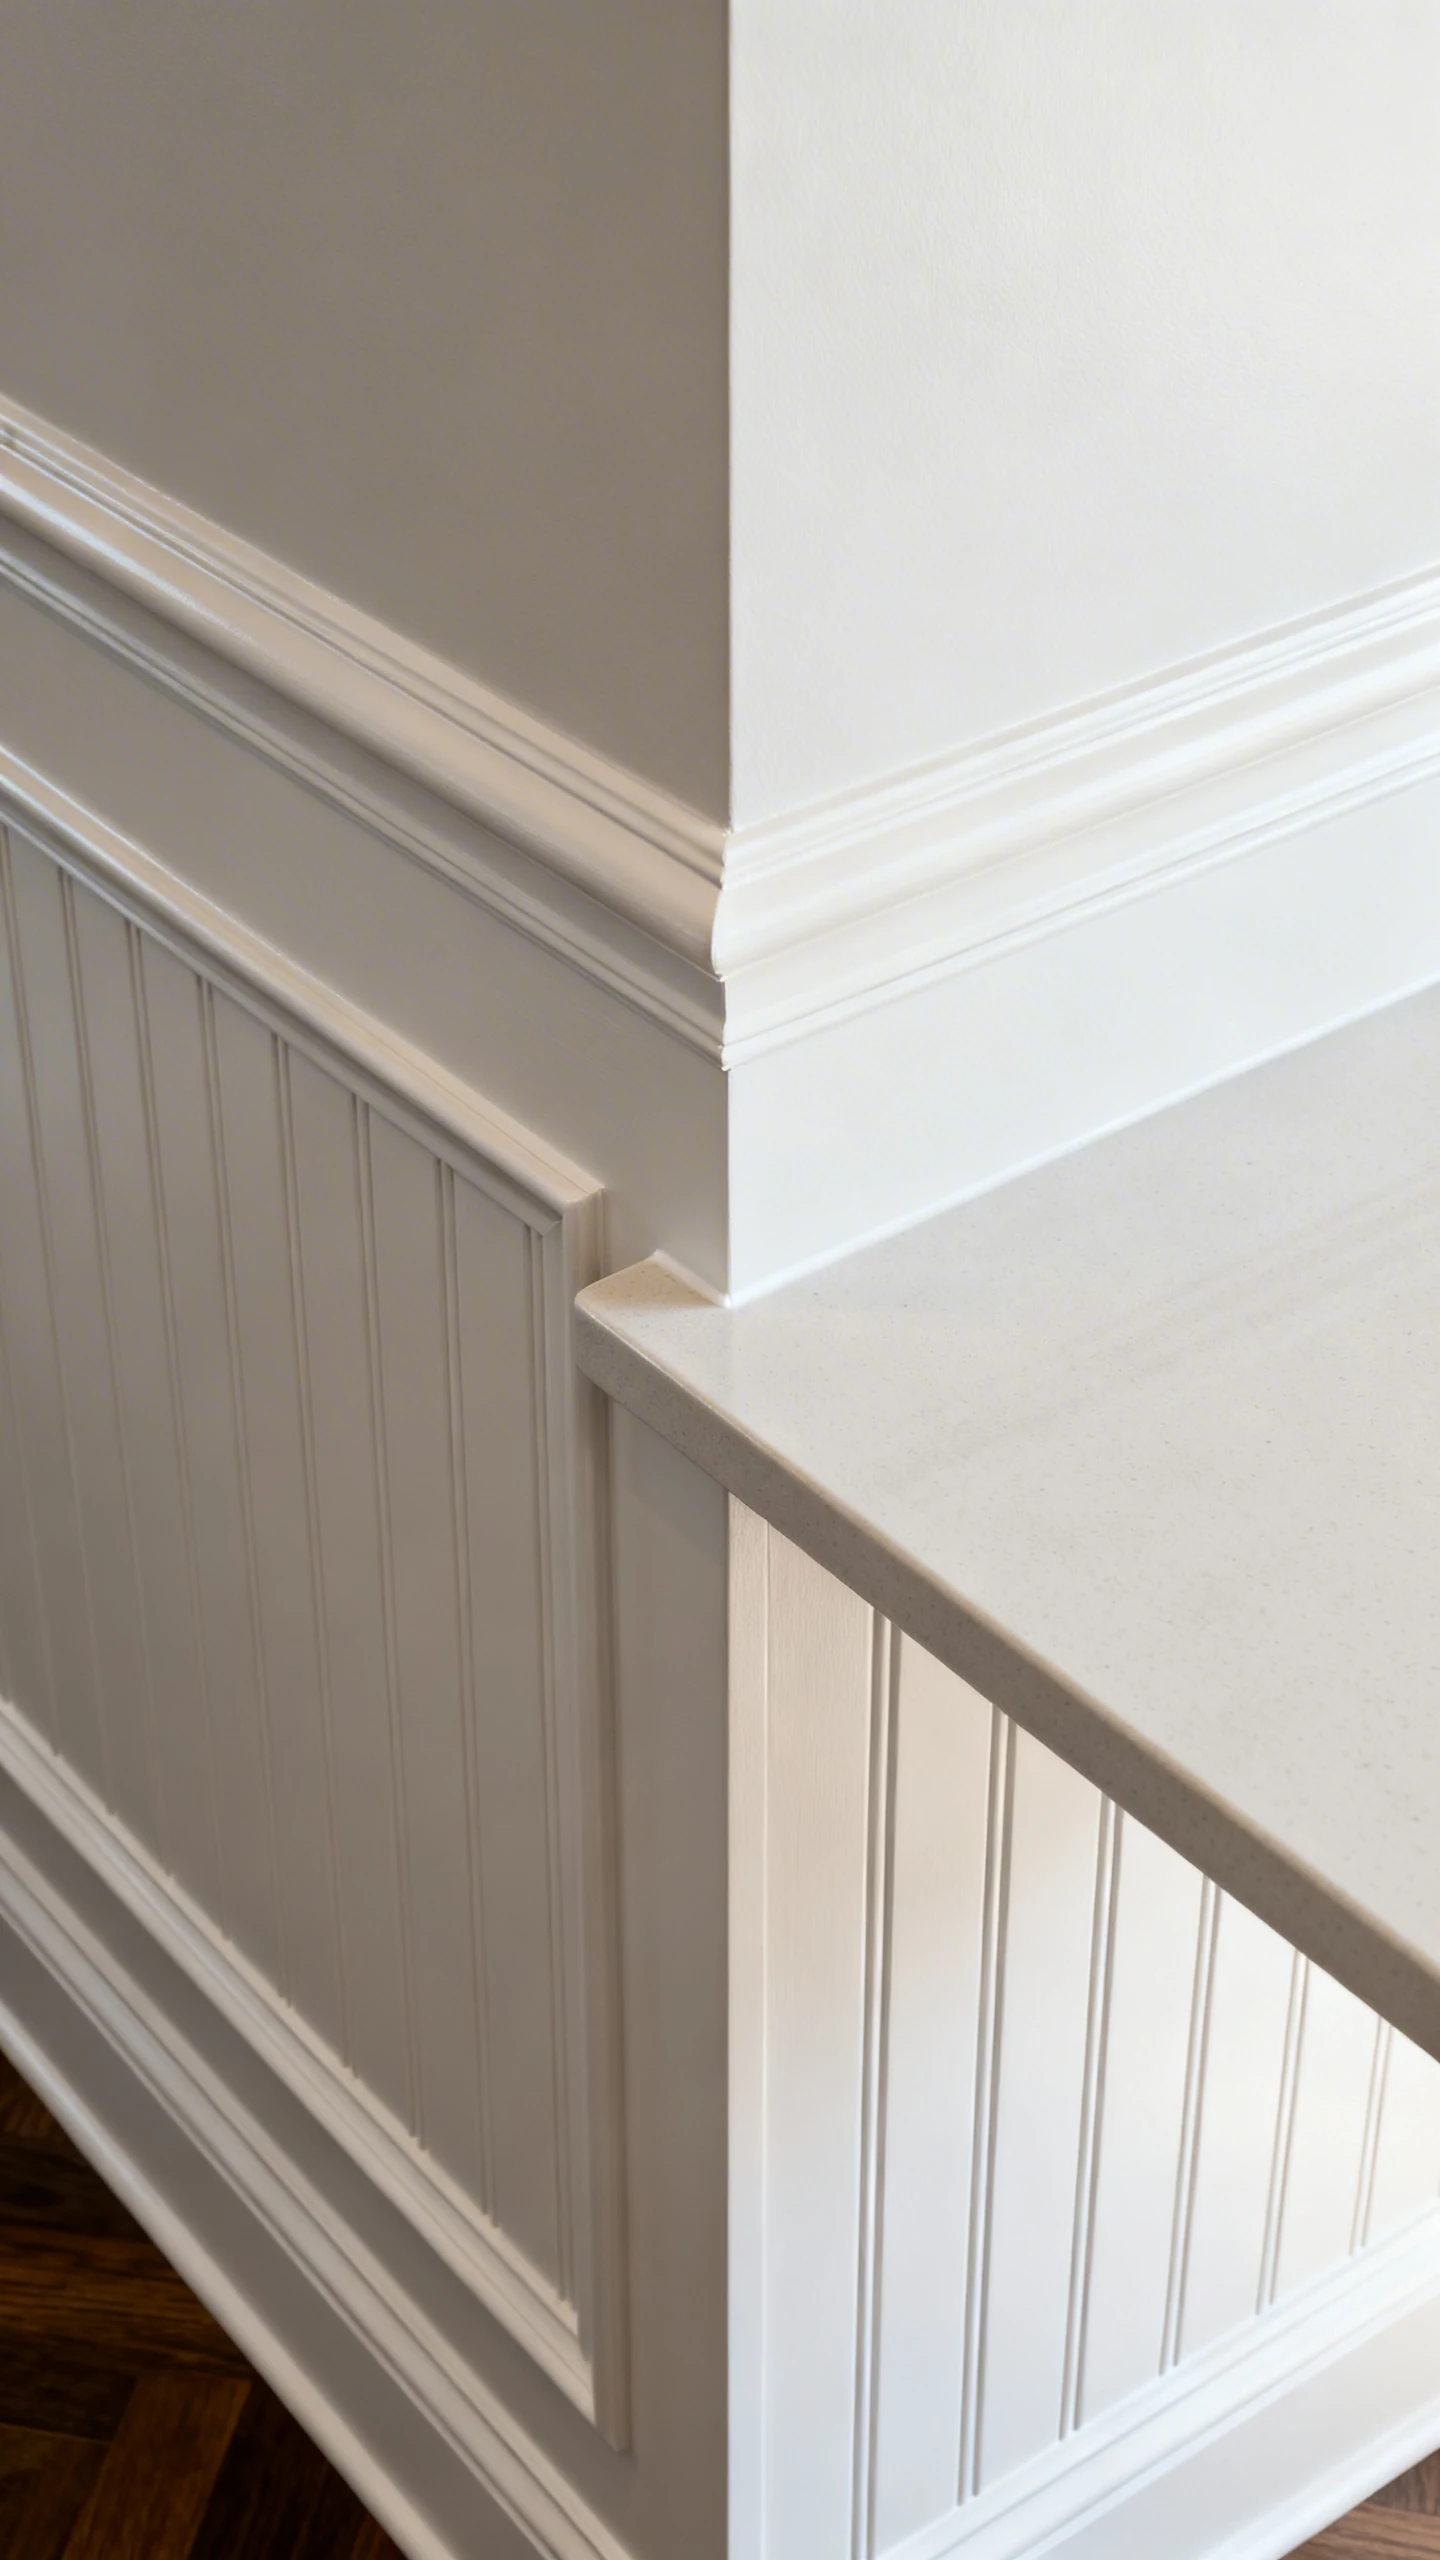
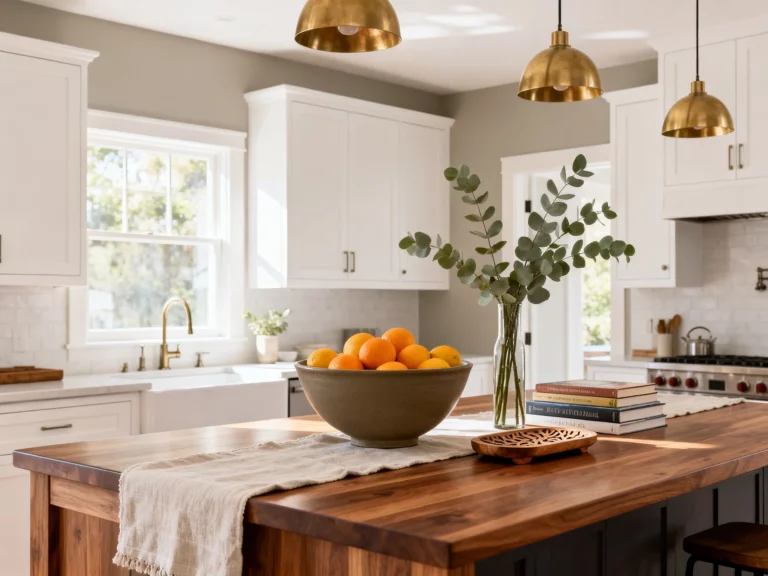
1. The Classic Cottage Stripe (Aka The “How Is This Not Tile?” Look)

If you want that sweet, clean, always-in-style vibe, vertical bead board behind your counters is basically a cheat code. It adds texture without screaming for attention. Like the perfect white sneaker, but for your walls.
The key is keeping it simple and letting the grooves do the talking. IMO, this is the easiest way to make an older kitchen feel brighter and more pulled together.
Make It Look High-End (Not Hobby Lobby Craft Hour)
The difference between “custom” and “cute but confusing” comes down to finishes and details. Paint sheen matters. Trim matters. And caulk… matters more than anyone wants to admit.
- Use semi-gloss or satin paint for wipeability (kitchens get messy, shocking).
- Add a simple top cap trim so the backsplash looks finished, not chopped off.
- Run a clean bead of paintable caulk along seams for that seamless, built-in look.
- Keep the bead board height consistent, usually 18 inches or up to the bottom of upper cabinets.
Want to level it up? Pair this with classic shaker cabinets and a slightly warm white paint so it doesn’t feel sterile. Crisp, but not dentist-office crisp.
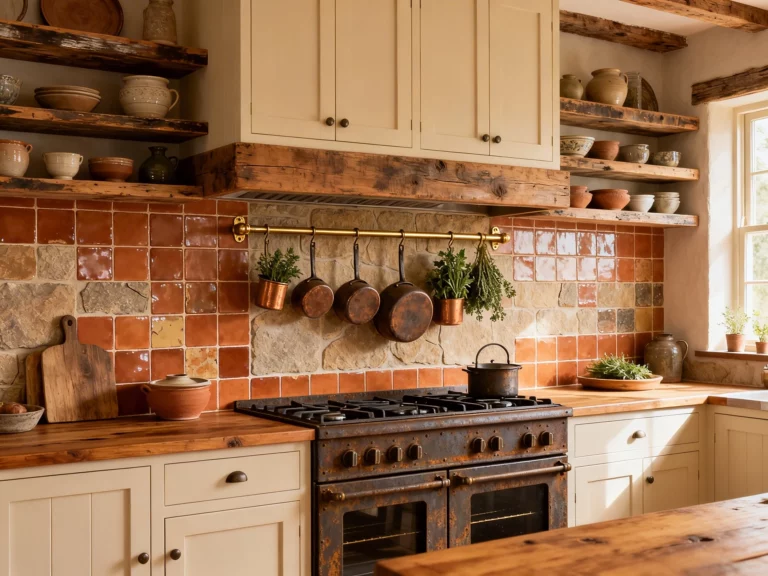
2. Moody Bead Board Drama (Because White Isn’t Your Personality)
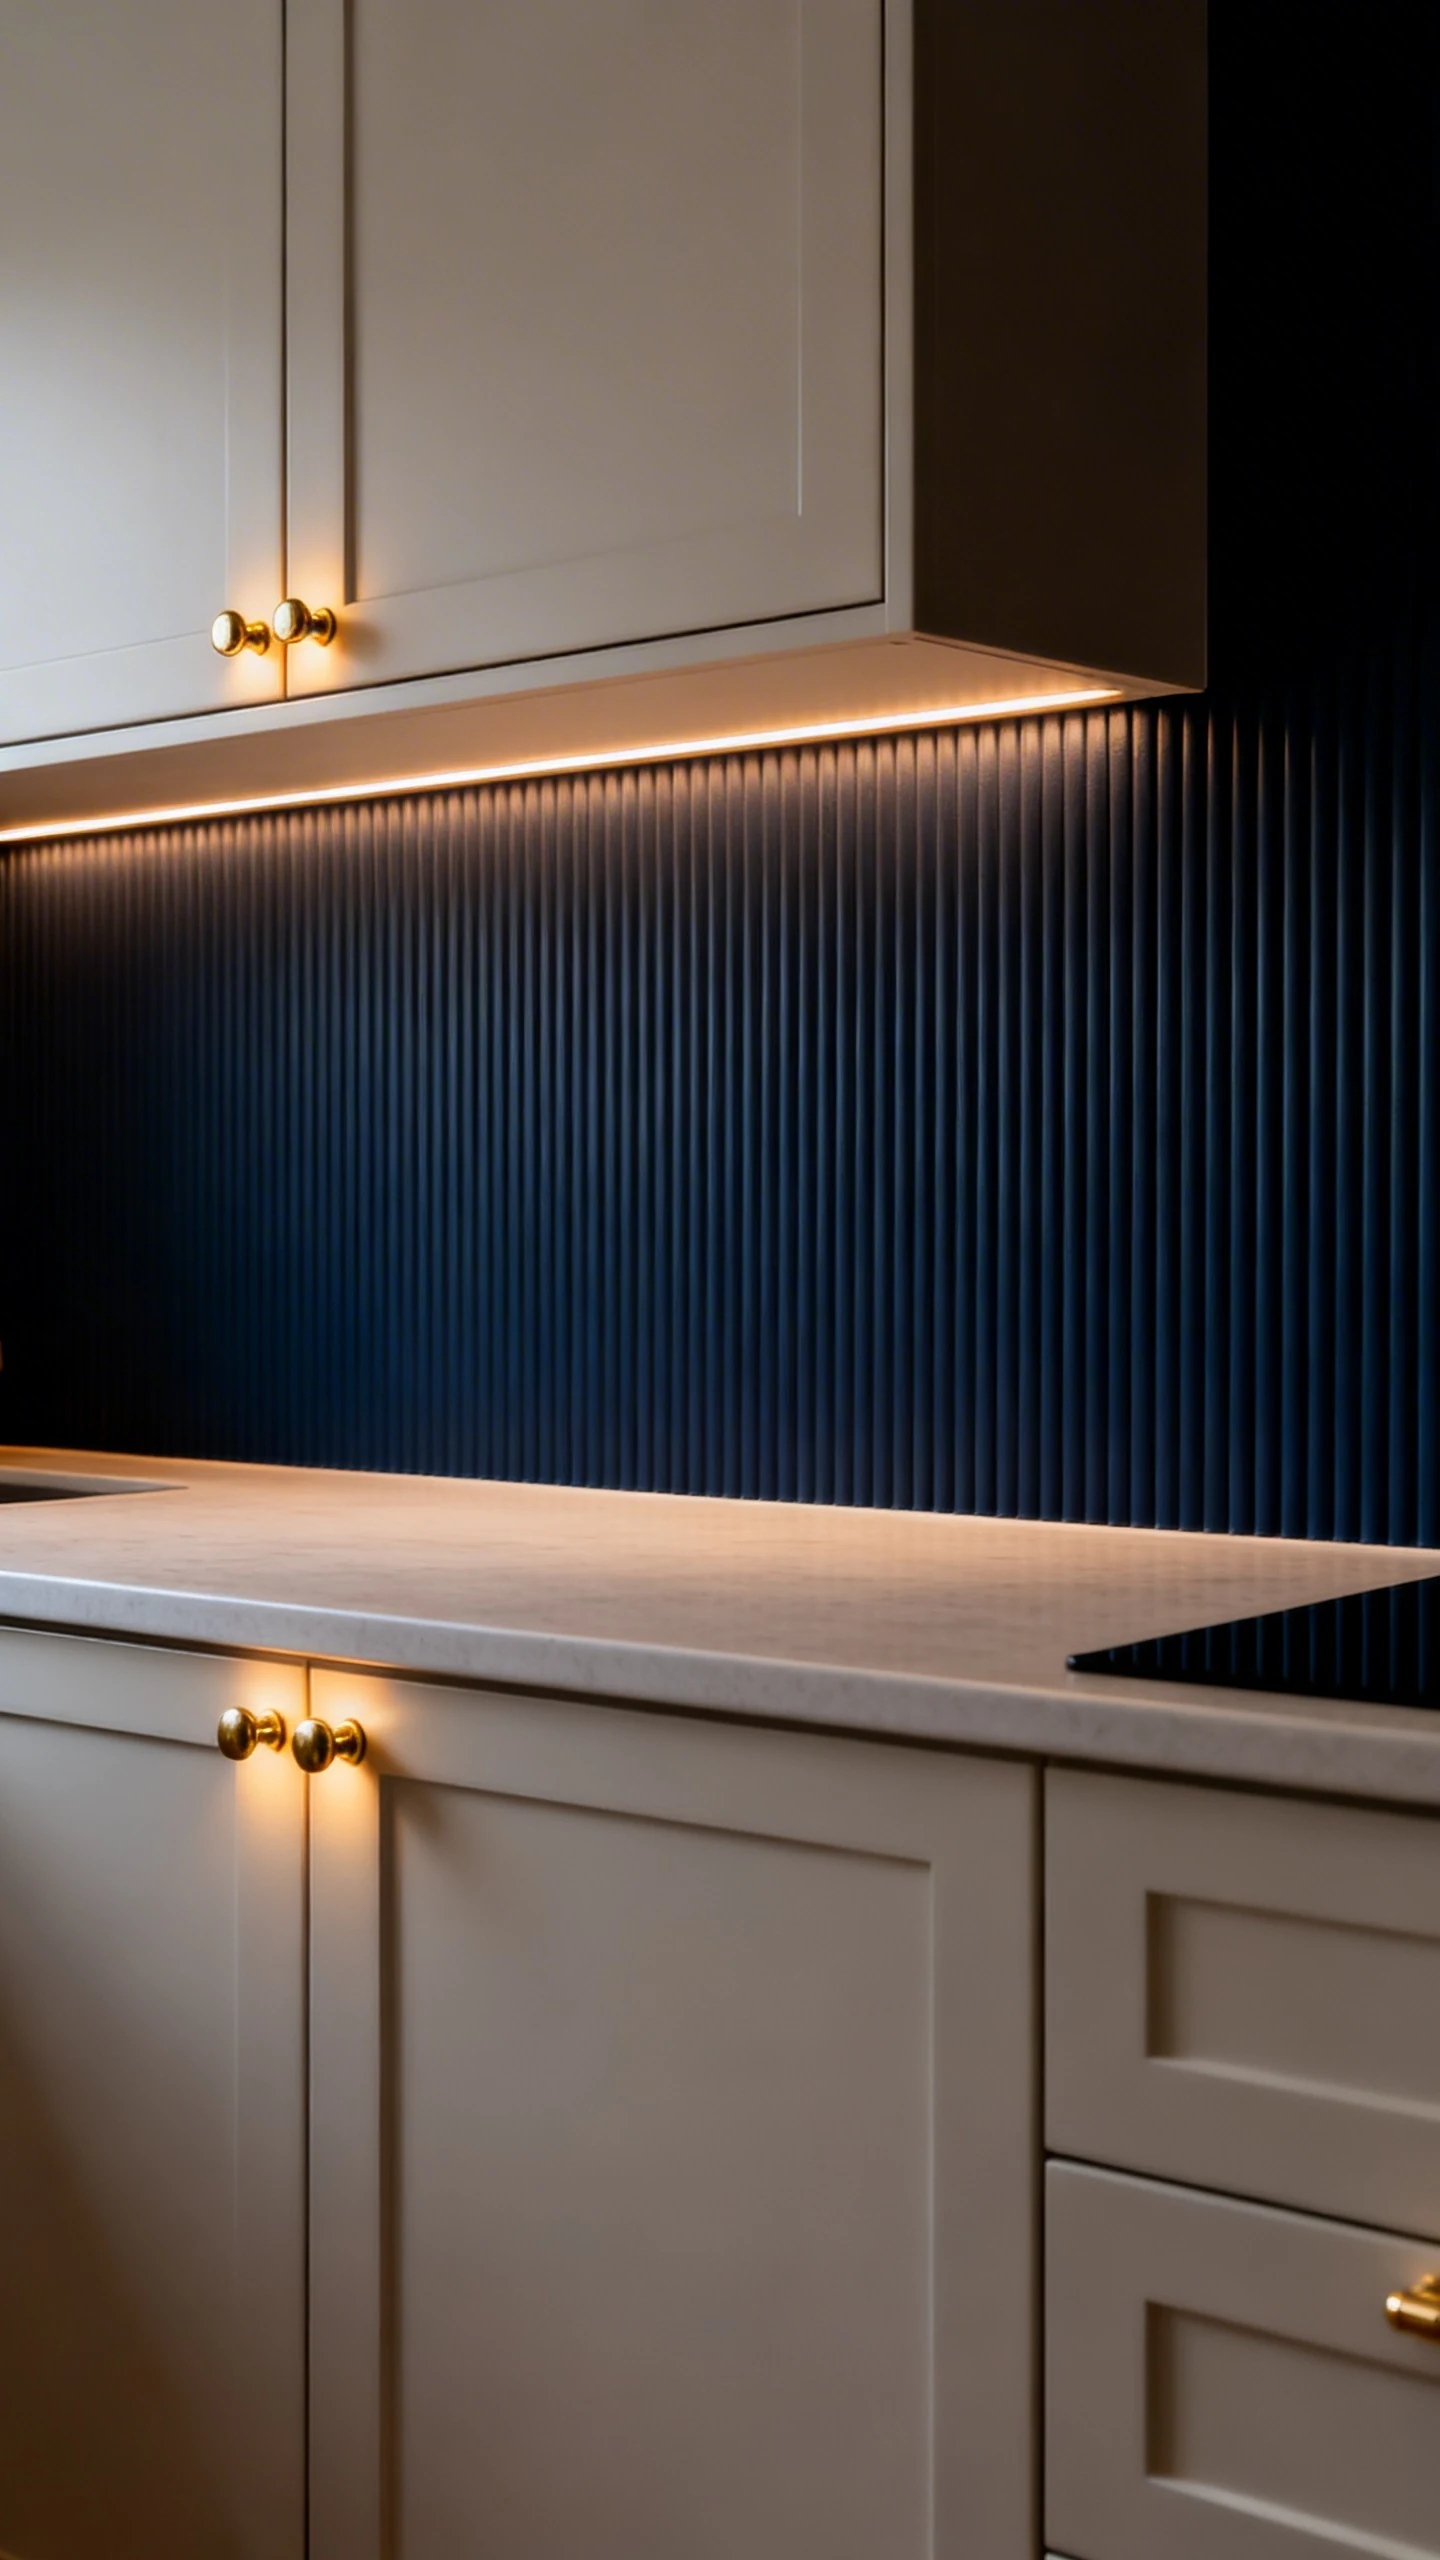
Okay, hear me out: bead board in a deep color is ridiculously good. Like “I saw this on a designer’s Instagram and now I can’t unsee it” good.
Dark bead board gives you texture plus contrast, which makes everything around it look more expensive. Your countertops? Fancier. Your brass pulls? Glowing. Your life? Basically together.
Best Dark Colors For Bead Board Backsplashes
You don’t have to go full black-hole. Pick something rich that plays nicely with your cabinets and counters.
- Deep navy for a classic, tailored vibe
- Charcoal for modern kitchens that still want warmth
- Forest green for cozy, organic drama
- Dusty black if you want bold without harshness
FYI, if your kitchen doesn’t get tons of natural light, go dark on the backsplash only and keep everything else lighter. You want “moody,” not “why is it so gloomy in here?”
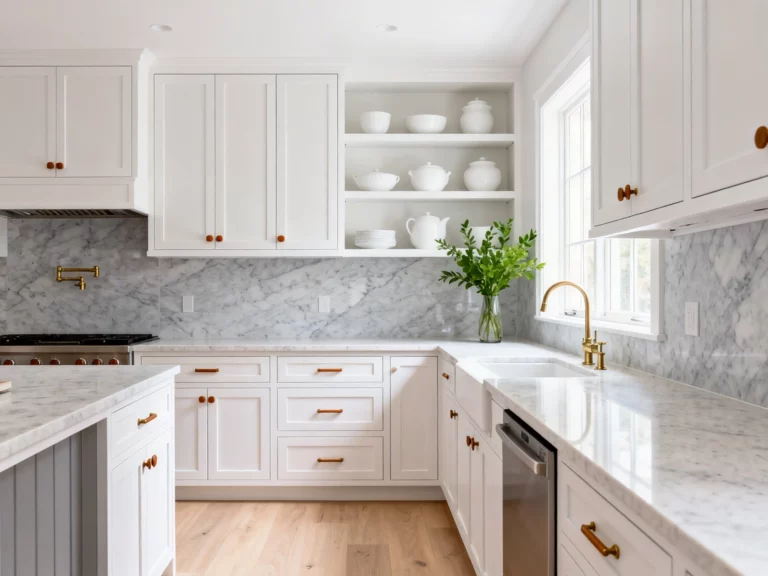
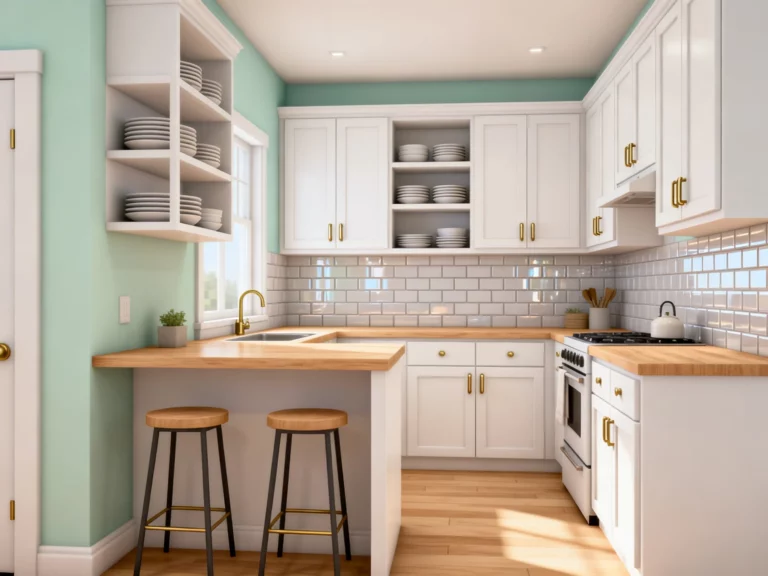
3. Wrap It Around Like Wainscoting (The Cozy, Collected Look)
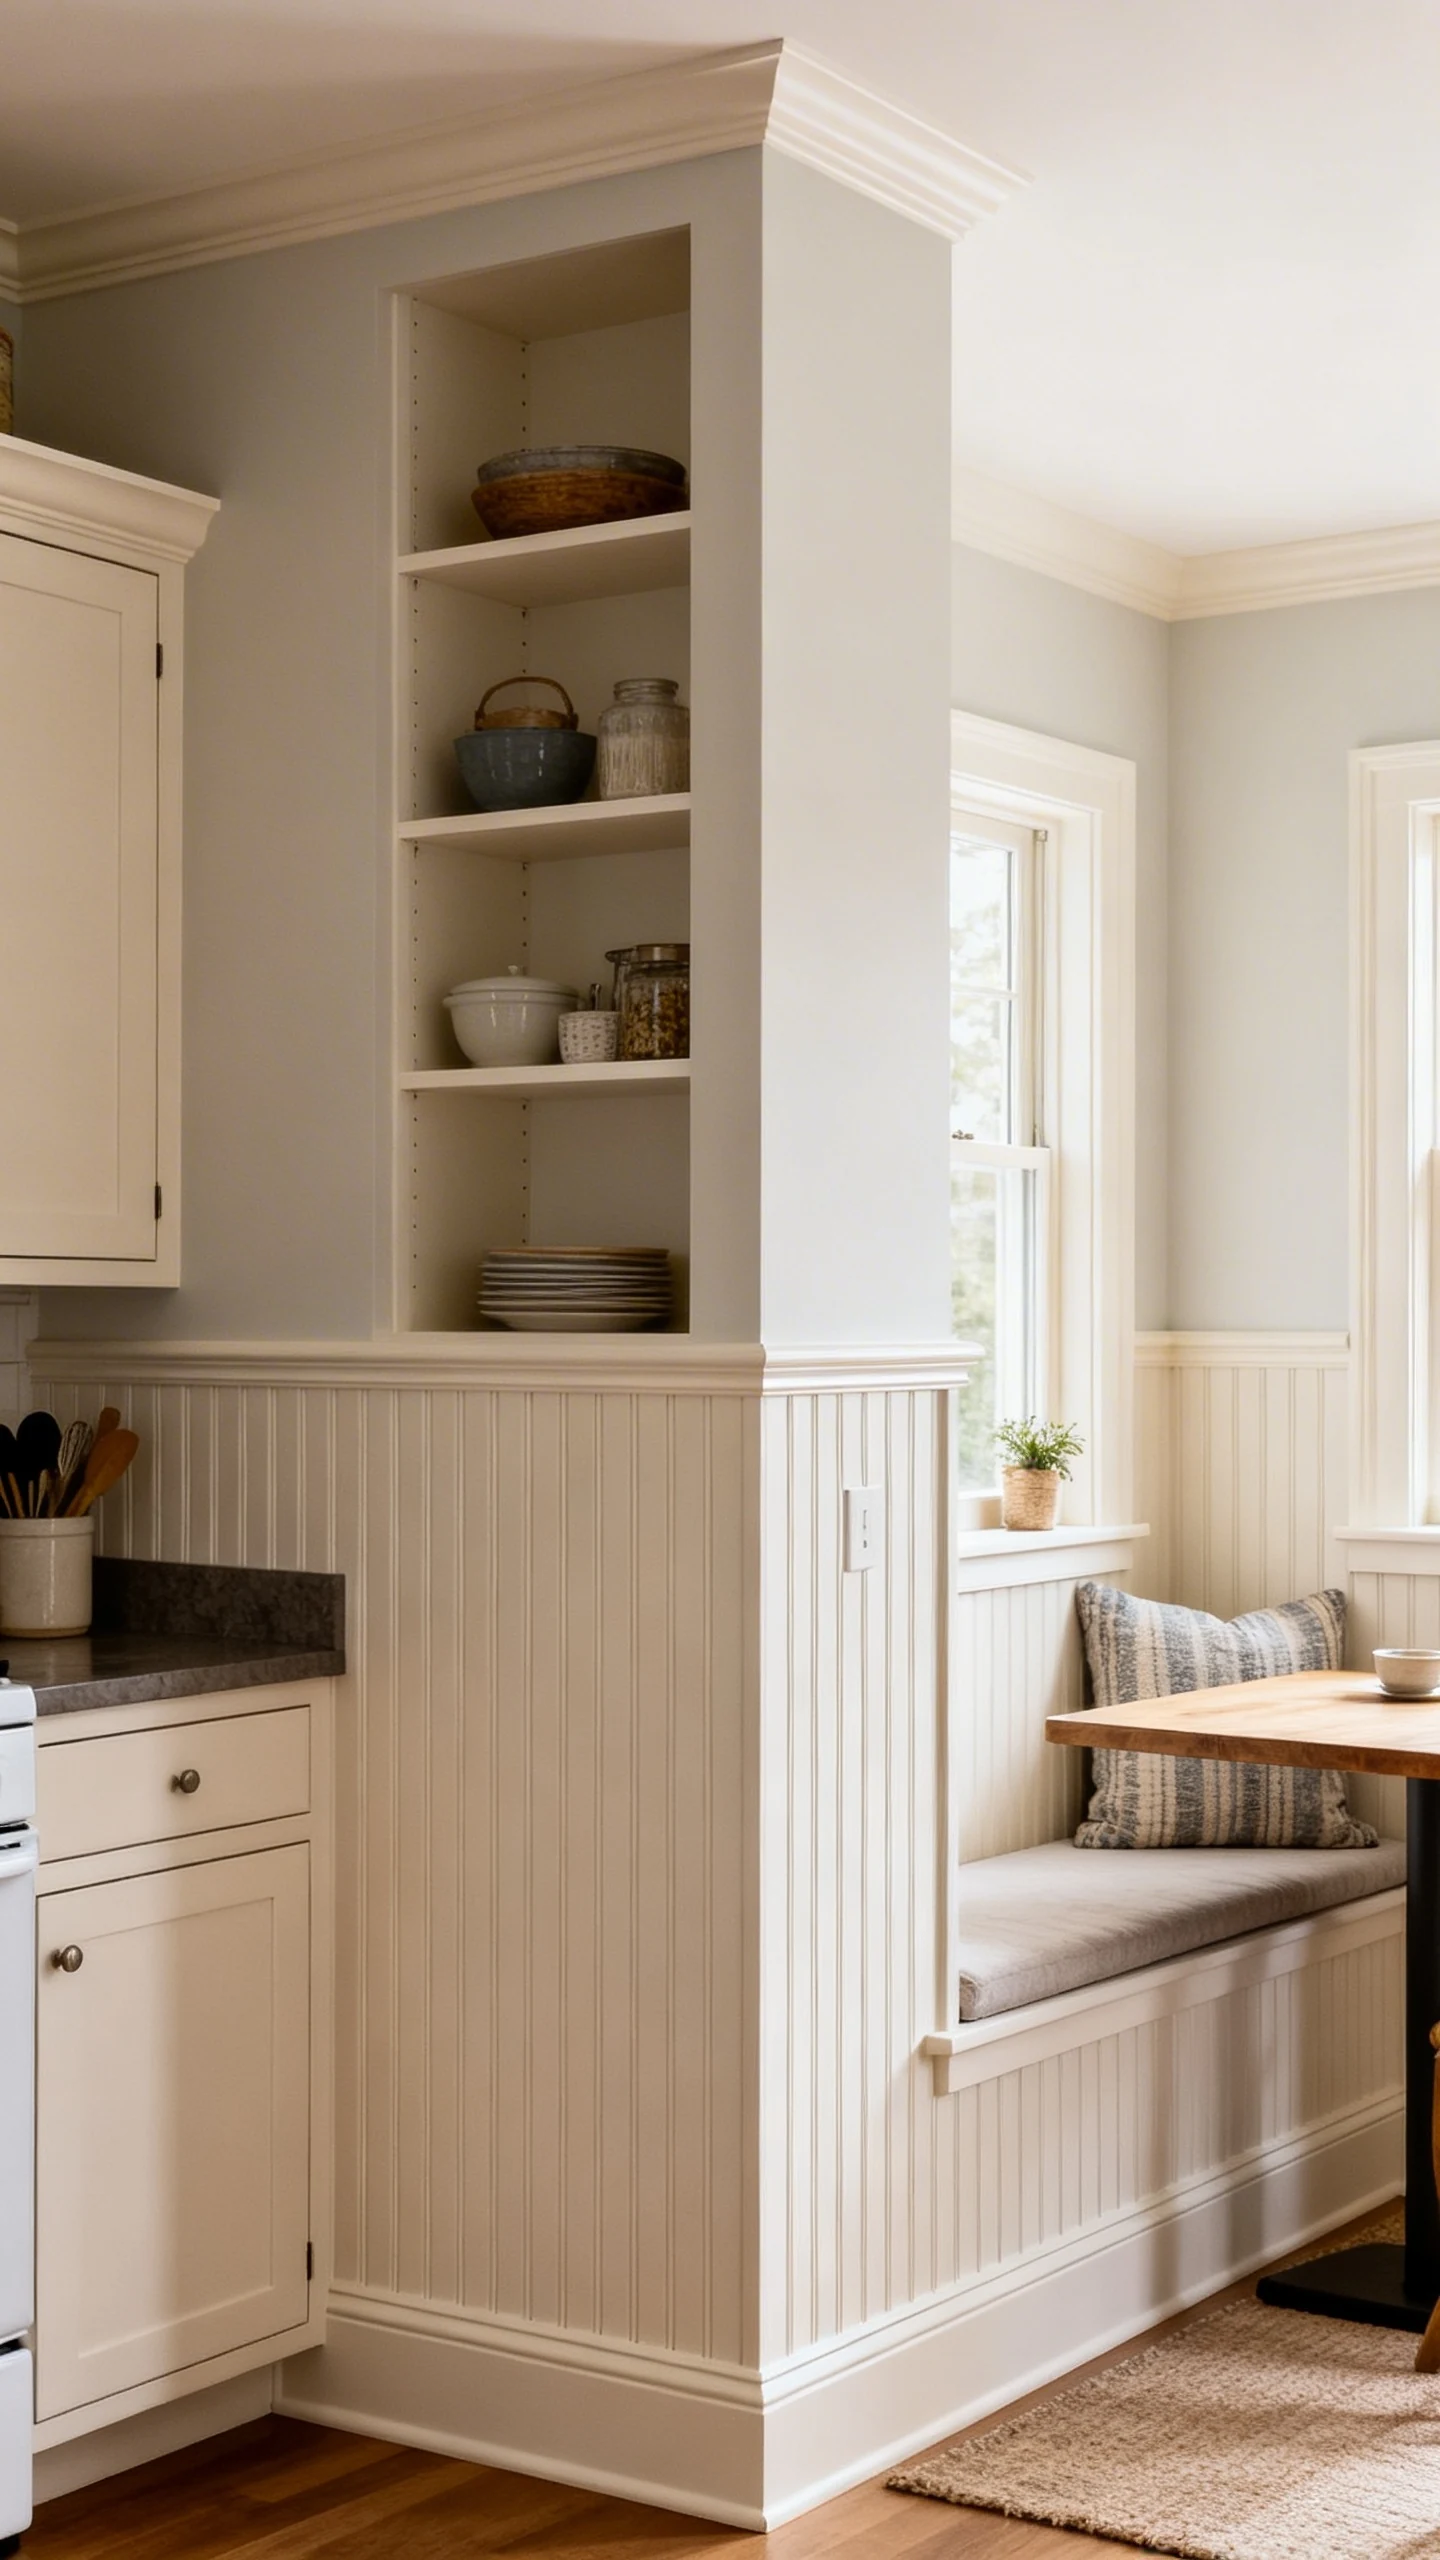
Instead of stopping bead board at the main counter wall, wrap it around the whole kitchen—especially if you have open shelving, a breakfast nook, or random little wall sections that feel… forgotten.
This works because it creates a continuous “band” of texture. It makes the space feel designed, not accidental. And it’s wildly satisfying when everything lines up perfectly.
Where This Style Works Best
Not every kitchen needs full-room bead board energy, but when it works, it really works. This is especially cute in kitchens that lean cottage, farmhouse, coastal, or vintage.
- Behind open shelves to add depth and hide minor wall imperfections
- Along a breakfast nook wall for built-in charm
- On a peninsula or half wall to make it feel intentional
- In smaller kitchens where one consistent material makes things feel bigger
Pro tip: choose a trim profile you love and repeat it. The second you start mixing random trim shapes, the whole thing can go from “designer” to “DIY puzzle.”
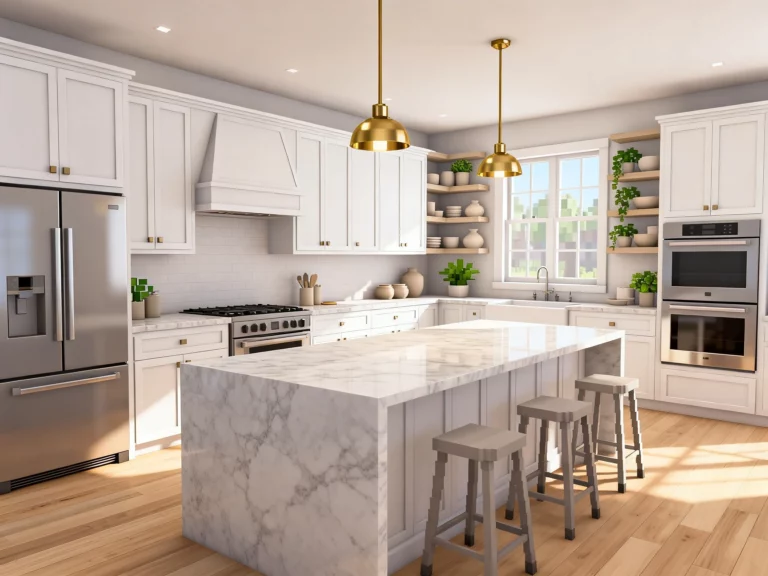
4. The Short-and-Sweet Bead Board Backsplash (Minimal Effort, Maximum Cute)
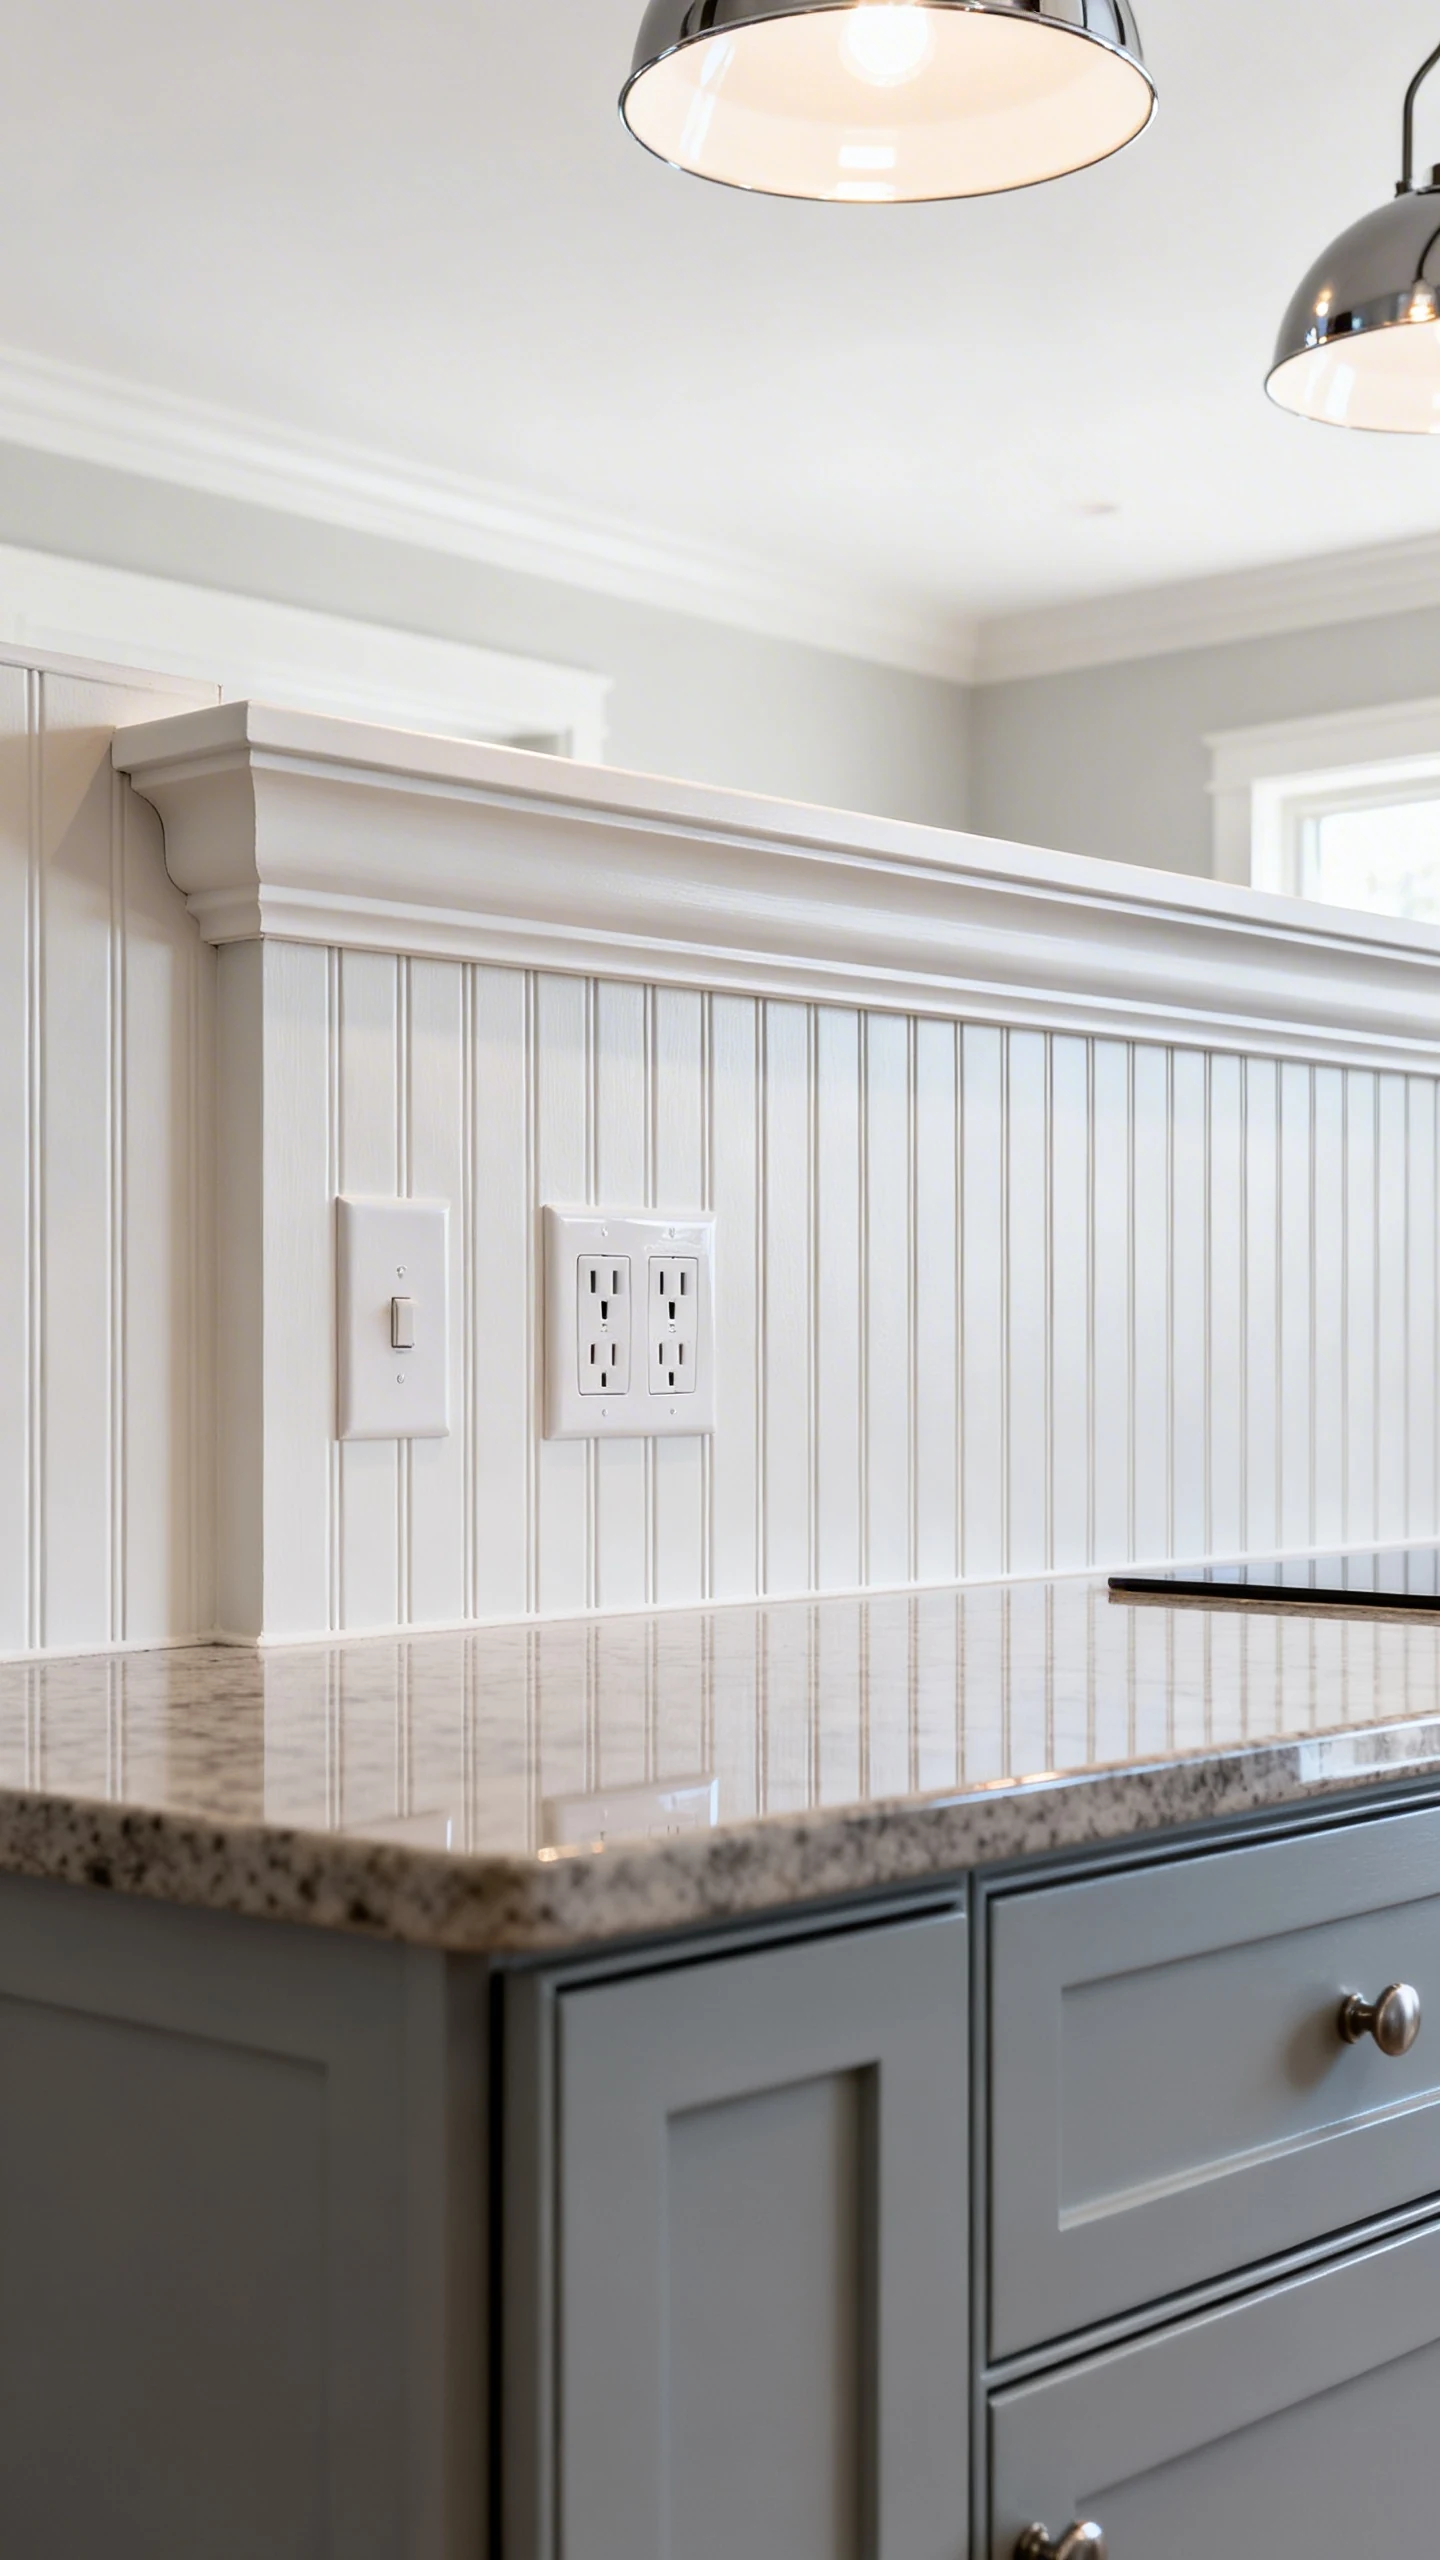
You don’t have to commit to full backsplash height. A lower bead board strip—think 6 to 10 inches tall—can act like a visual “frame” for your counters, especially if you have busy stone or bold countertops.
It’s also perfect if you’re nervous about moisture near the sink, because you can keep bead board in lower-risk areas and switch to something else behind the sink. Yes, you’re allowed to mix materials. It’s not illegal.
How To Make A Short Backsplash Look Intentional
This is one of those details that either looks like a design choice or like you ran out of supplies. So let’s make it a choice.
- Use a chunky cap rail on top to create a strong stopping point
- Match the bead board paint to your trim or cabinets for cohesion
- Keep outlets aligned and consider painted outlet covers for a cleaner look
- Pair with statement lighting so the eye travels up, not just to the wall
If your counters are the star, this approach lets them shine while still adding texture. It’s like putting your kitchen in a really flattering outfit.
5. Two-Tone Bead Board + Tile Mix (For When You Want Texture And Shine)
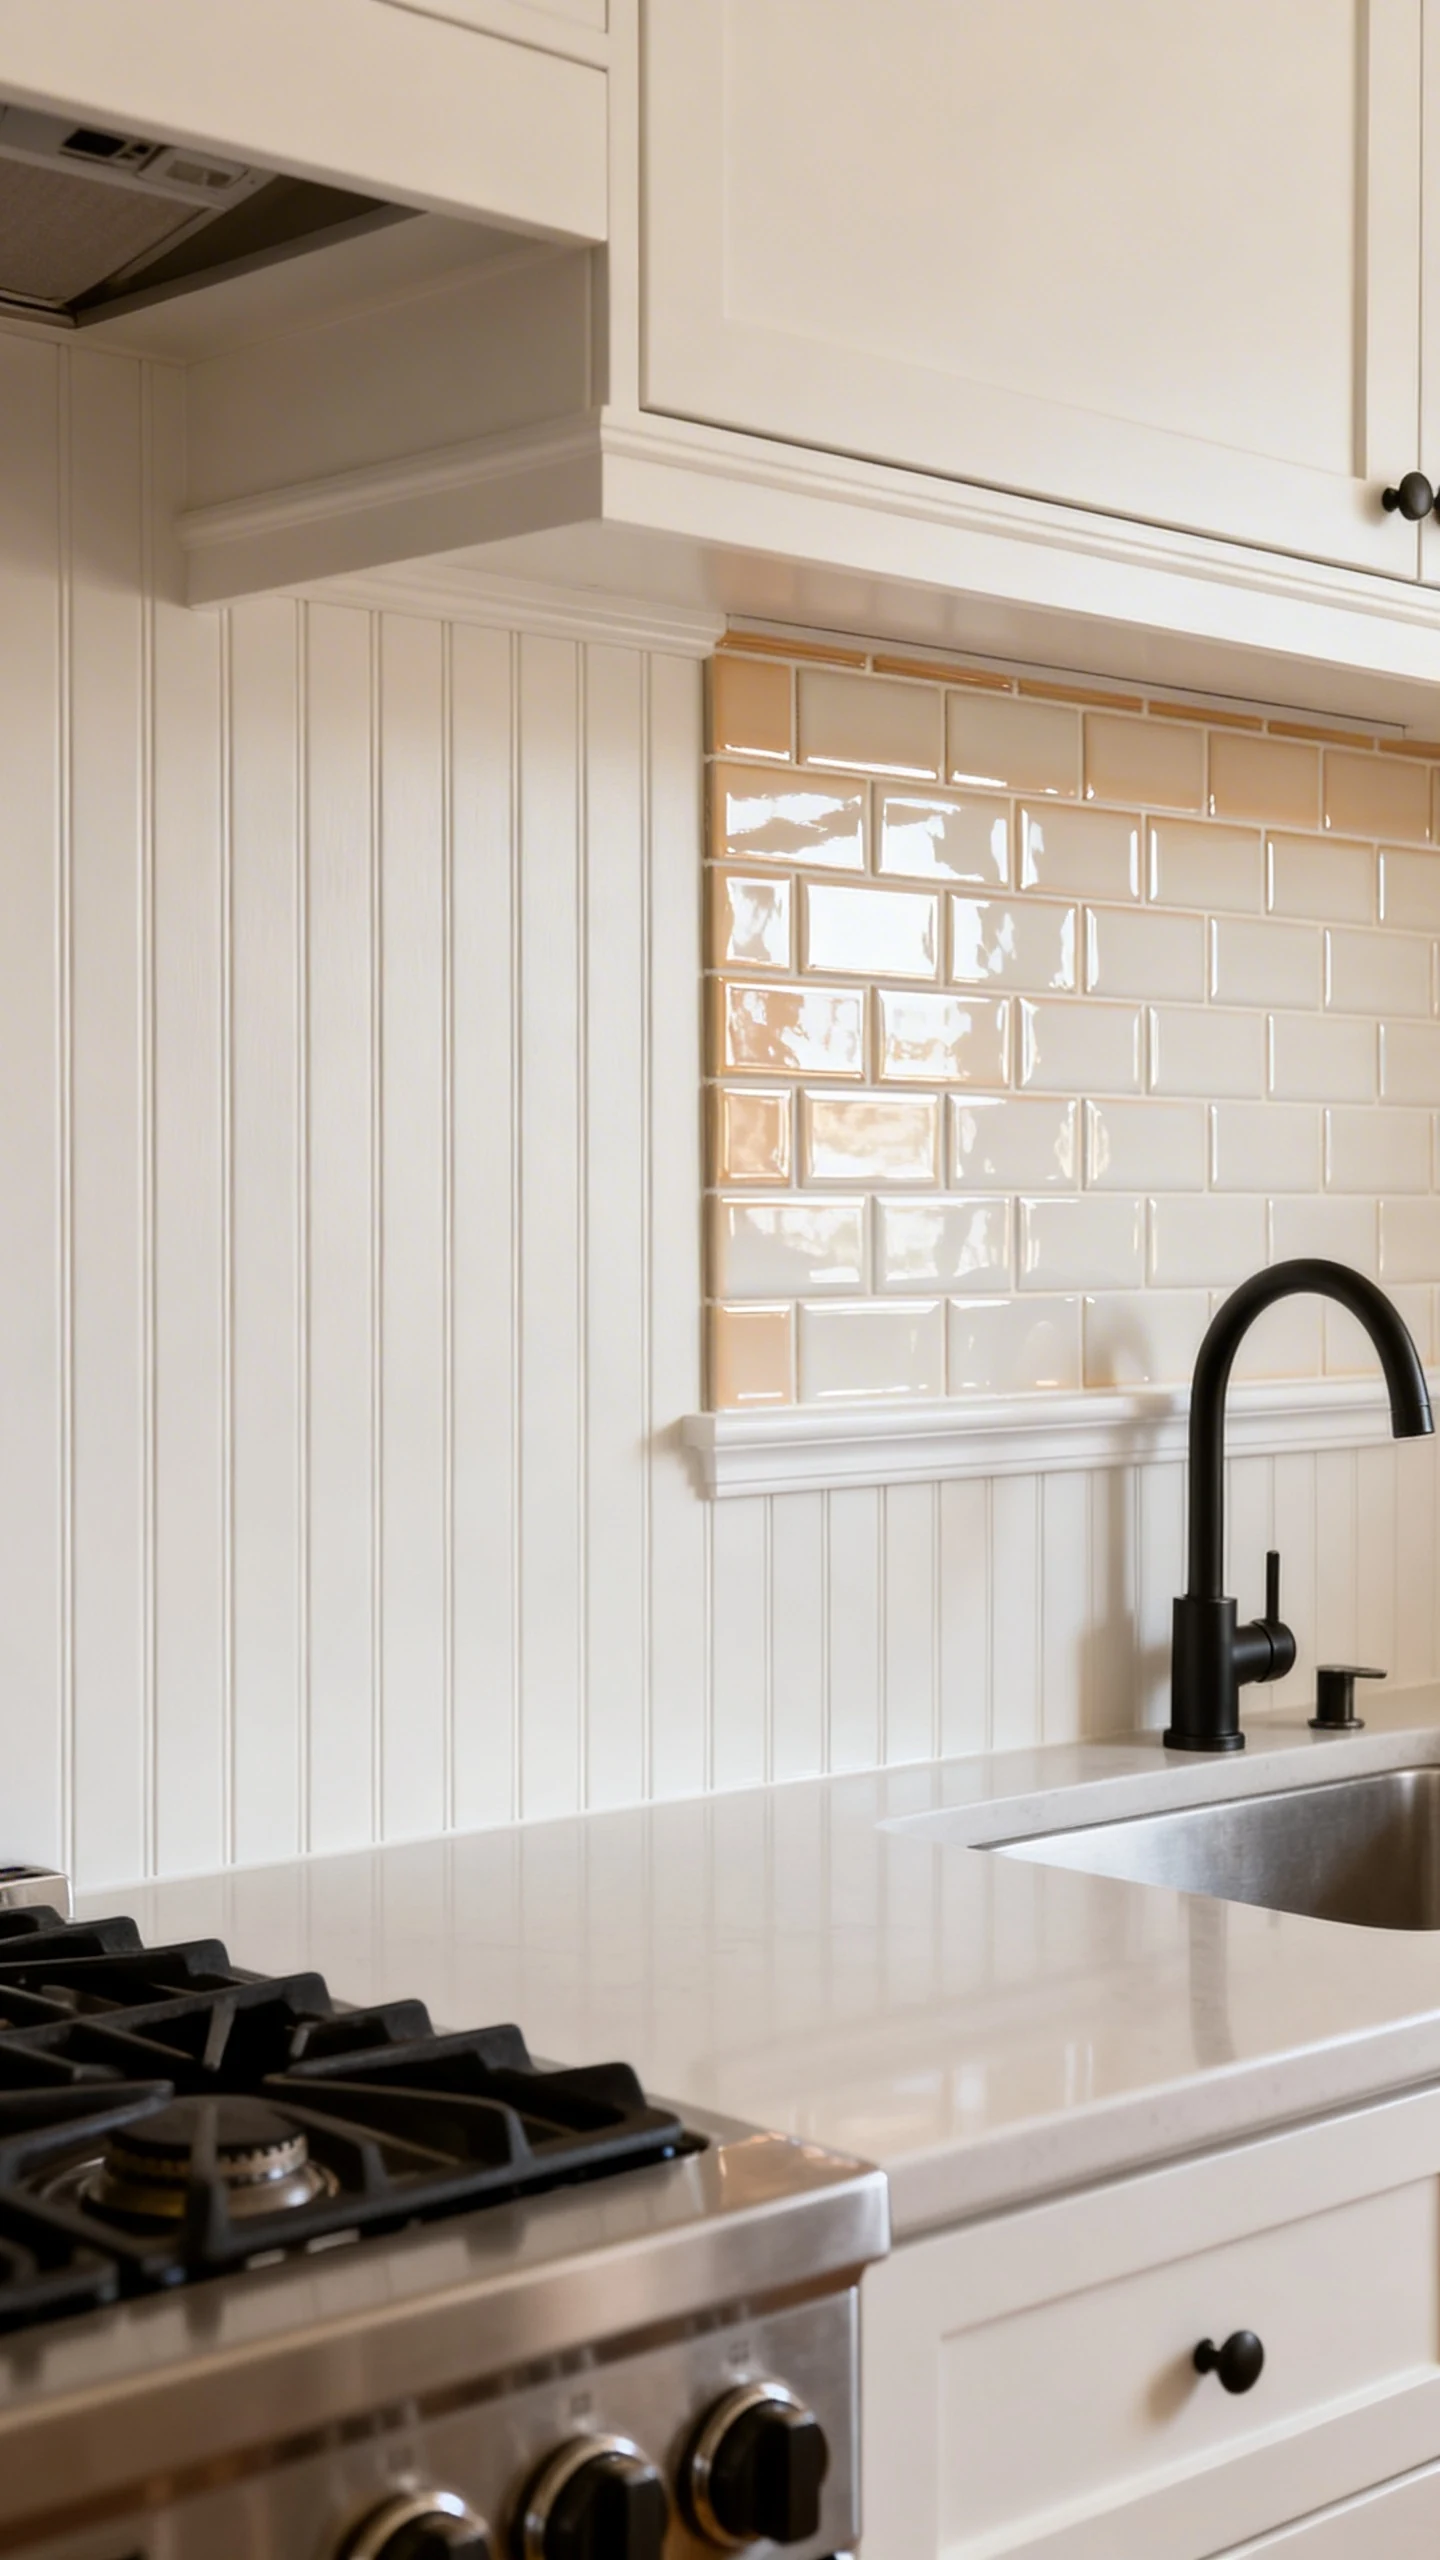
Can bead board and tile coexist? Absolutely. And when you mix them, you get the best of both worlds: the cozy texture of bead board plus the water-resistant glam of tile where it counts.
This is the move if you love bead board but also cook like you’re on a chaotic cooking show. Grease happens. Splashes happen. Life happens.
Easy Ways To Combine Bead Board With Tile
You don’t need a complicated pattern. The simplest combos tend to look the most elevated.
- Use bead board on most walls, then do tile only behind the stove as a “feature zone”
- Add a single row of tile as a border at the top of the bead board
- Do bead board everywhere, but swap to tile behind the sink for extra durability
- Choose tile that echoes bead board lines, like subway tile or slim stacked tile
The secret is keeping the color story tight. If bead board is warm white, pick a tile that’s also warm white. Mixing undertones is how you end up with “why does this look slightly wrong?” energy.
Also, don’t forget the finish: glossy tile next to satin bead board looks amazing because you get contrast without chaos.
If you’re craving a backsplash that’s charming, flexible, and doesn’t require a second mortgage, these bead board backsplash kitchen ideas are genuinely worth considering. Pick one vibe, commit to clean trim lines, and paint it like you mean it.
Now go forth and make your kitchen look ridiculously put-together. And if anyone asks how you did it, just smile mysteriously and say, “It was a vision.”