5 Kitchen Utensil Organization Ideas That Instantly Make Your Counters Look Cleaner
If your spatulas are staging a rebellion and your tongs keep vanishing into the void, you are absolutely not alone. Kitchen utensil organization ideas sound oddly specific until you open one junky drawer and suddenly realize, yep, this is personal.
The good news is you do not need a giant custom kitchen or a label maker addiction to fix it. You just need a few smart systems that make your kitchen easier to use and a whole lot less annoying to look at.
1. Give Everyday Tools a Countertop Home
Let’s start with the easiest win. If you use the same five or six utensils daily, stuffing them in a drawer is just making life harder for no reason.
A cute crock or container on the counter keeps your go-to tools within reach and adds a little style while it’s at it. Functional and pretty? We love a multitasker.
What Belongs in the Crock
Think about what you grab when you are half awake making eggs or trying to stir pasta before it boils over. Those are the items that deserve VIP placement.
- Wooden spoons for stirring and sautéing
- Spatulas you actually use, not the weird melted one
- Tongs for flipping, tossing, and general kitchen heroics
- Ladles if soup is your personality trait
- Whisks if you bake or pretend to
Keep the crock near the stove, but not so close that grease turns everything into a sticky science experiment. IMO, ceramic and stone containers look the best because they feel intentional instead of random.
Make It Look Styled, Not Cluttered
The trick is editing. If the container is overflowing with peelers, meat thermometers, and mystery gadgets from 2009, it stops looking chic and starts looking like a yard sale.
- Stick to 8 to 12 utensils max
- Use one container instead of three scattered everywhere
- Choose utensils in similar tones for a cleaner look
- Wipe the container out regularly because crumbs somehow get everywhere
This is one of those kitchen utensil organization ideas that works instantly. Zero renovation, very little effort, and your cooking flow feels smoother right away.
2. Turn One Drawer Into a Zoned Utensil Station
If your utensil drawer sounds like a percussion section every time you open it, we need a better plan. A single drawer can hold a lot, but only if everything has a zone.
Drawer dividers are the unsung heroes here. They take the chaos from “good luck finding the can opener” to “ah yes, civilization.”
How to Set Up the Zones
Before you buy anything, empty the drawer completely. Yes, all of it. That means the soy sauce packet, the rogue birthday candle, and the chip clip that somehow migrated in there.
Then group similar items together so your organizer actually matches how you cook.
- Prep tools: peelers, zesters, measuring spoons
- Cooking tools: spatulas, turners, whisks
- Serving tools: large spoons, ladles, tongs
- Cutting helpers: kitchen shears, paring knife sleeves
- Odds and ends: bottle opener, can opener, corn holders if you must
Choose expandable dividers or compartment trays that fit the exact size of your drawer. FYI, the cheap flimsy ones that slide around are not worth the savings. They will betray you.
Use Vertical Space Smarter
Deep drawers can be amazing if you stop laying every single thing flat like a deck of cards. Layering with drawer inserts or stackable trays gives you double the storage without making the drawer feel jammed.
- Add a top tray for small gadgets
- Store longer utensils underneath
- Use drawer-depth containers for bulky tools
- Keep sharp items protected and separate
This setup is especially great for small kitchens where counter space is sacred. Your drawers work harder, and your counters get to breathe a little.
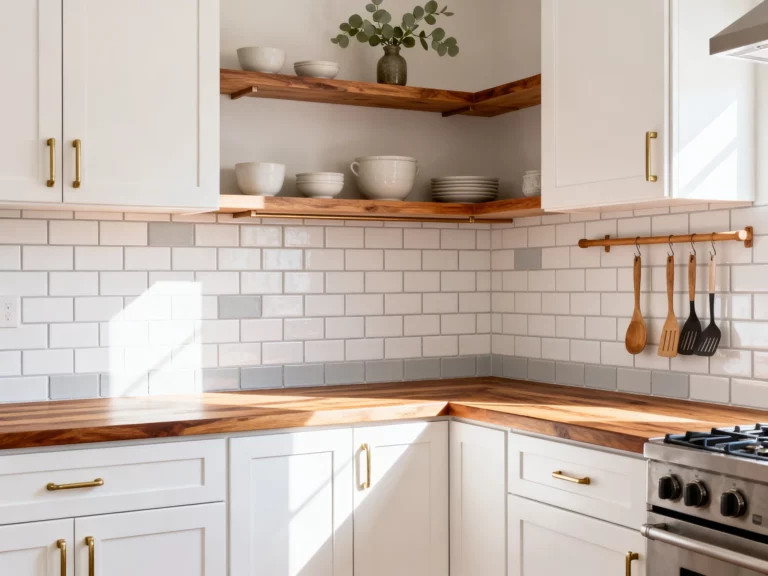
3. Use Wall Space for the Utensils That Deserve the Spotlight
Walls are wildly underused in kitchens. Meanwhile, your drawers are packed and your counters are stressed out. See the problem?
Mounting a rail, pegboard, or a few hooks can free up tons of space and make your kitchen feel more custom. Plus, it gives your favorite utensils that cool, chef-y look without requiring an actual culinary degree.
Best Wall Storage Options
You do not need a huge blank wall either. Even a small strip between cabinets or beside the stove can become useful storage.
- Metal rails with hooks for spatulas, ladles, and strainers
- Pegboards for flexible, moveable organization
- Magnetic strips for metal tools and some knives
- Small wall baskets for wraps, recipe cards, or tiny gadgets
The visual trick is keeping it curated. Hang the pieces you use often and the ones that actually look decent. Nobody needs to display the stained plastic spoon with bite marks. Be serious.
Keep It Functional, Not Fussy
Wall storage should make cooking easier, not turn every utensil into decor you are afraid to touch. Place things where they are used so the layout supports your routine.
- Hang stirring tools near the stove
- Keep prep utensils close to your main cutting area
- Leave a little breathing room between hooks
- Match finishes to your hardware for a polished feel
This is one of the smartest kitchen utensil organization ideas if your cabinets are full and your style leans modern, farmhouse, or slightly “I watched one organizing video and now I have opinions.” It adds storage without adding bulk.
4. Sort by Task, Not by Random Drawer Availability
Here is where a lot of kitchens go wrong. Utensils end up stored wherever they fit, which sounds practical until you are hunting for a whisk in three different places while pancake batter drips on the floor.
Organizing by task is a total game changer. Instead of asking, “Where can this fit?” ask, “Where do I use this?” Tiny shift, huge payoff.
Create Mini Work Zones
Your kitchen already has natural activity areas. There is the prep zone, the cooking zone, the baking zone, maybe the coffee zone if priorities are in order.
Store utensils in the zone where they make the most sense.
- Near the stove: turners, wooden spoons, tongs, ladles
- Near the prep area: peelers, graters, measuring spoons, shears
- Near the baking supplies: whisks, silicone spatulas, pastry tools
- Near serving dishes: serving spoons, salad tongs, cake server
Suddenly, cooking feels less like a scavenger hunt and more like you know what you are doing. Even if dinner is still frozen ravioli, the vibe improves.
Make Small Adjustments That Stick
The best systems are the ones you can maintain when you are tired, hungry, or cleaning up after guests. So keep it simple and realistic.
- Store the most-used items at arm’s reach
- Move seasonal or specialty tools higher up
- Use bins inside cabinets to keep categories together
- Label zones if your household needs the hint
Honestly, this is less about buying stuff and more about thinking smarter. And that is always satisfying because it feels suspiciously like having your life together.
5. Declutter Ruthlessly and Upgrade Your Storage Basics
Okay, tough love moment. You probably do not need four slotted spoons, two broken whisks, and a novelty avocado slicer you used once during your “healthy era.” Organization gets easier the second you stop storing things you do not like or use.
Decluttering is the foundation of all good kitchen utensil organization ideas. Because no organizer on earth can make clutter feel calm. It can only hide it slightly better.
What to Keep and What to Toss
Pull everything out and sort fast. If you hesitate on every item, you will be standing there until next Tuesday.
- Keep utensils you use weekly or monthly
- Donate duplicates in good condition
- Toss anything warped, cracked, rusted, or melted
- Relocate one-use gadgets you barely touch
Once the clutter is gone, your storage solutions actually have a chance to work. Funny how that happens.
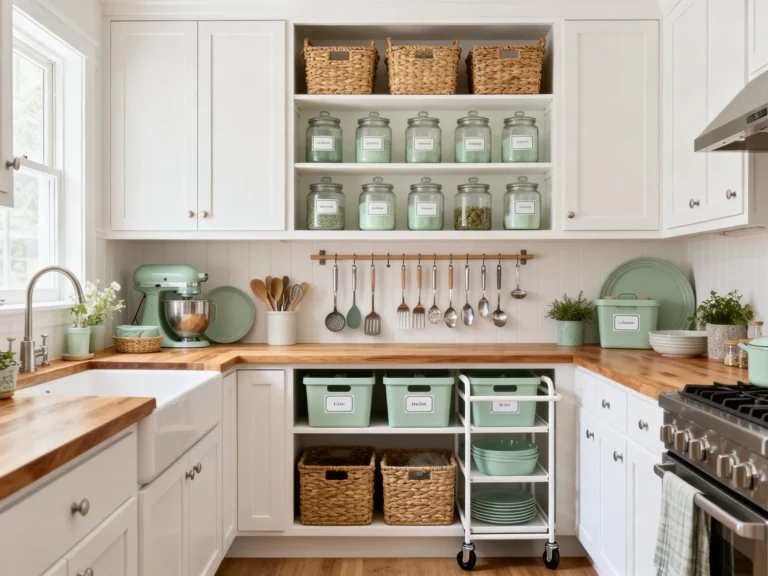
Upgrade the Basics
You do not need a full container makeover, but a few better storage pieces make a big difference. Think of them as the supporting cast that makes the kitchen run smoother.
- Expandable drawer organizers for custom compartments
- Turntables for awkward cabinet corners
- Clear bins for grouped gadgets
- Tiered shelf risers for easier visibility
- Hooks and adhesive racks inside cabinet doors
If you want the whole space to feel more elevated, stick to materials that match your kitchen vibe. Bamboo feels warm, acrylic looks clean, and black metal adds that slightly cooler-than-you energy.
The goal is not perfection. It is making your kitchen easier to use and nicer to look at, which is honestly enough. You deserve a utensil setup that does not attack you every time you open a drawer.
Start with one section, one drawer, or one overstuffed crock. A few small changes can make your kitchen feel calmer, prettier, and way more functional without a giant overhaul. And once your utensils are organized, do not be surprised if you suddenly want to cook more. Or at least pretend you do when people come over.