5 Double Kitchen Island Ideas That’ll Make Your Kitchen Feel Instantly Custom
So you’re flirting with the idea of two kitchen islands. Love that for you. It’s bold, it’s functional, and it screams “yes, I host” even if hosting is mostly you, a charcuterie board, and one very judgmental candle.
But here’s the thing: double kitchen island ideas can go from dream-kitchen to “why is there furniture in my walking path?” real fast. Let’s make sure yours looks intentional, works hard, and feels like it came with the house (in the best way).
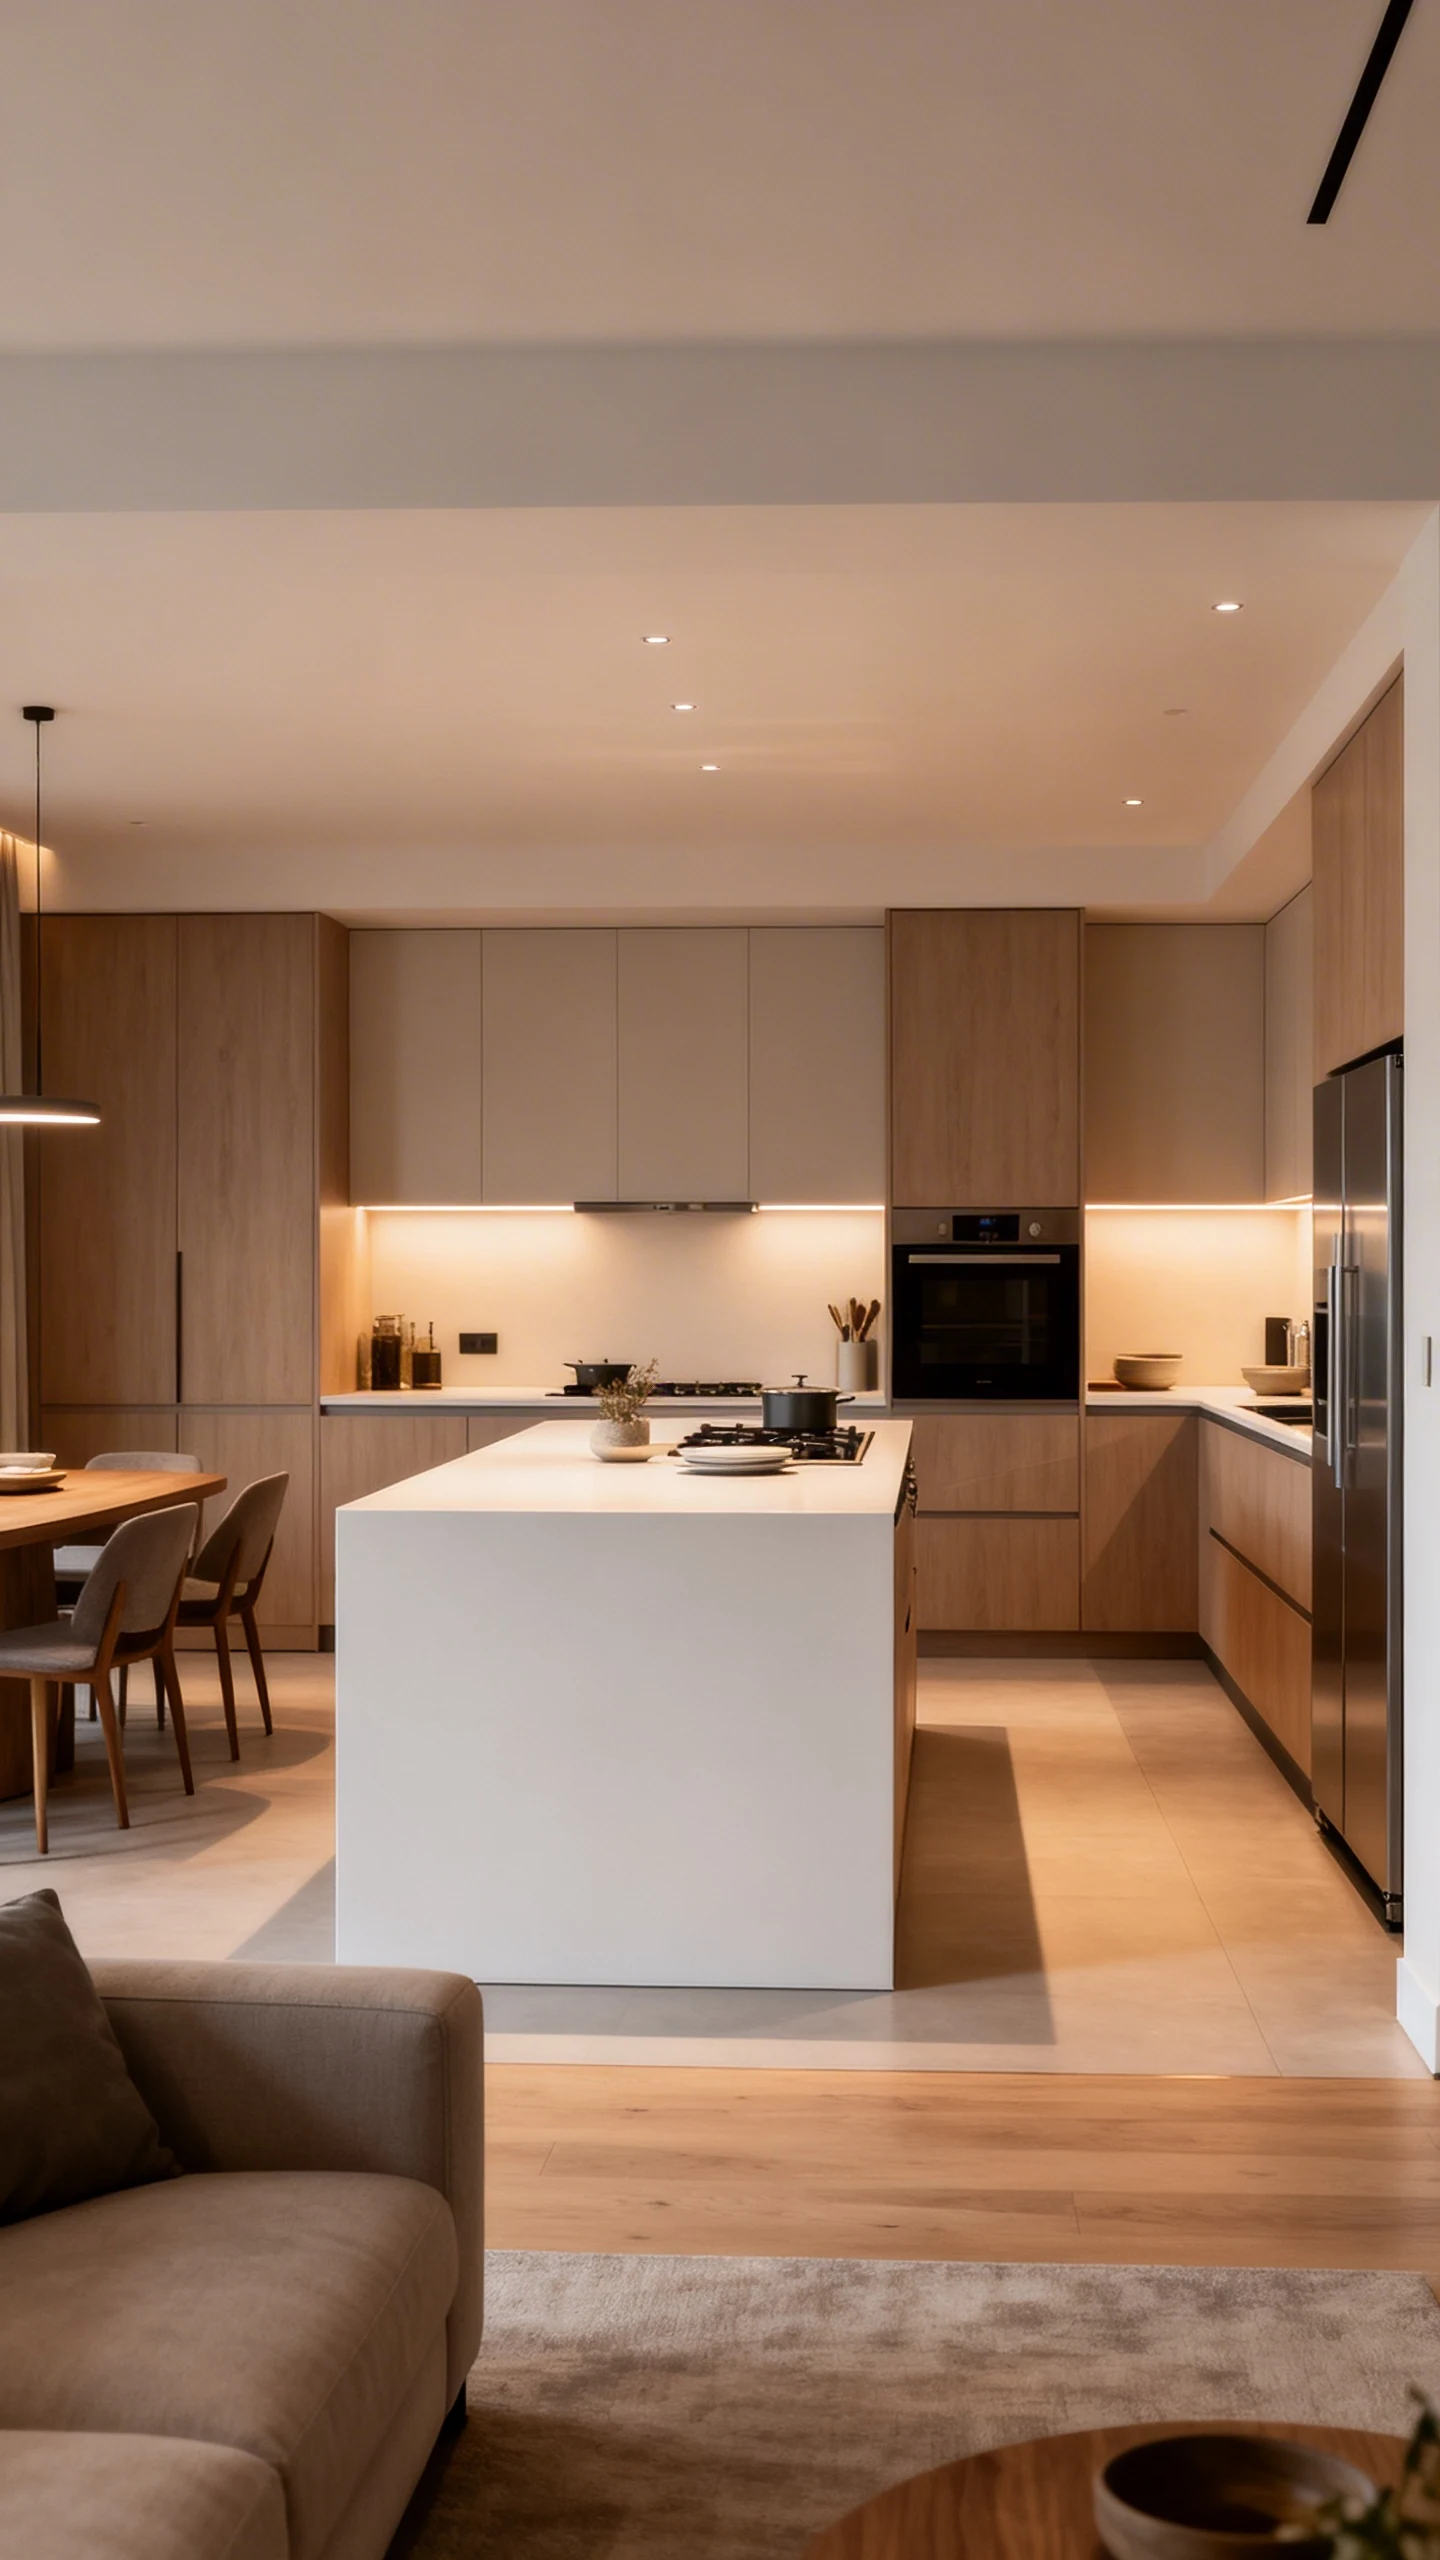
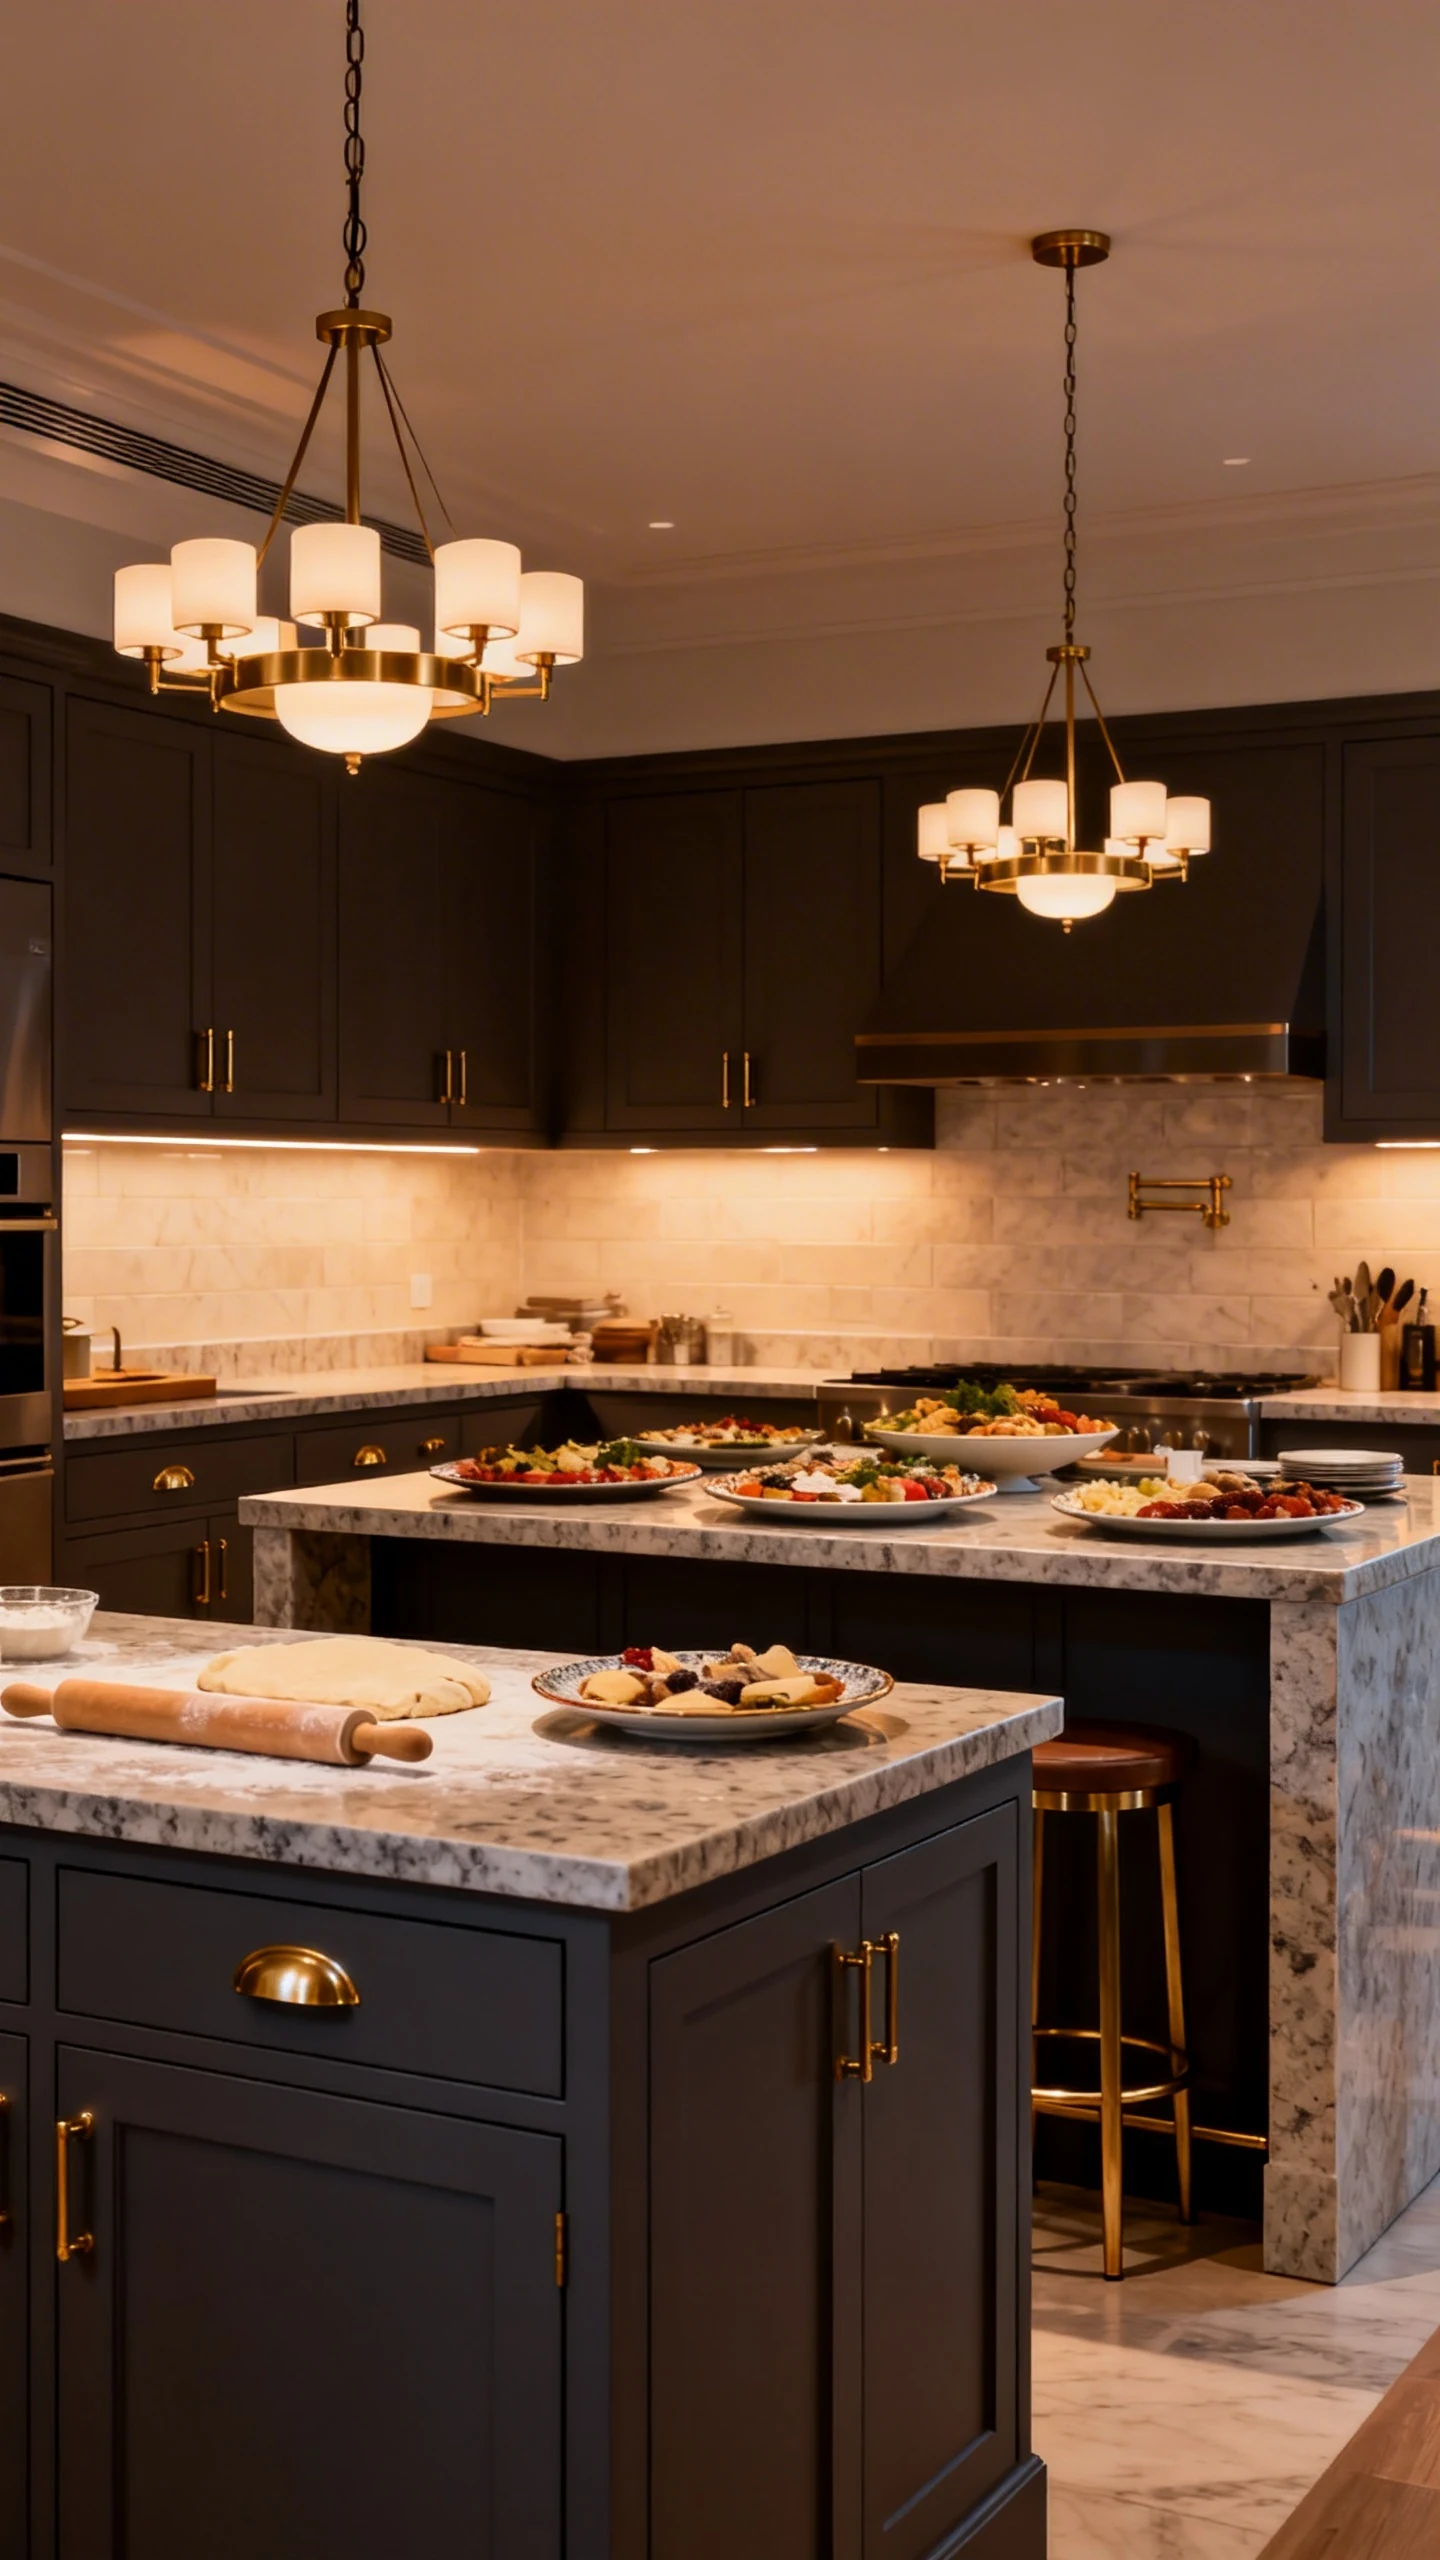
1. The “Prep + Party” Island Duo (Because Multitasking Is a Lifestyle)

If you want double islands to actually make sense, this is the easiest win. One island does the messy work, and the other stays cute for guests. It’s basically the kitchen version of having “inside clothes” and “outside clothes.”
How It Works
Your prep island is the command center: chopping, mixing, marinating, and all the chaos. Your hosting island is the calm, pretty zone where people gather, snack, and pretend they’re helping.
IMO, this layout is perfect if your kitchen is open to the living area. It keeps the visual clutter contained while your entertaining space stays photogenic.
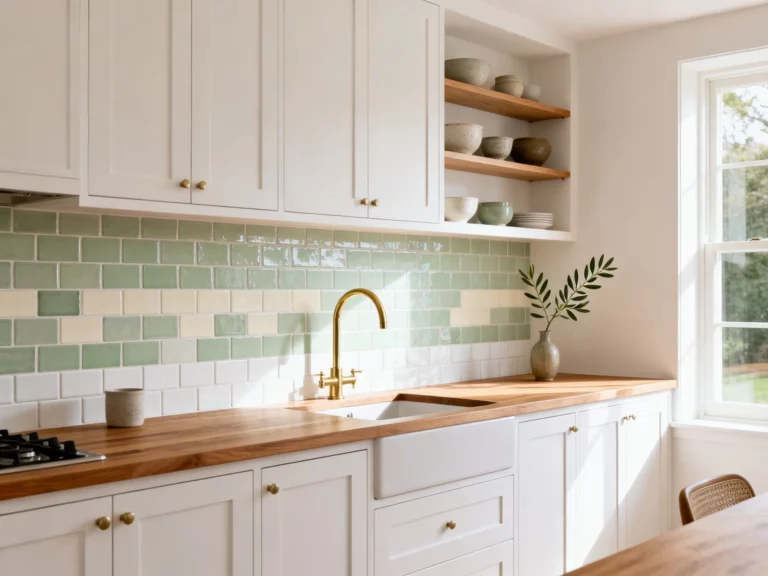
Make It Feel Seamless
- Put the sink on the prep island for easy rinse-and-repeat.
- Add seating to the hosting island, ideally on the side facing the living room.
- Use one statement surface (like veined quartz) and one quieter surface (like butcher block) so it doesn’t look like a countertop showroom.
- Plan landing zones: space for groceries, space for serving trays, space for that one person who always brings a giant bag of chips.
FYI, the magic is in the “zones.” If both islands do the same job, you’ll wonder why you paid for the extra obstacle.
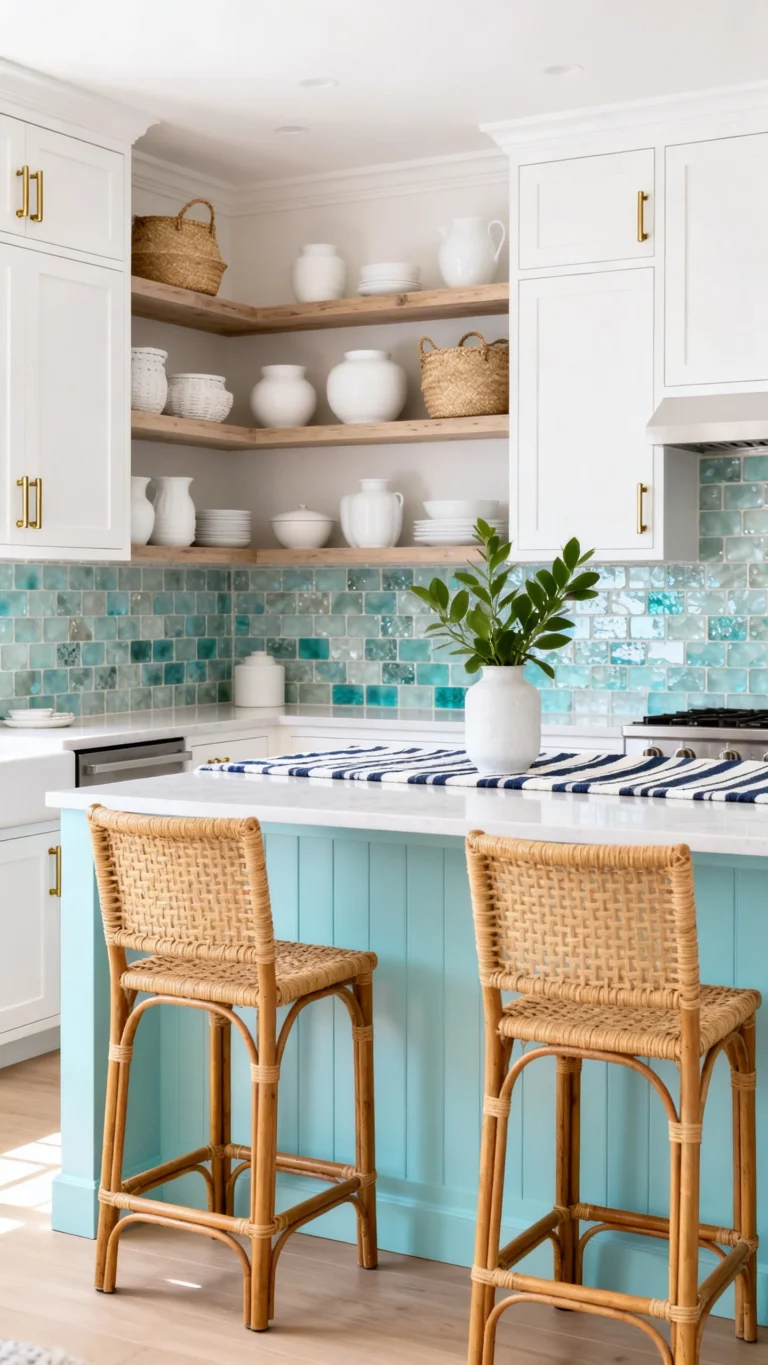
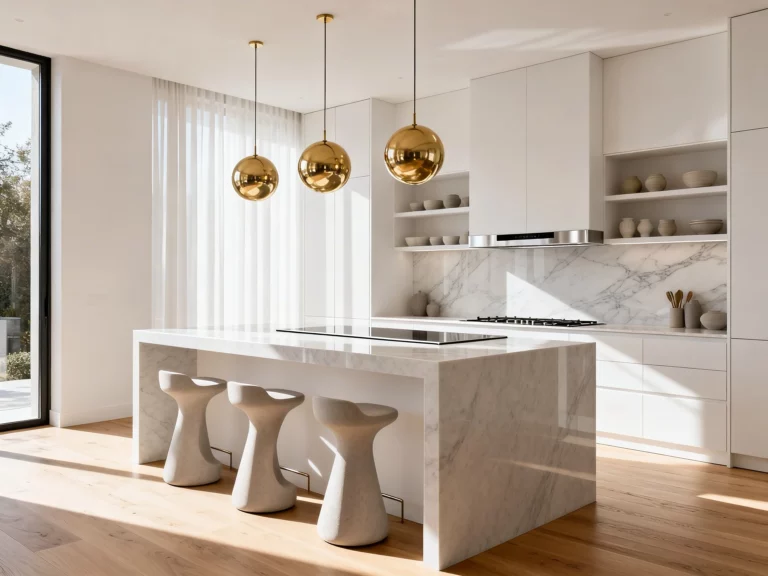
2. The “Different Heights” Double Island (A Little Drama, A Lot of Function)
Want your kitchen to look custom without screaming for attention? Try two islands with different countertop heights. It adds dimension, separates tasks, and gives your layout that designer “of course it’s like this” vibe.
Why Height Changes Work So Well
A lower counter is amazing for rolling dough, kids doing homework, or setting out buffet-style food. A higher counter can hide prep mess and create a natural “bar” moment. And yes, it also subtly signals, “this is the hangout side.”
Plus, different heights can help define traffic flow. People naturally gather at the taller island, while you keep working at the lower one like the competent kitchen wizard you are.
Design Tips So It Looks Intentional
- Keep the materials related: same stone family, similar undertones, or matching edge profiles.
- Repeat a finish (like brass hardware or matte black lighting) across both islands.
- Use the taller island for seating and serving, and the lower for prep.
- Mind the sightlines: a too-tall island can block your gorgeous backsplash or make the room feel chopped up.
If you’re nervous about it looking “random,” anchor it with lighting. Two pendant clusters or a long linear fixture makes the whole setup feel planned, not improvised.
3. The “Workhorse + Storage” Pair (For People Who Own Too Many Appliances)
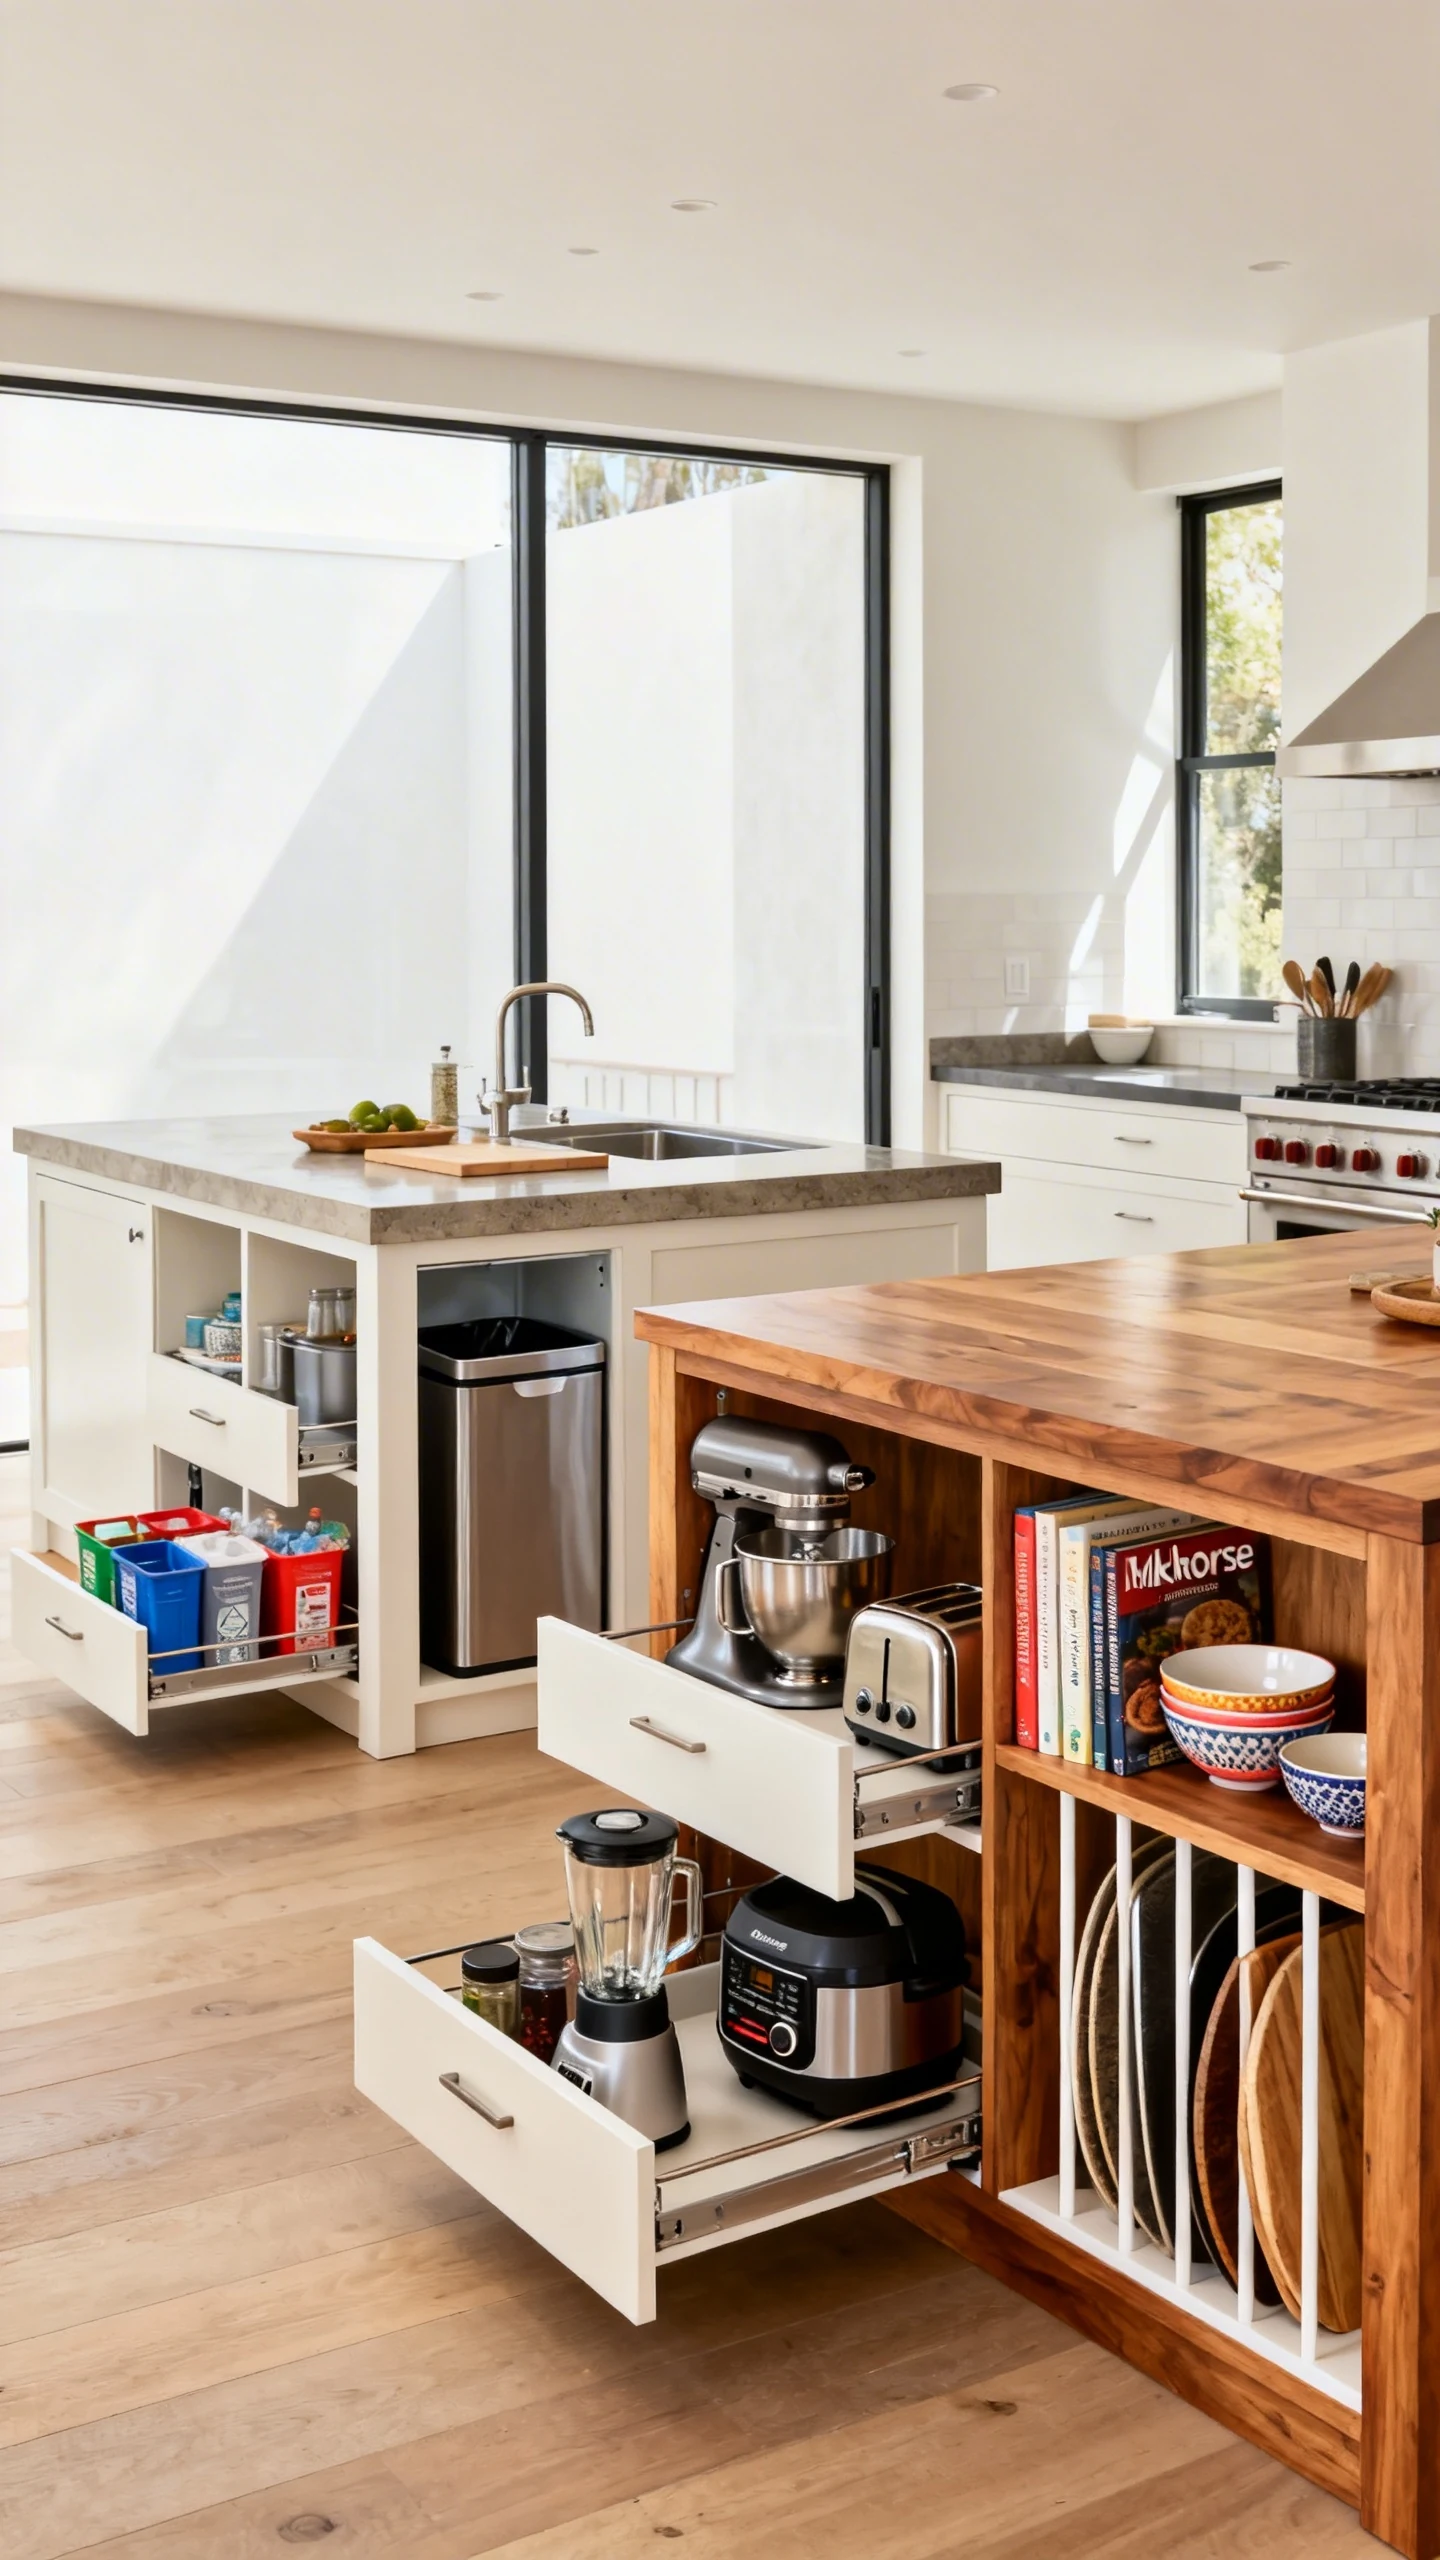
Be honest: do you have an air fryer, a stand mixer, a blender, and a toaster you refuse to part with? Same. This is where storage-forward double kitchen island ideas shine.
One island becomes the heavy-duty work station. The other is basically your kitchen’s secret closet—except it’s pretty and doesn’t judge you.
Where This Layout Really Wins
If your perimeter cabinets are already maxed out, a second island can take on storage so your counters aren’t permanently hosting a parade of gadgets. Also, it’s a great way to avoid adding bulky upper cabinets if you like an airy look.
Smart Storage Moves
- Deep drawers for pots, pans, and small appliances (no more appliance Jenga).
- Pull-out trash and recycling in the prep island, so it’s close to where the mess happens.
- Open shelves on the “public” side for cookbooks or pretty bowls.
- Vertical dividers for baking sheets and cutting boards, because digging is not a hobby.
- Appliance garage style doors or lift-up outlets if you want a cleaner look.
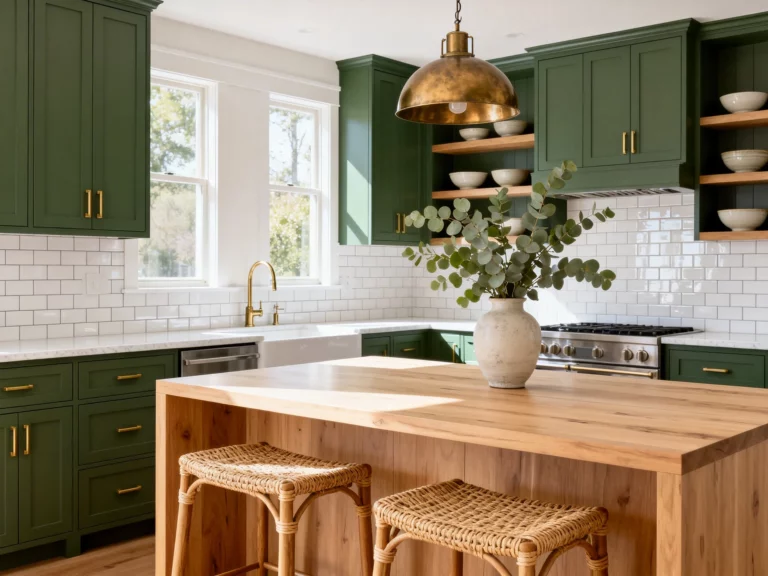
And if you want the islands to feel less bulky, mix finishes: one in a painted color, one in wood. That contrast makes the room feel layered and designed, not like you copy-pasted cabinetry twice.
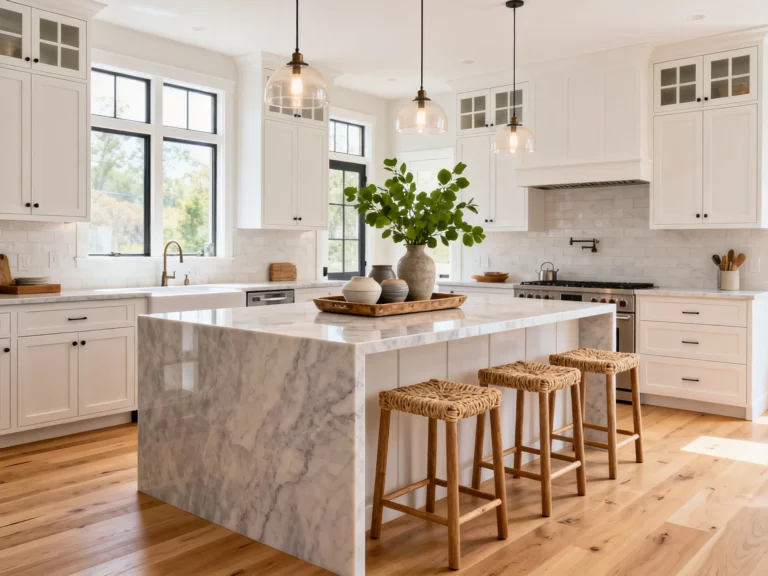
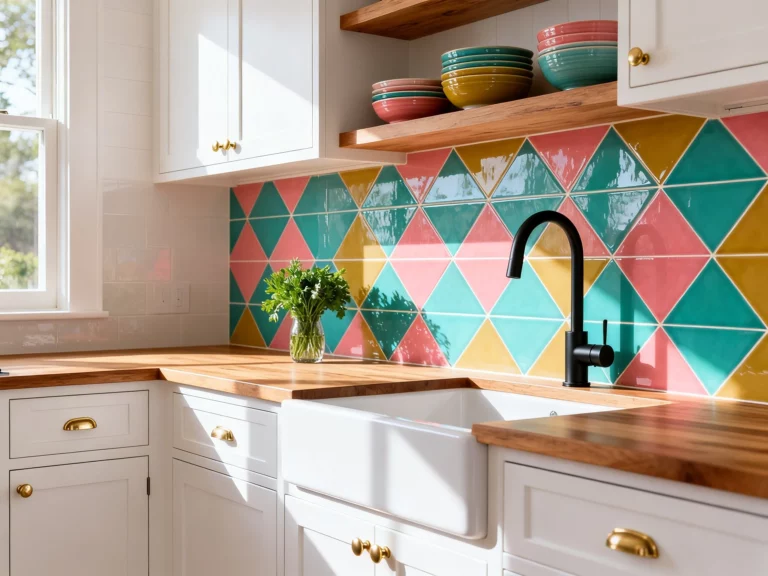
4. The “Statement Islands” Look (Matching? Not Always. Coordinated? Yes.)
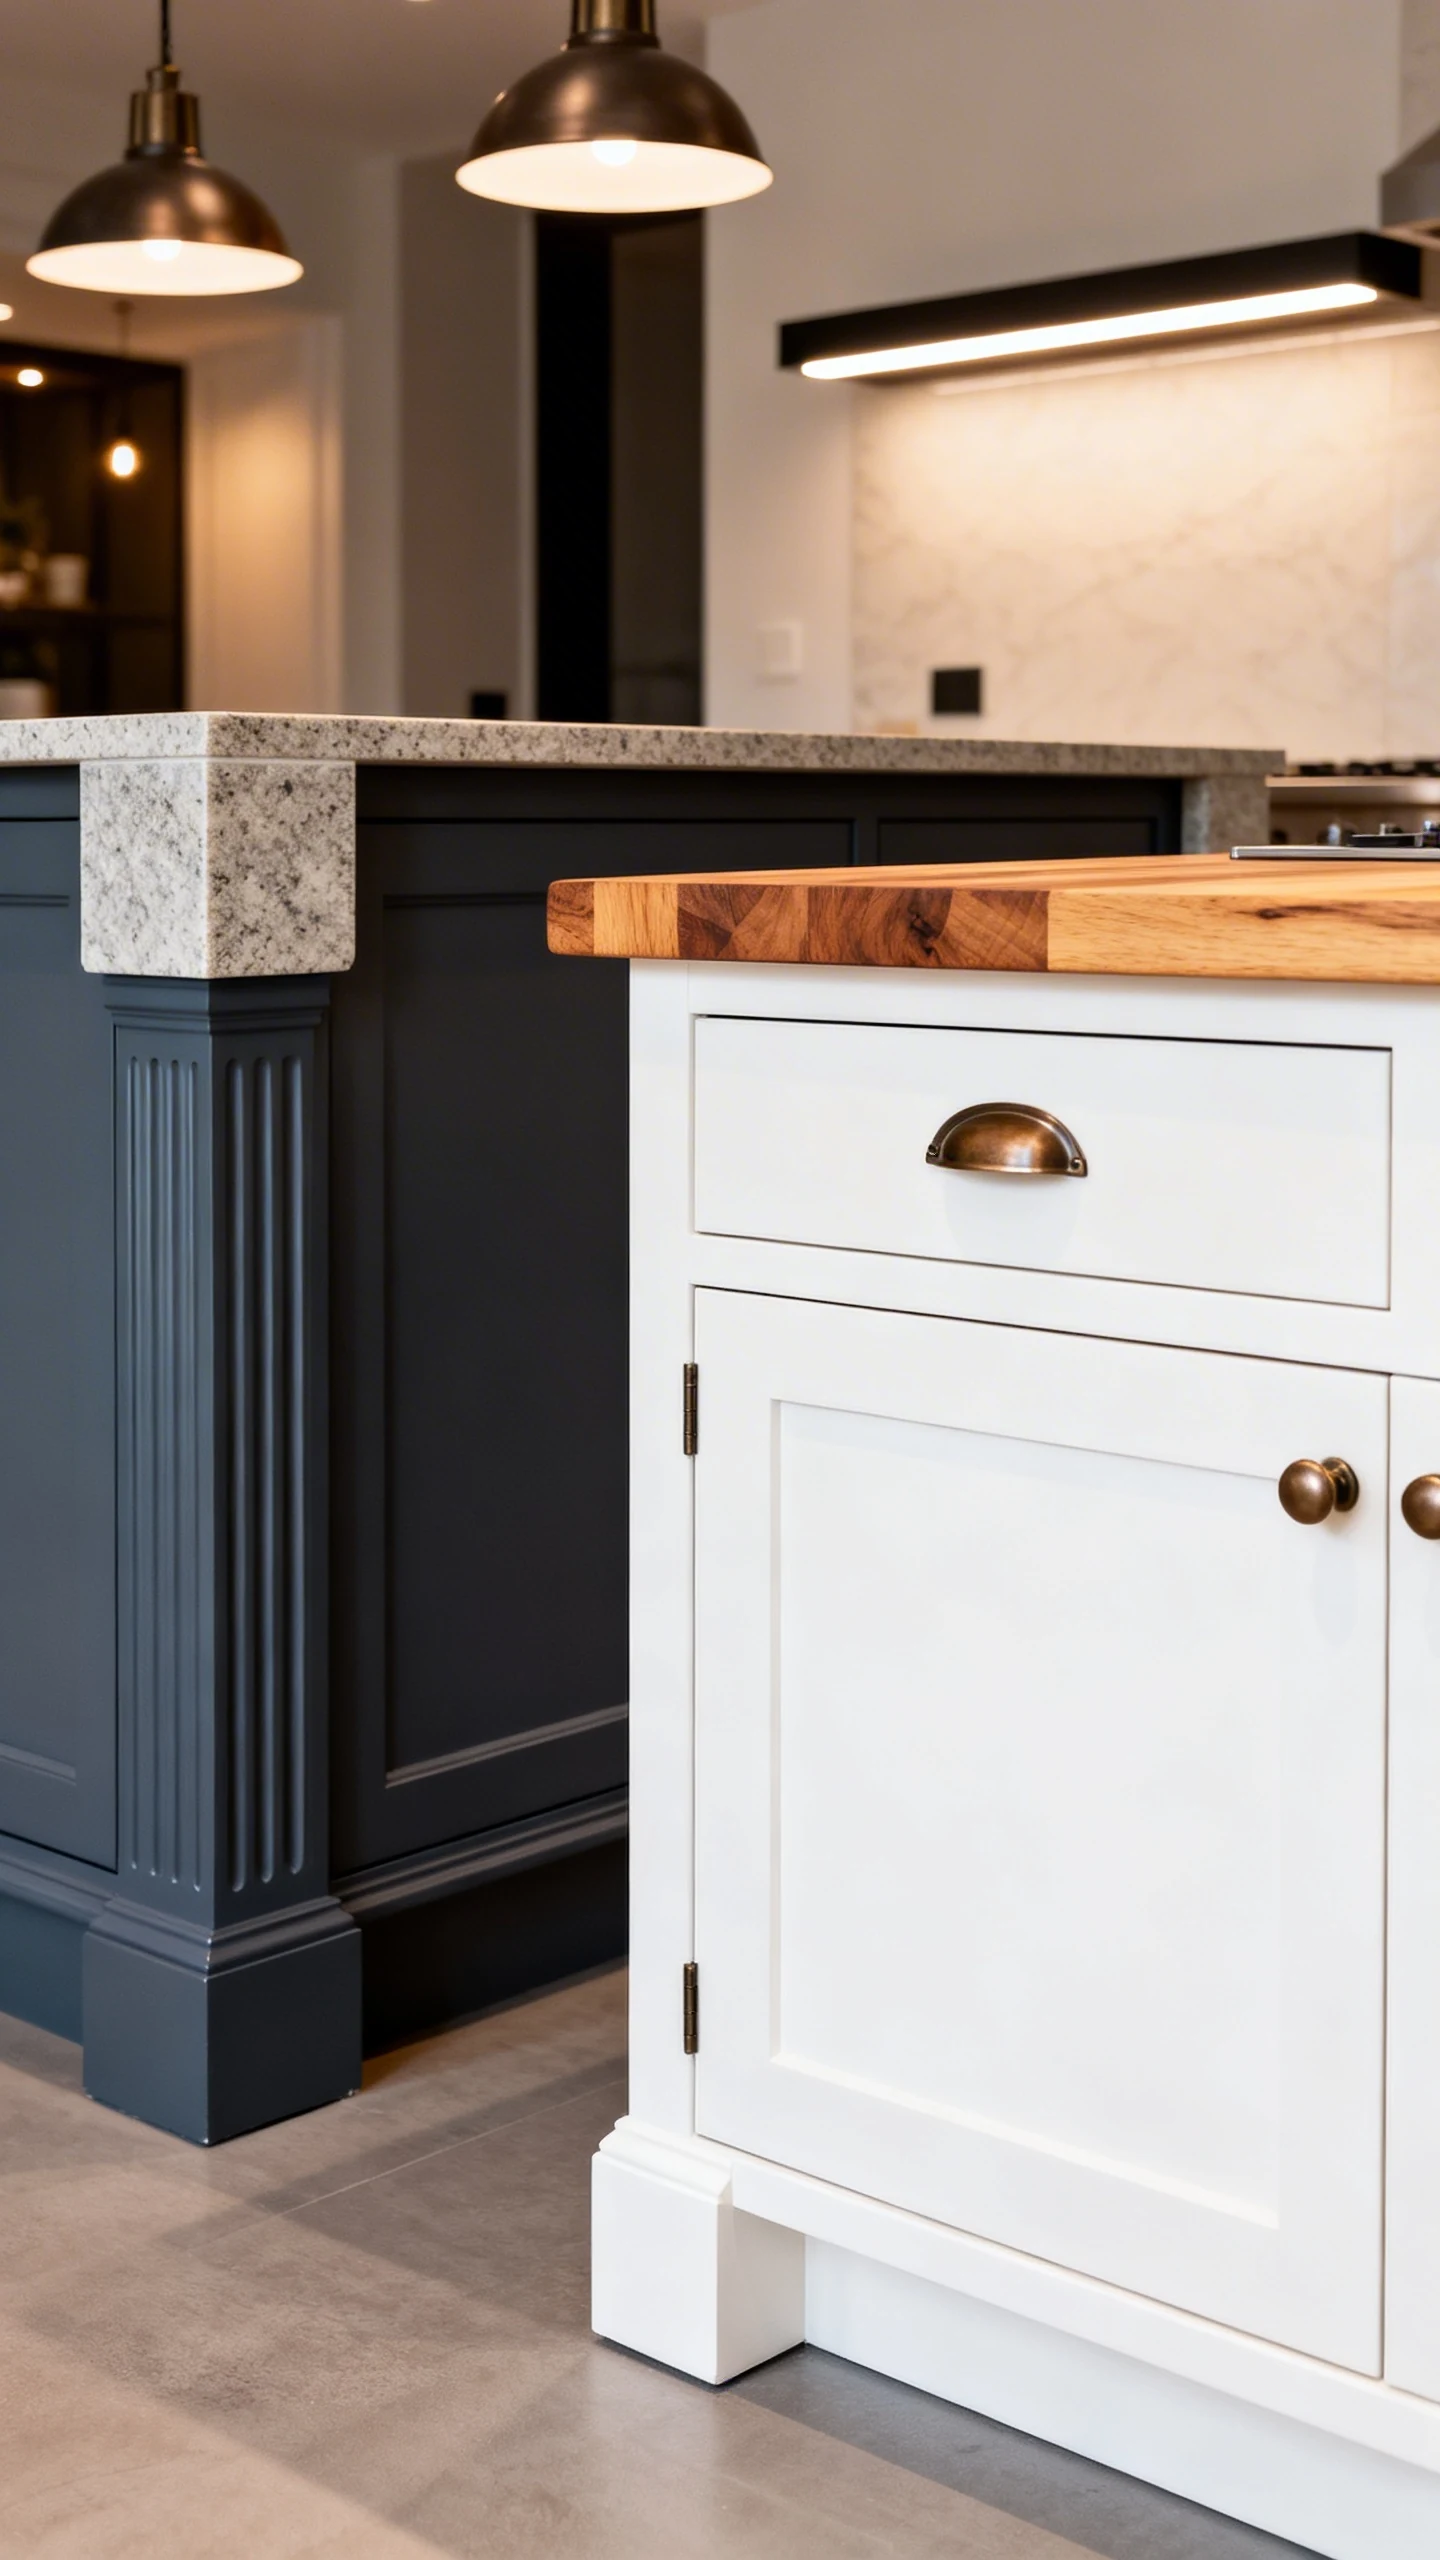
Ready for a little personality? This idea is for you if you want the islands to be the stars of the show. The trick is to make them feel coordinated but not identical. Like a perfectly mismatched outfit that somehow looks expensive.
Think of it as curated contrast: two islands that clearly belong together, but each brings its own thing to the party.
Easy Ways to Create a Designer Contrast
You can vary color, material, or details. Just don’t vary everything at once unless you want your kitchen to look like it’s arguing with itself.
- Color contrast: one island in a moody paint color, one in warm white or natural oak.
- Countertop contrast: stone on one, butcher block on the other for warmth and practicality.
- Detail contrast: fluted panels, reeded glass, or chunky legs on one island only.
- Lighting zones: pendants over the “social” island, a linear fixture over the “work” island.
Want it to feel extra intentional? Repeat one element across both islands—like the same hardware finish or matching waterfall edges. That repetition is what makes your bold choice look “designer” instead of “I couldn’t decide.”
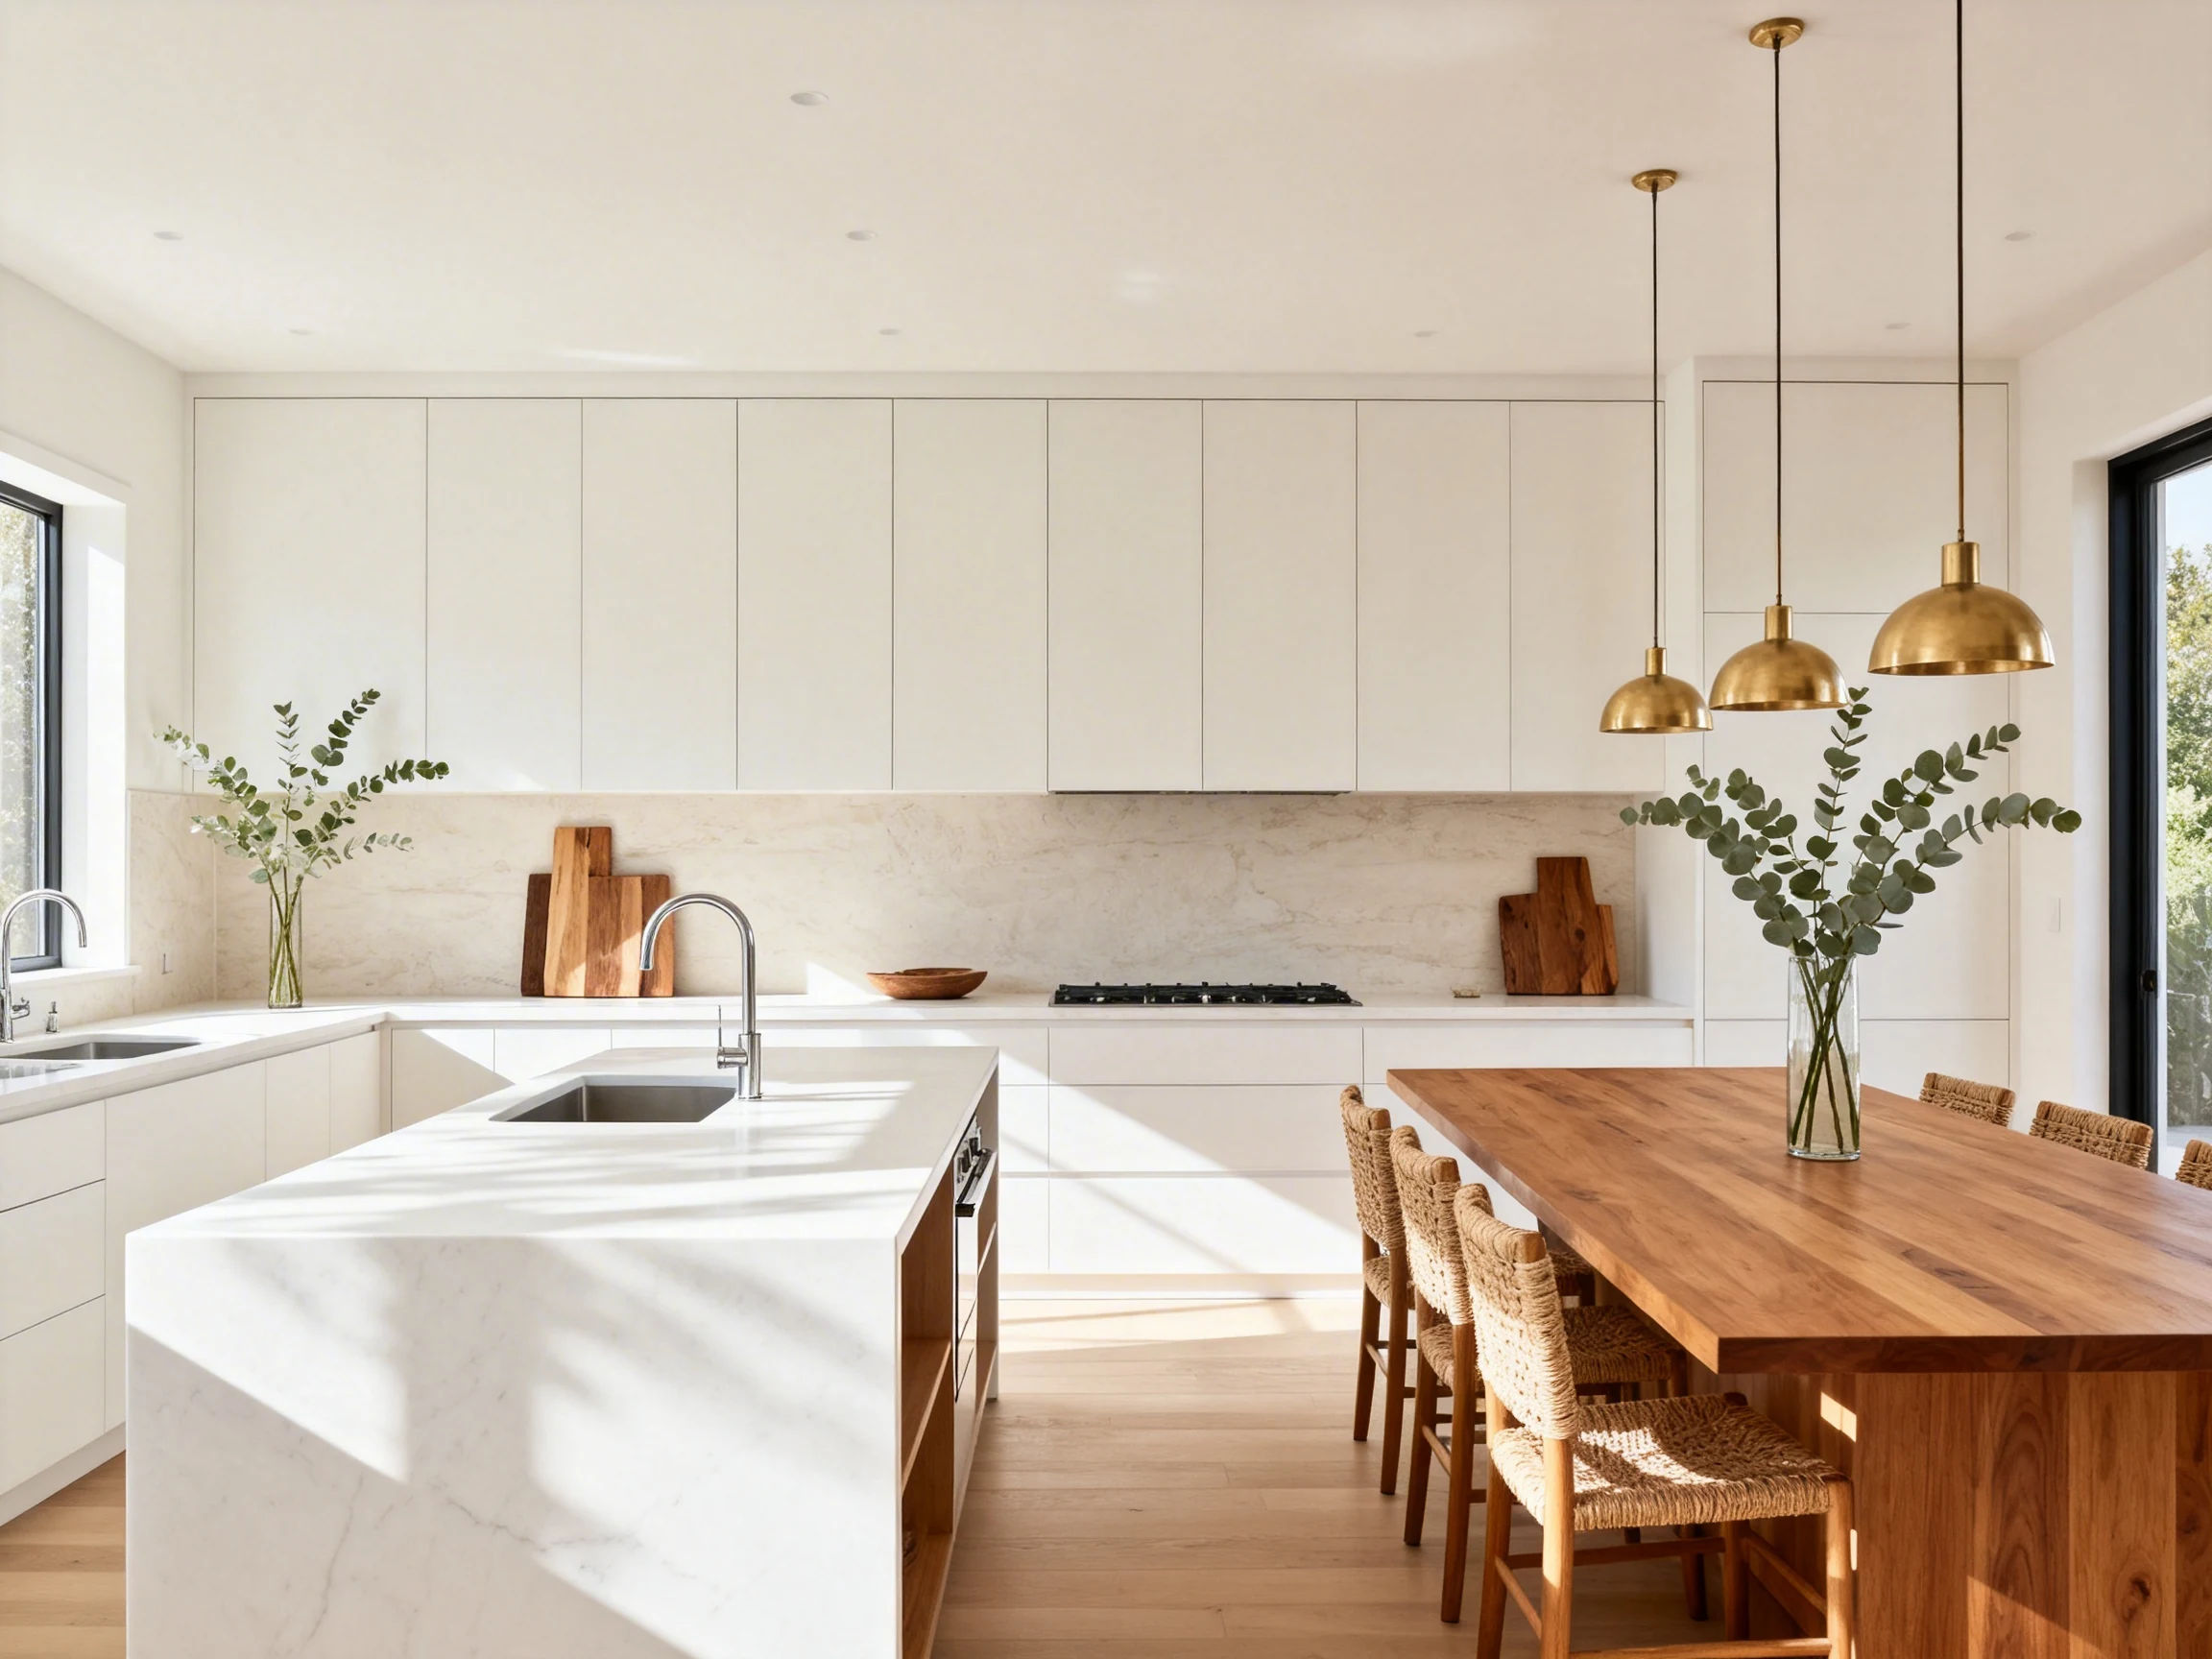
5. The “Cook + Clean” Islands (A Genius Setup for Real Life)
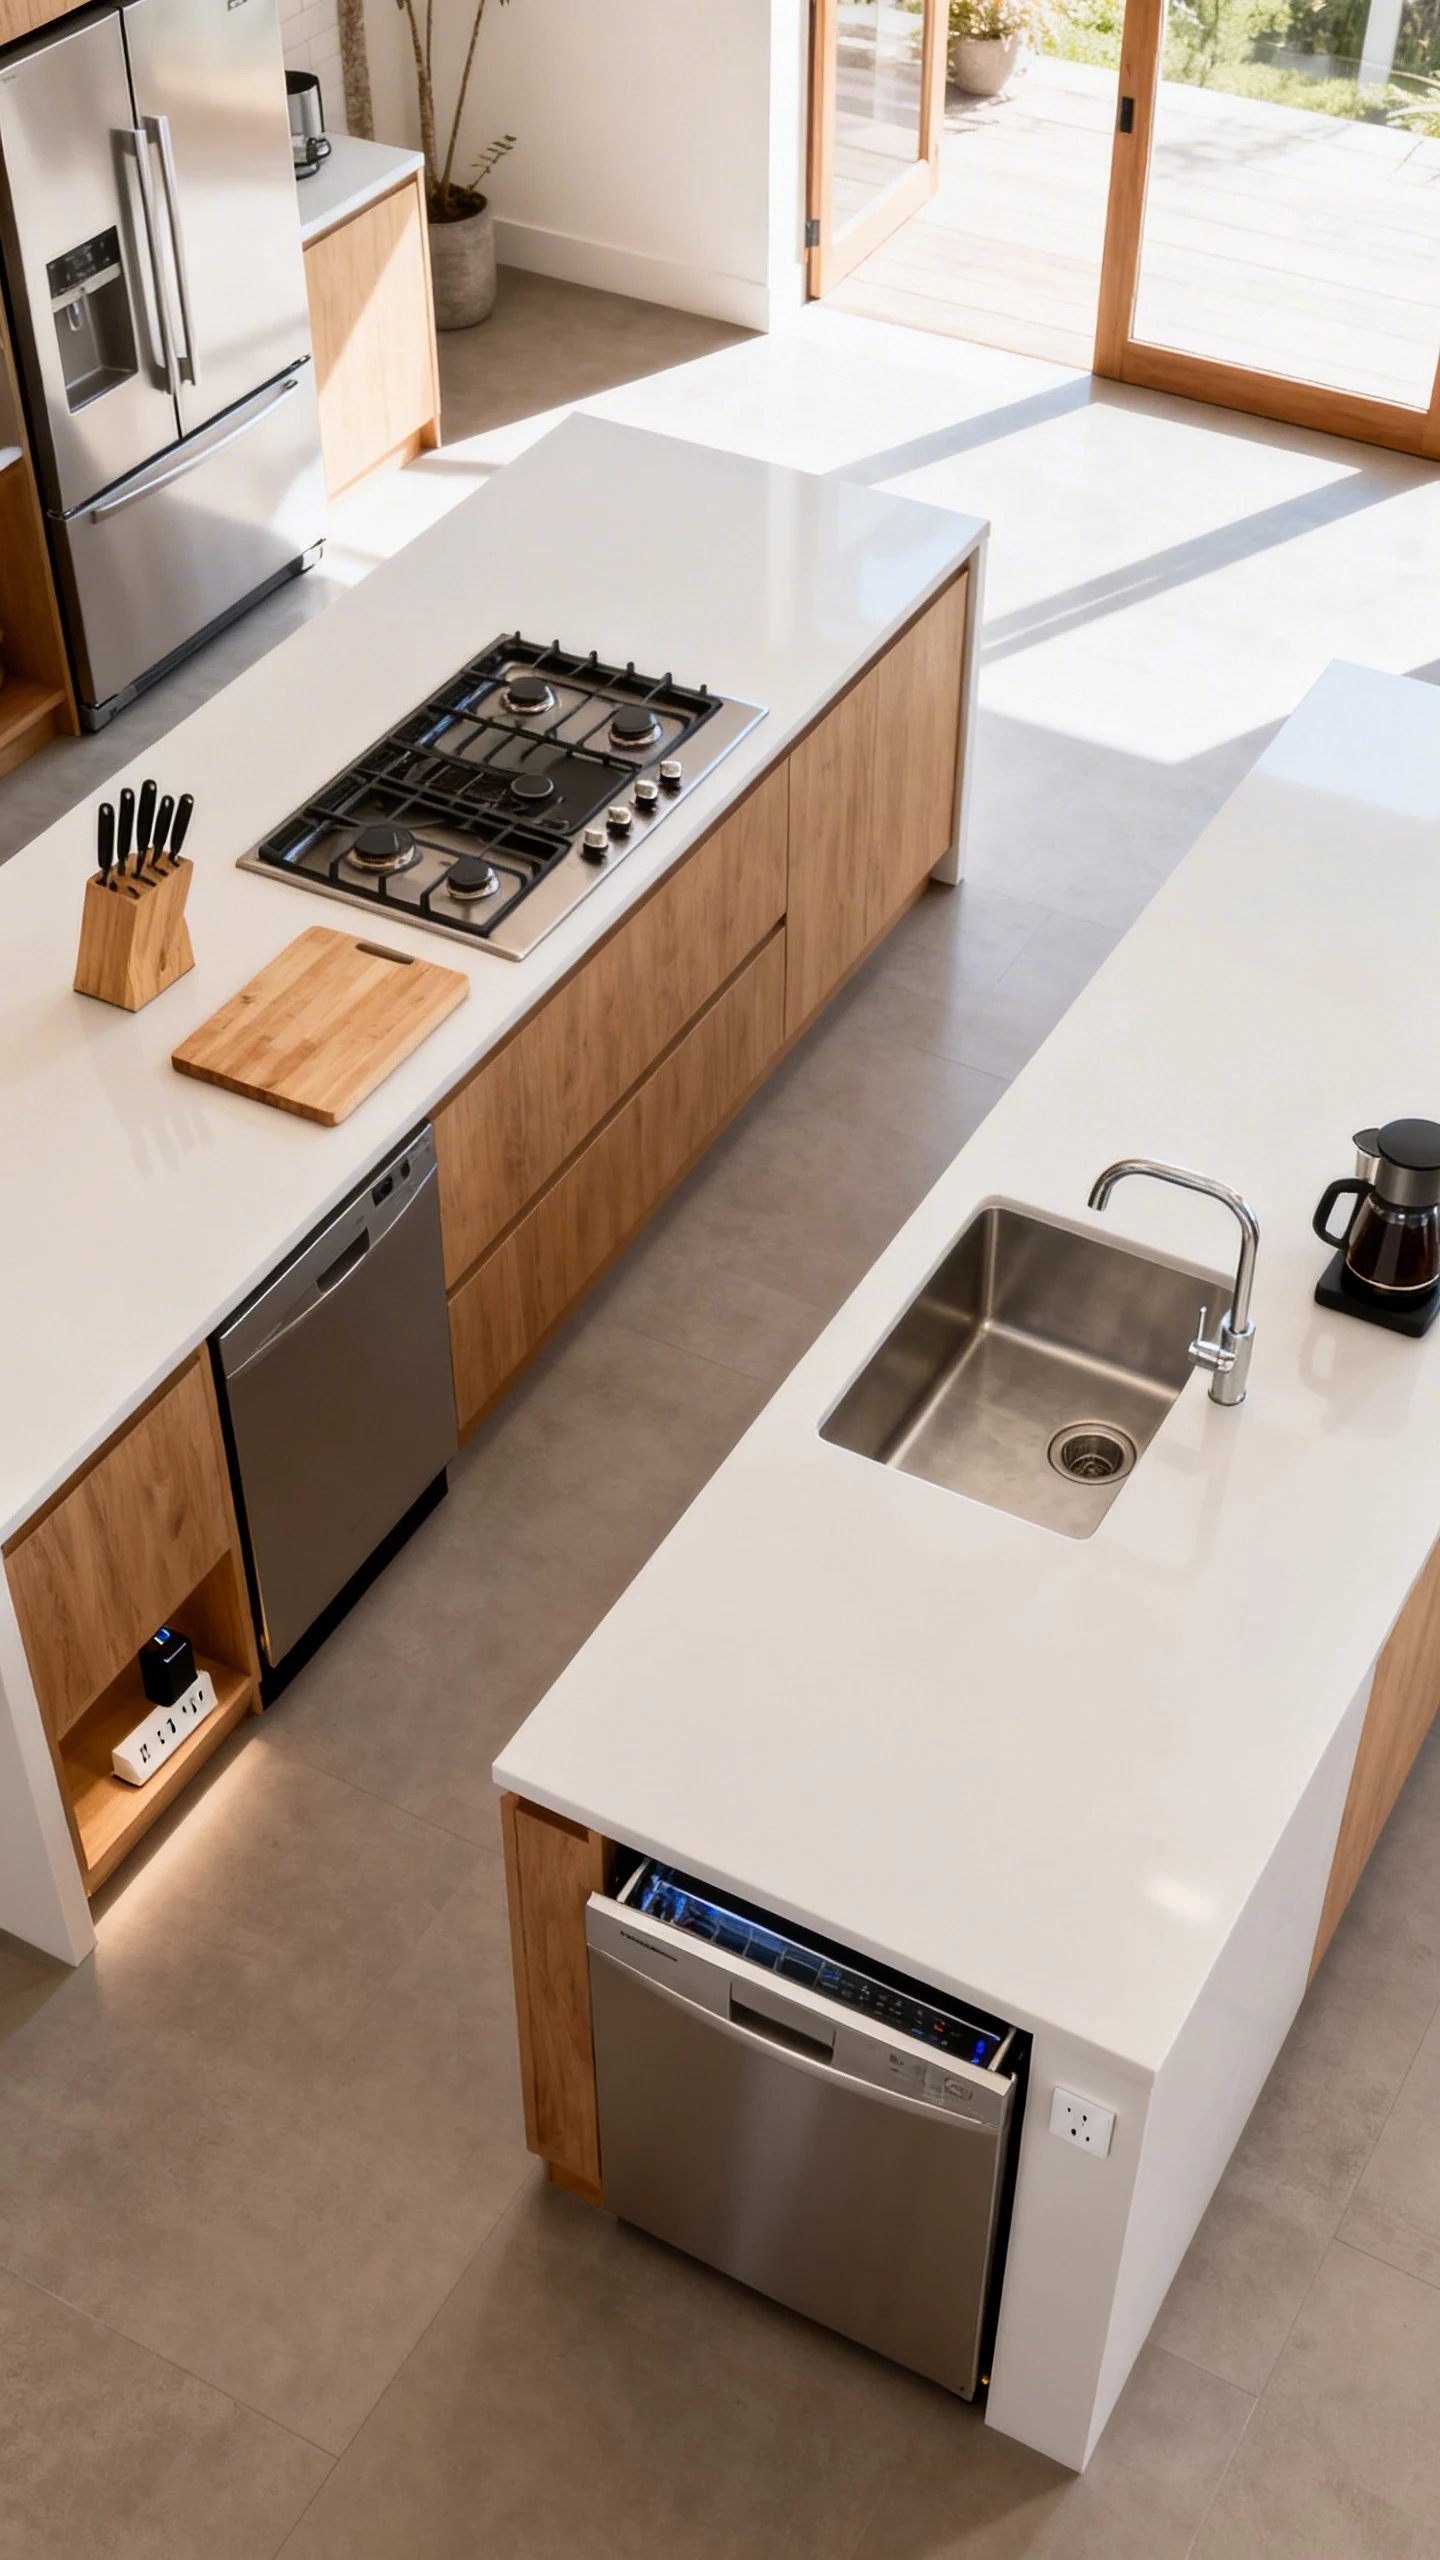
This one is underrated, and I’ll die on this hill. If you cook often, separating cooking and cleaning zones can make your kitchen feel wildly more efficient. Picture one island for prep and plating, and the other dedicated to cleanup and utility.
Yes, it’s basically giving your sink its own VIP lounge. And honestly? It deserves it.
How to Plan the Zones
The cook island stays focused: room to chop, prep, and plate. The clean island holds the sink, dishwasher access, and the less glamorous stuff you don’t want front and center.
- Main sink on the clean island, positioned closer to the dishwasher and dish storage.
- Prep space on the cook island with easy access to the fridge and cooktop.
- Secondary sink (optional) on the cook island if you want next-level convenience.
- Hidden outlets for charging, small appliances, or a stealthy “coffee station” moment.
Spacing: The Make-Or-Break Detail
Double islands need breathing room. If they’re too close, you’ll feel like you’re cooking in a hallway. If they’re too far, you’ll rack up steps like it’s a fitness challenge.
A good rule is to ensure comfortable circulation around seating and appliances, and to think through the “two people cooking at once” scenario. Because it will happen. And someone will be holding a hot sheet pan. Plan accordingly.
Also, if your kitchen opens to another room, place the “clean” island slightly less visible from the main hangout area. Nobody wants to stare at dishes while trying to enjoy a glass of wine. Revolutionary concept, I know.
Double islands aren’t just a flex—they’re a legit lifestyle upgrade when they’re planned with purpose. Pick one clear job for each island, commit to cohesive finishes, and keep your walkways comfy. Then enjoy your new reality: more space, better flow, and a kitchen that looks like it belongs in a home tour you’d definitely binge-watch.