5 Big Bloxburg Kitchen Ideas That’ll Make Your House the Server’s Favorite
You know that moment when you walk into someone’s Bloxburg kitchen and you’re like… “Oh. So we’re doing money money.” Yeah. That’s the vibe we’re chasing.
If you want a kitchen that looks expensive, functions well, and makes guests “accidentally” linger near your fridge, these big bloxburg kitchen ideas are about to carry your whole build. Let’s get into it.
1. Build A Grand Layout That Feels Like A Real Luxury Kitchen
A big kitchen is basically a flex. But if the layout is chaotic, it’s giving “I bought a mansion and forgot what rooms do.” So first, make it make sense.
Start by choosing one main layout style and commit. Big kitchens look best when they have clear zones: cooking, prepping, cleaning, and “standing around pretending you’re on a cooking show.”
Go-To Big Layouts That Always Work
IMO, these are the layouts that instantly read as “designer kitchen” in Bloxburg.
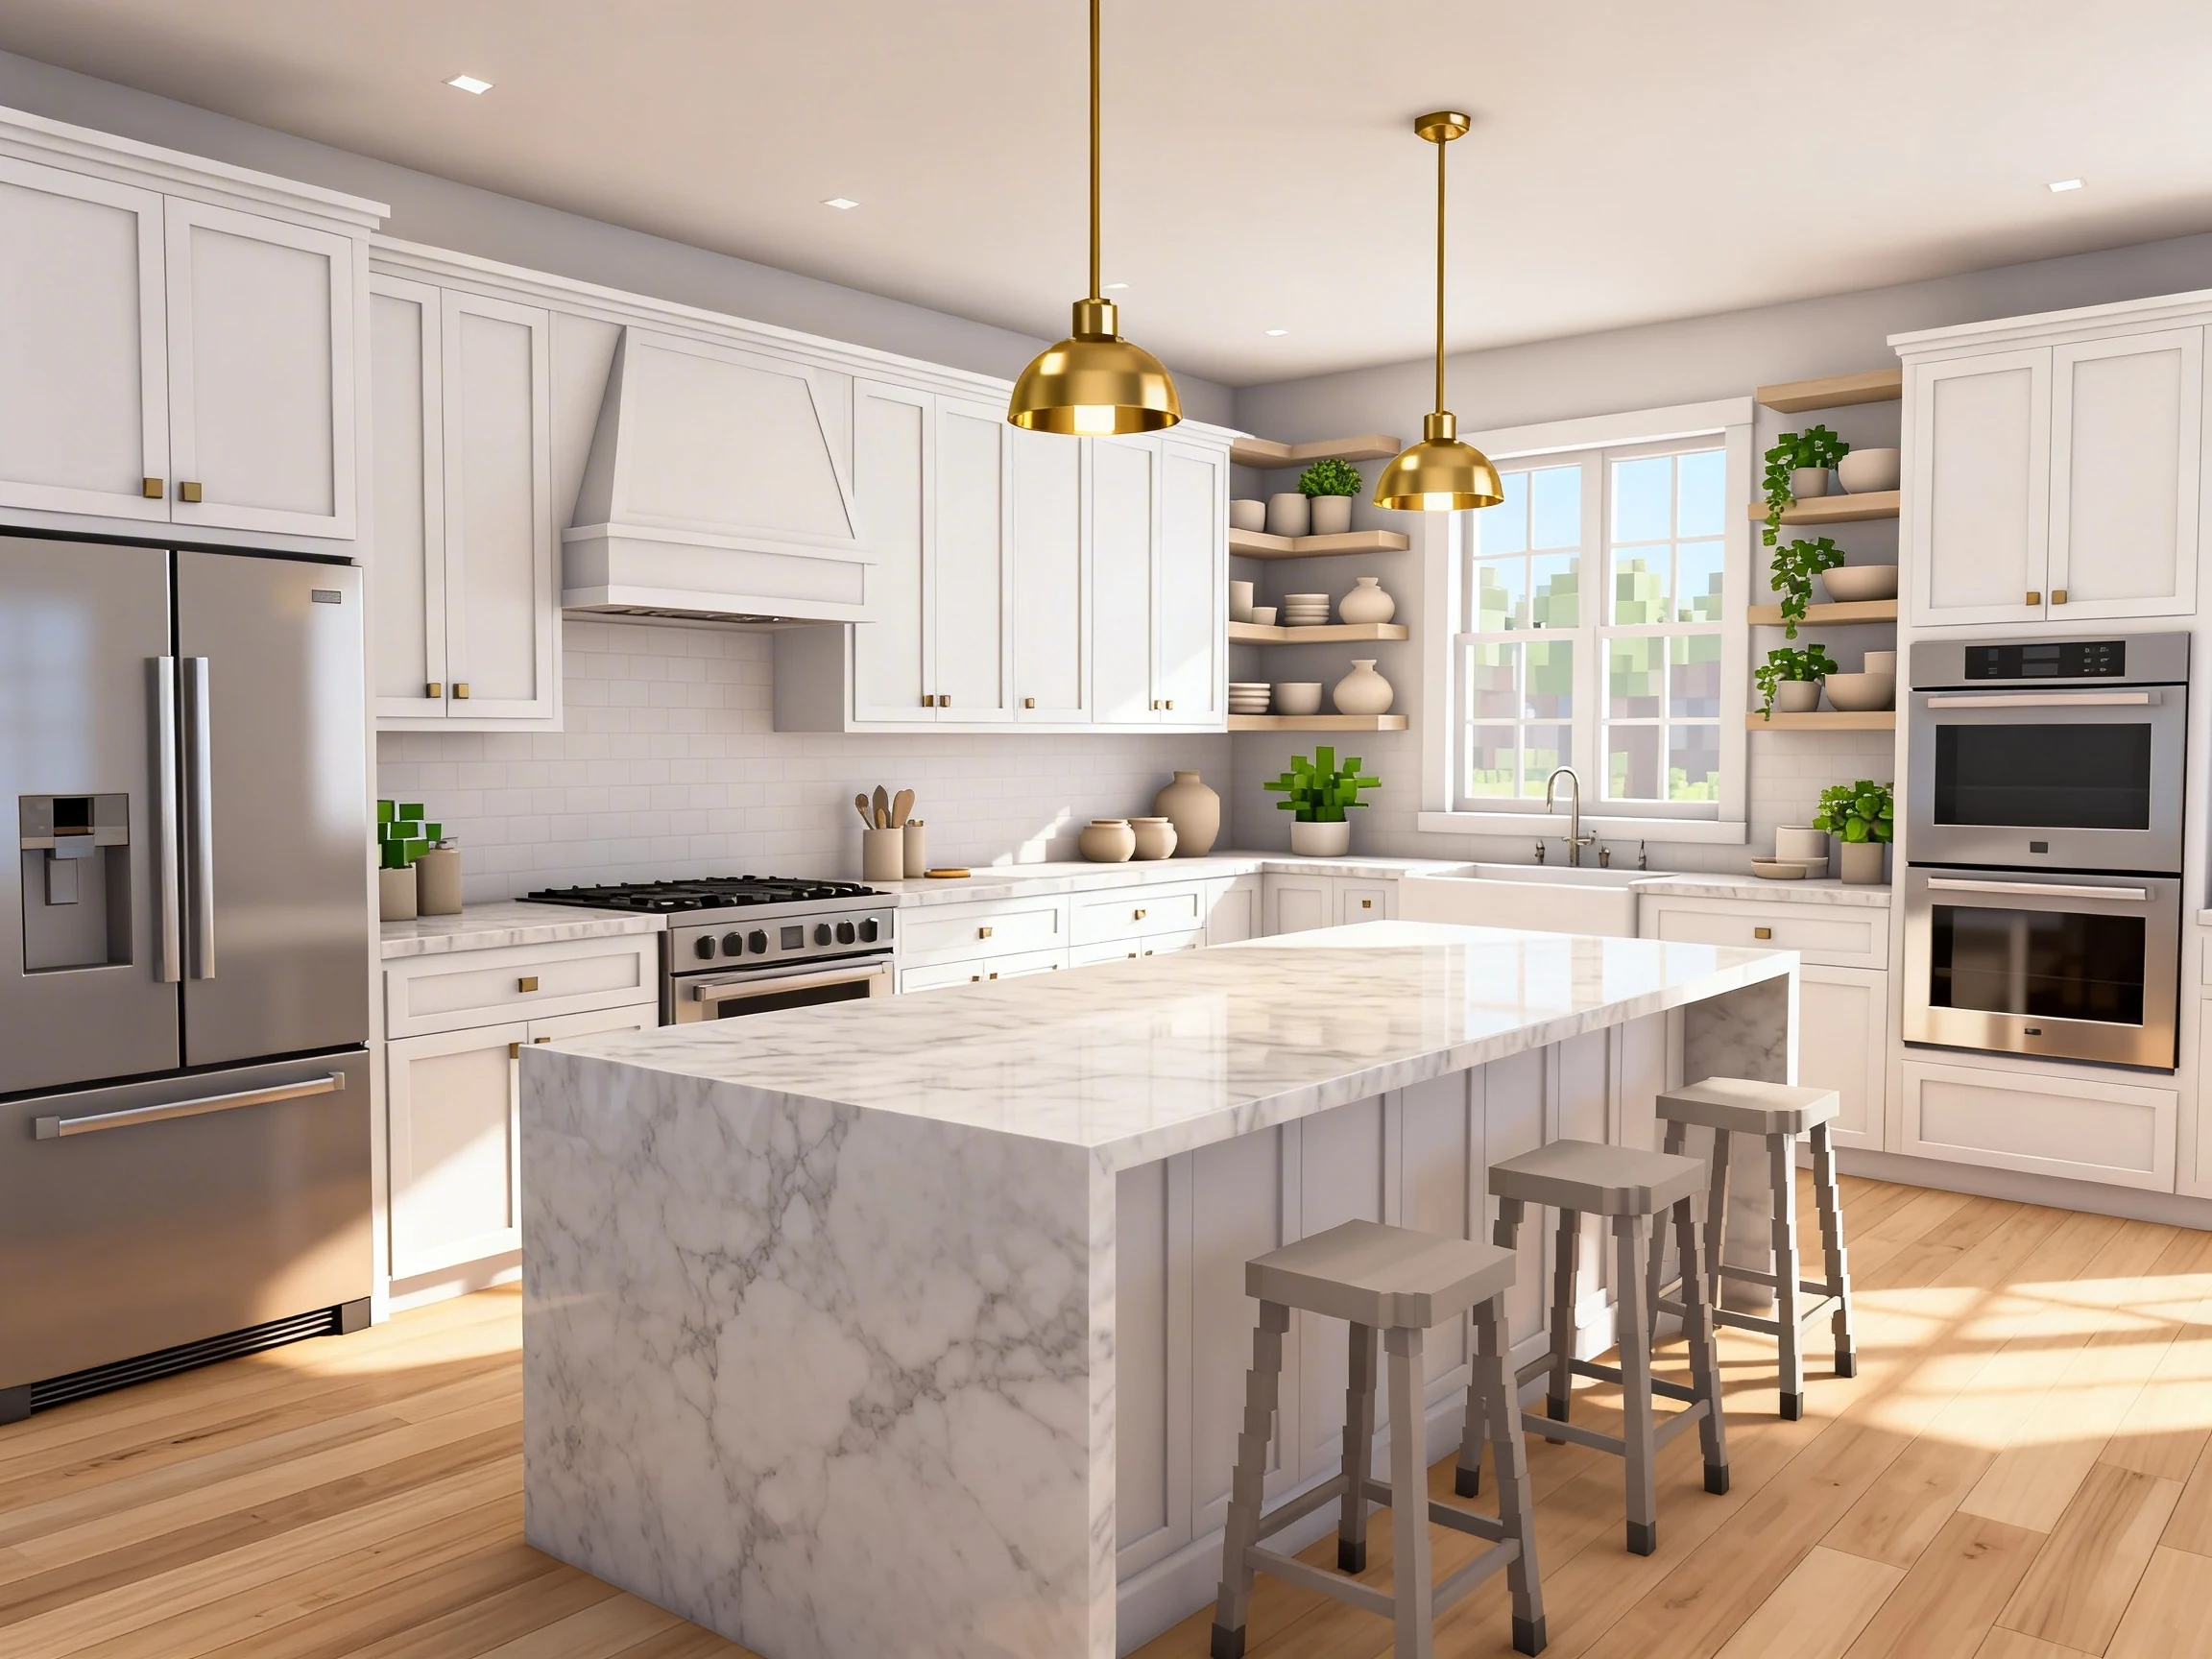
- U-Shape + Island: Maximum counters, super practical, looks rich.
- L-Shape + Double Island: Yes, it’s extra. That’s the point.
- Galley + Back Wall Storage: Sleek, modern, and weirdly satisfying.
- Open Concept Kitchen + Dining: Perfect for those “hosting” roleplays.
Quick Layout Tips (So It Doesn’t Feel Empty)
A large room can look unfinished if everything hugs the walls. Spread things out like you meant to.
- Leave 2–3 tiles of walkway around islands so it feels spacious, not cramped.
- Add a butler’s pantry wall (even a fake one) for depth and realism.
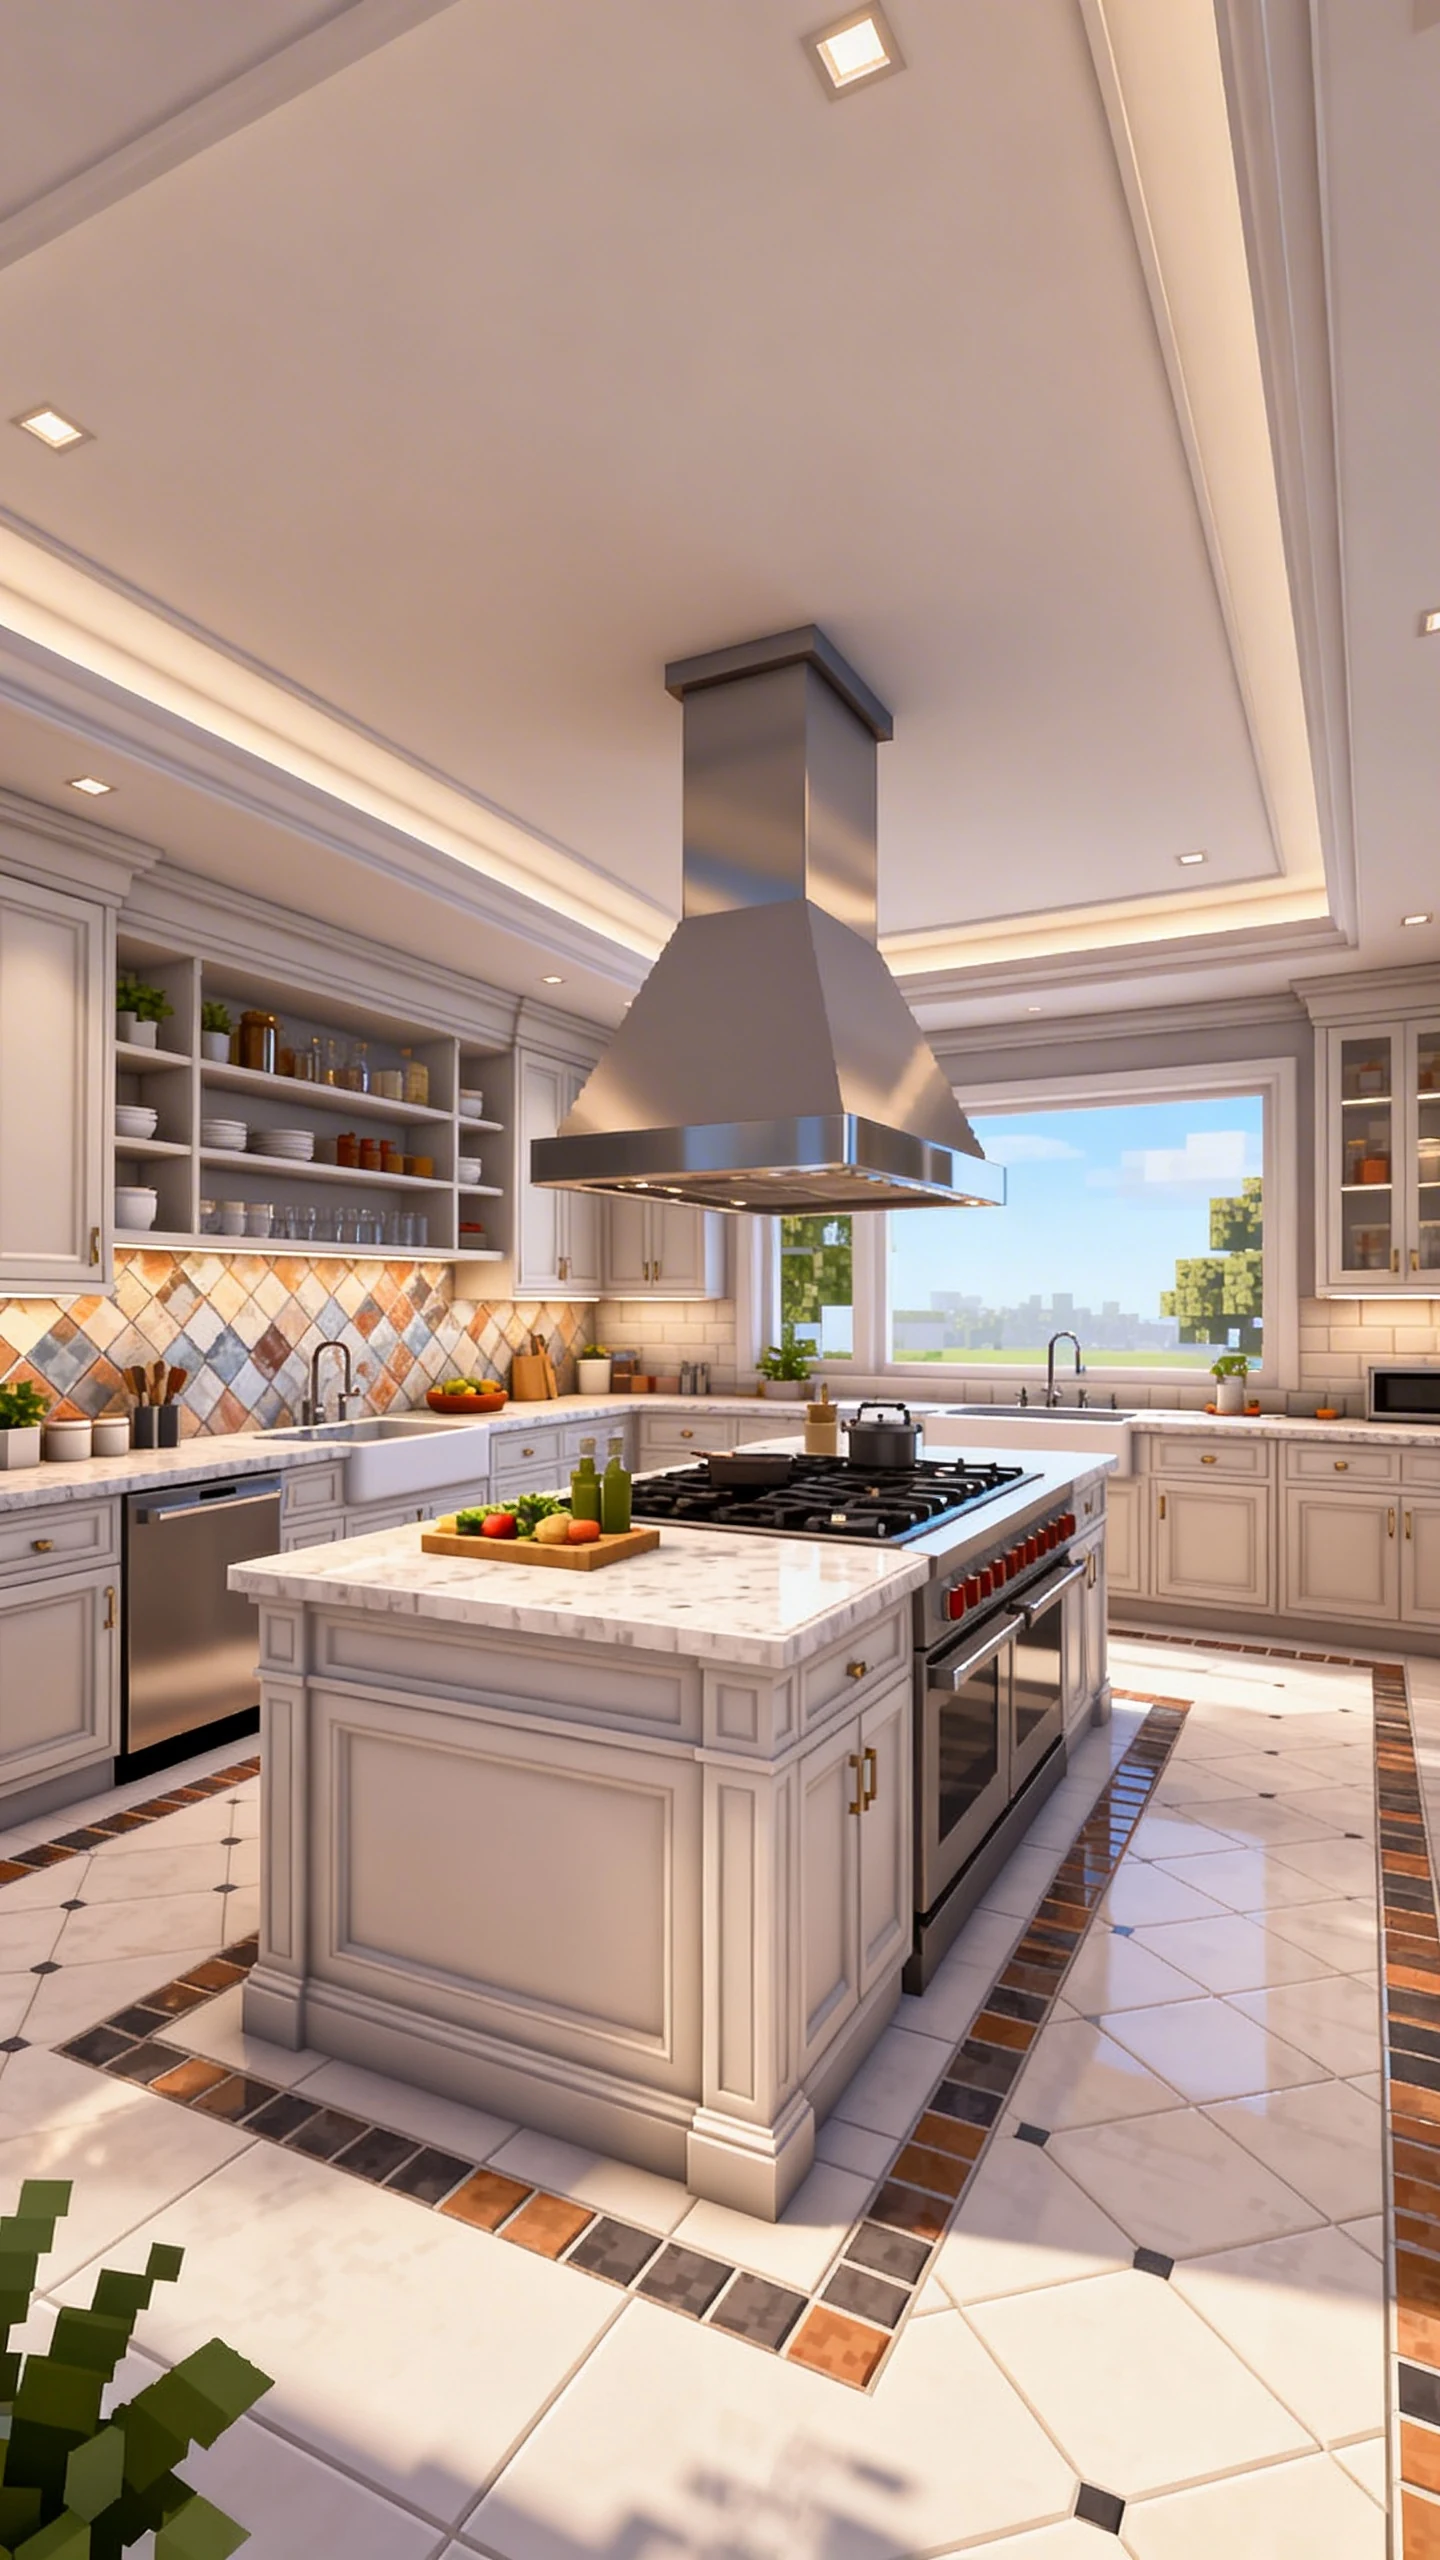
- Use a statement focal point like a giant hood, feature backsplash, or window wall.
And please—if your fridge is ten miles from your sink, your Sim-self is exhausted already. Keep the “work triangle” tight-ish, even in a big space.
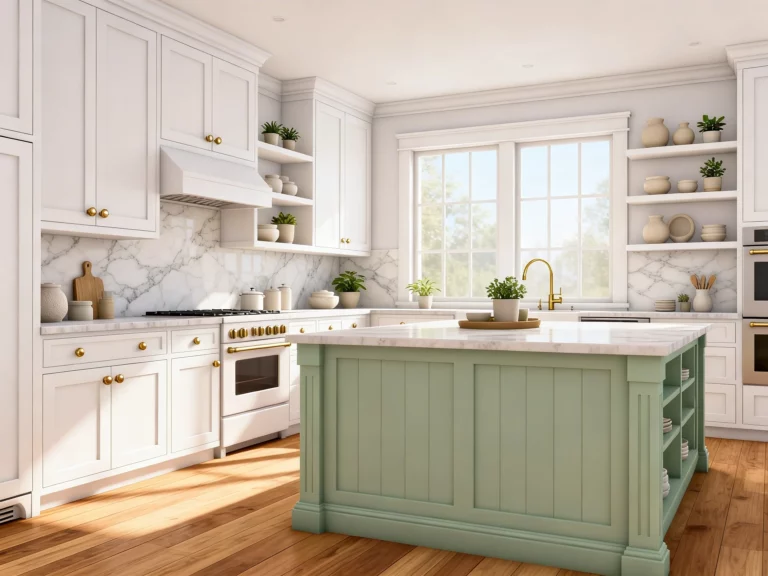
2. Go Oversized With A Two-Island Setup (Yes, You Can)
If you want your kitchen to scream “custom build,” a two-island setup is the fastest way. It’s dramatic, it’s functional, and it makes your kitchen feel like it belongs in a celebrity home tour.
The trick is giving each island a job. One island doing everything is fine. Two islands doing separate things is chef’s kiss.
How To Assign Each Island A Purpose
Think of it like a duo: one does the work, one does the vibes.
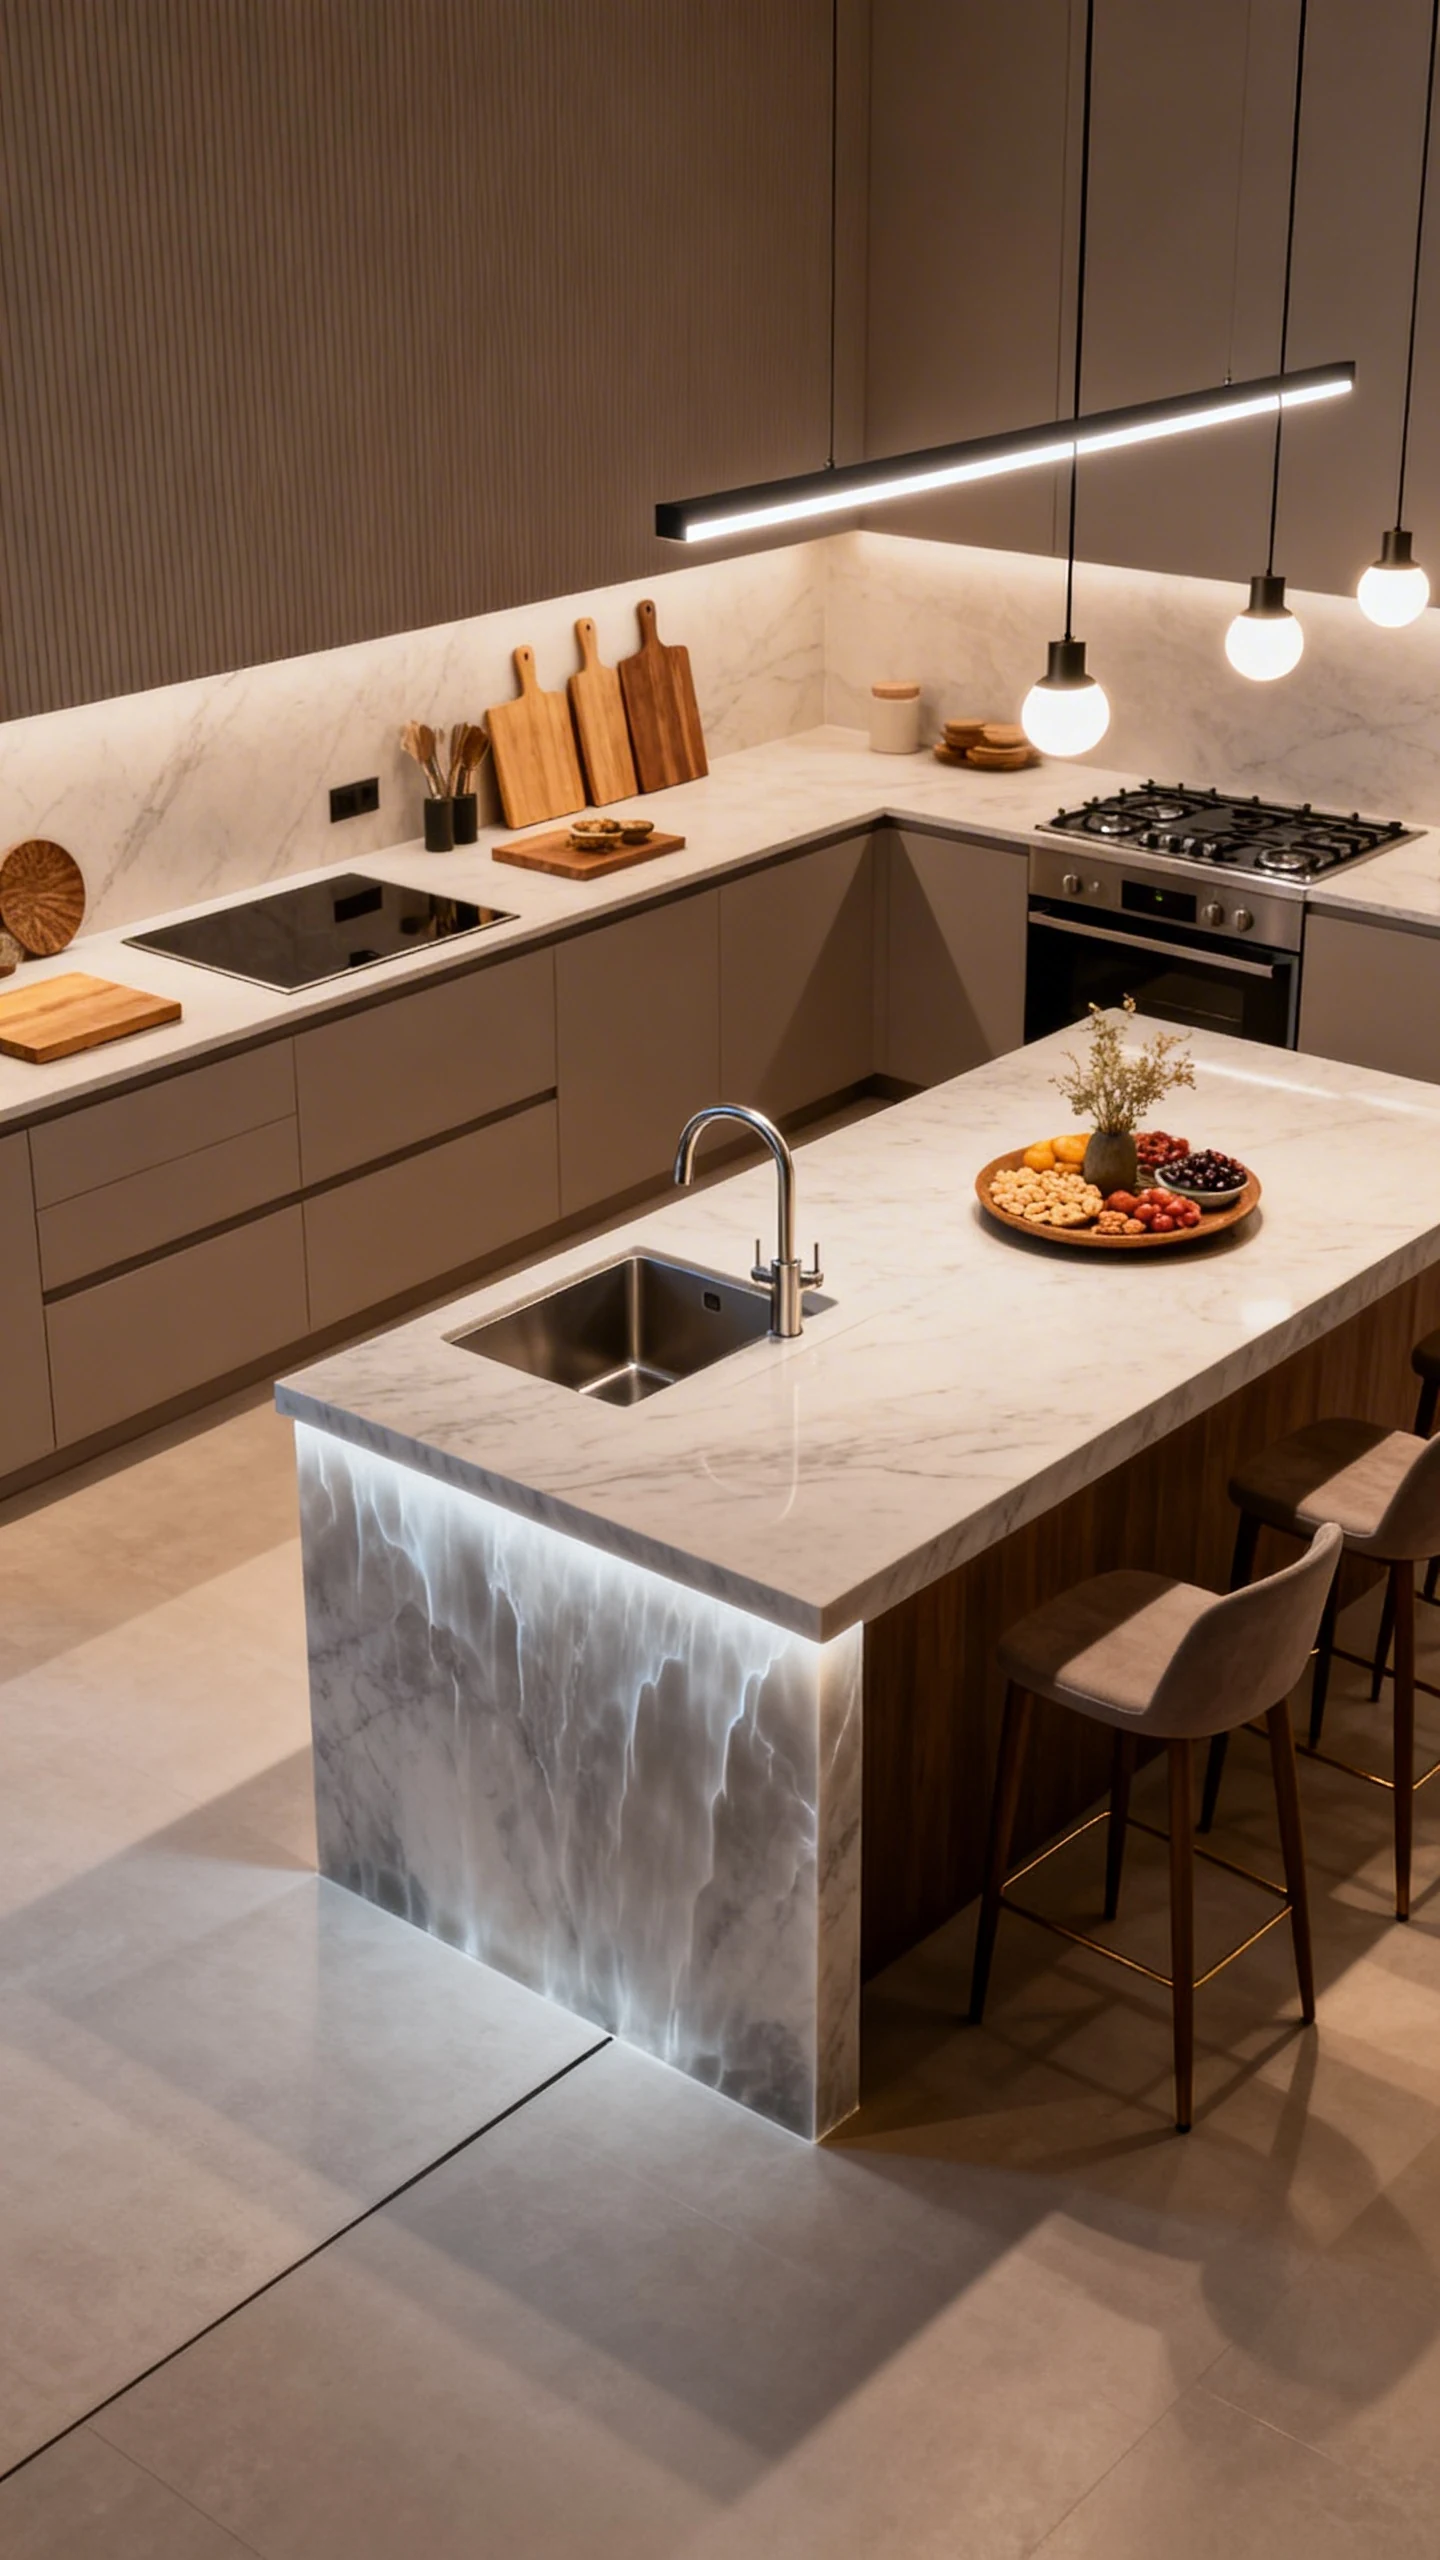
- Prep Island: Add sink, counters, cutting-board decor, maybe a cooktop.
- Social Island: Bar stools, snacks, centerpiece, cozy lighting above.
FYI, the “social island” is where everyone gathers while you pretend you’re not stressed about matching cabinets.
Make It Look Intentional (Not Like You Duplicated It)
Two islands can look copy-paste if they’re identical. Give them different shapes or detailing.
- Use different countertop thickness for each island if your style allows.
- Add waterfall edges on the social island for a modern look.
- Place pendant lights above one island and a linear fixture above the other.
- Decorate one island minimally and the other more “lived-in.”
Also: don’t be afraid of big spacing. A luxury kitchen feels like you could do a runway walk between islands. Could you? Probably. Would you? Absolutely.
3. Elevate Cabinets With A Custom “Built-In” Wall
Cabinets are where Bloxburg kitchens either look basic or look like a Pinterest board came to life. And in a big kitchen, standard cabinets alone can feel… underwhelming.
So here’s the move: create a full built-in cabinet wall that frames your appliances and makes everything look custom.
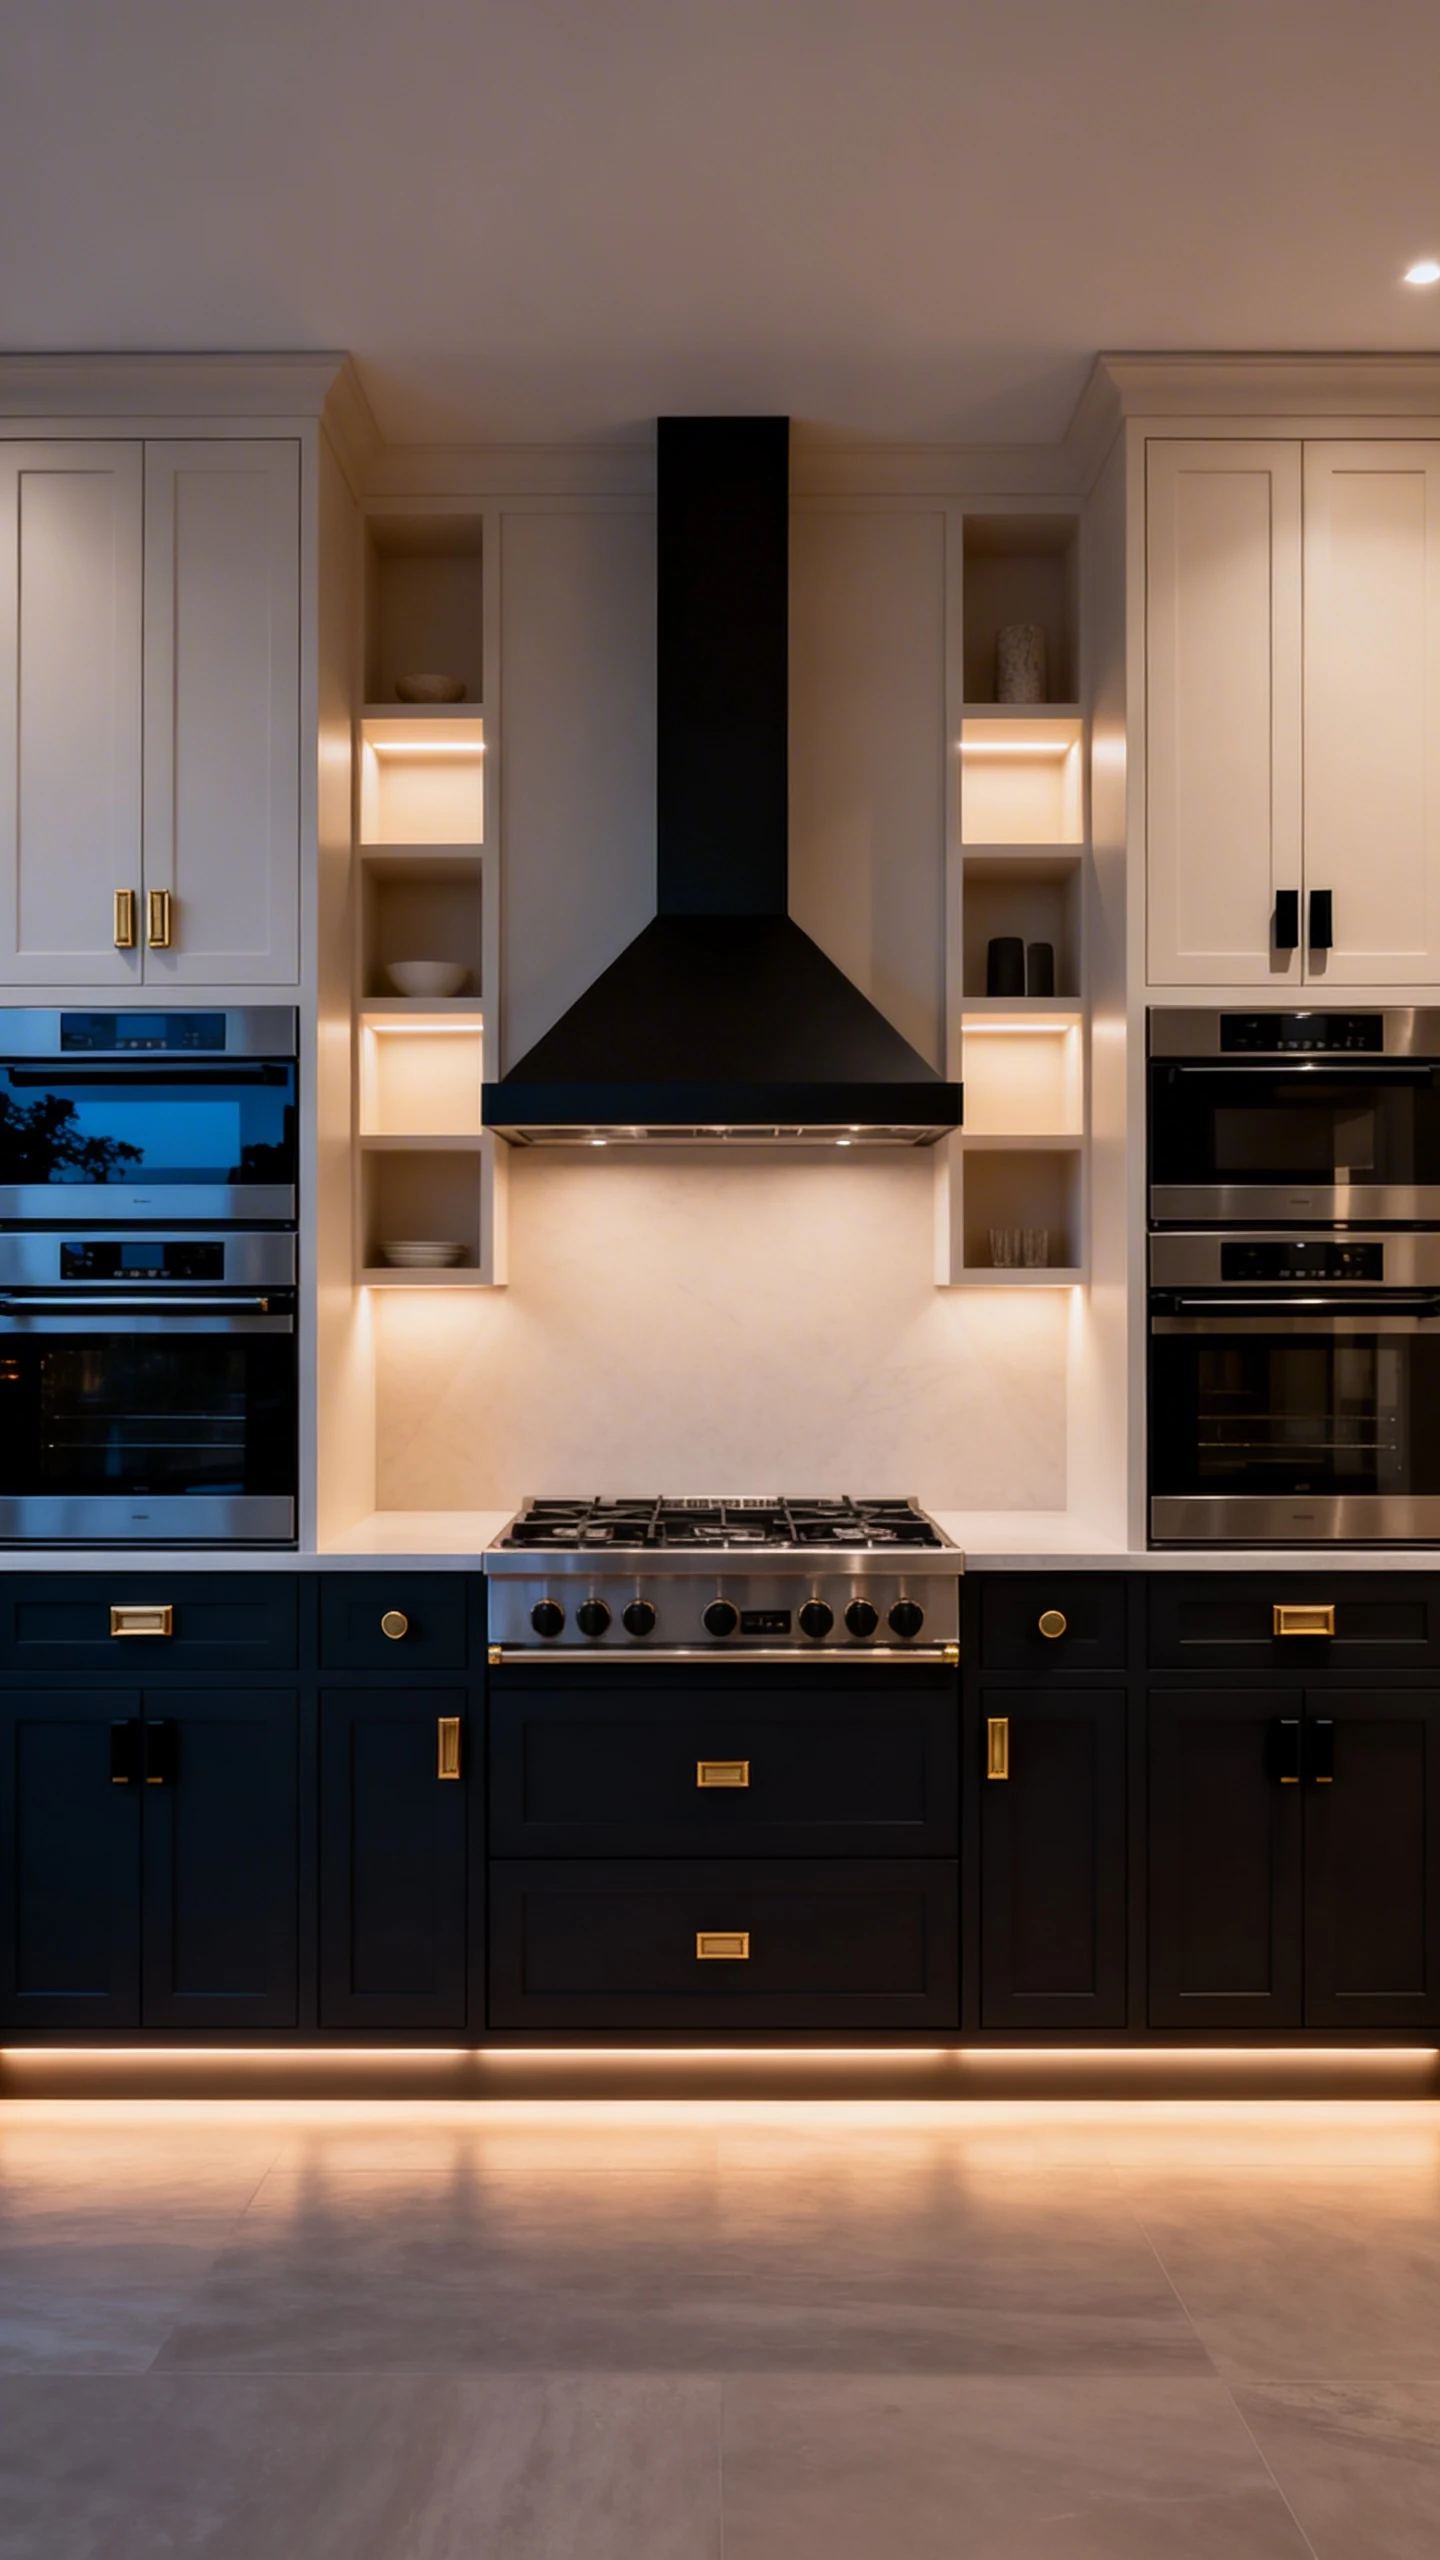
What To Include In A Built-In Feature Wall
This is your “wow” moment wall. Give it structure and symmetry.
- Centered stove with a bold hood and matching cabinets on both sides
- Double ovens or stacked microwave/oven look for realism
- Tall pantry cabinets to stretch up and make ceilings feel higher
- Open shelving niches for decor breaks (so it’s not a cabinet brick)
If you have the space, add a “coffee bar” section into the wall. It’s adorable and makes you look like you have your life together. Even if you absolutely don’t.
Cabinet Styling Tricks That Scream High-End
Little changes make a massive difference, especially in a big build.
- Mix upper cabinets + open shelves so the wall doesn’t feel heavy.
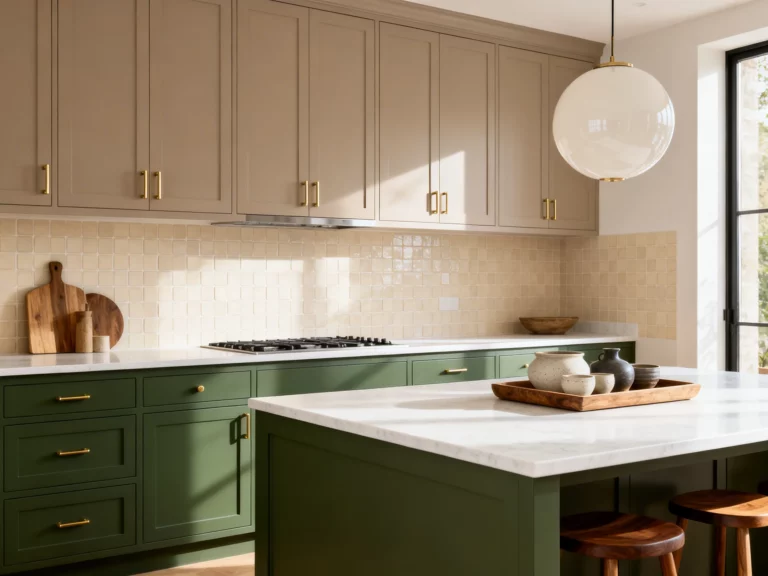
- Use two-tone cabinets (light uppers, darker lowers) for depth.
- Add under-cabinet lighting to make counters glow at night.
- Choose a statement hardware color (matte black, brass, or chrome).
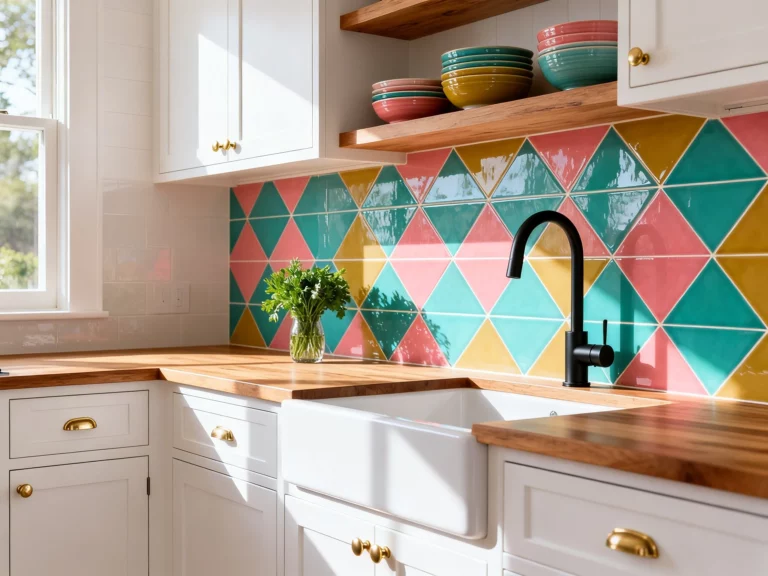
And if you’re going modern? Flat-front cabinets + clean lines + minimal clutter. If you’re going cozy? Add trim, warm colors, and a backsplash with personality.
4. Create A Walk-In Pantry Or “Hidden” Prep Room
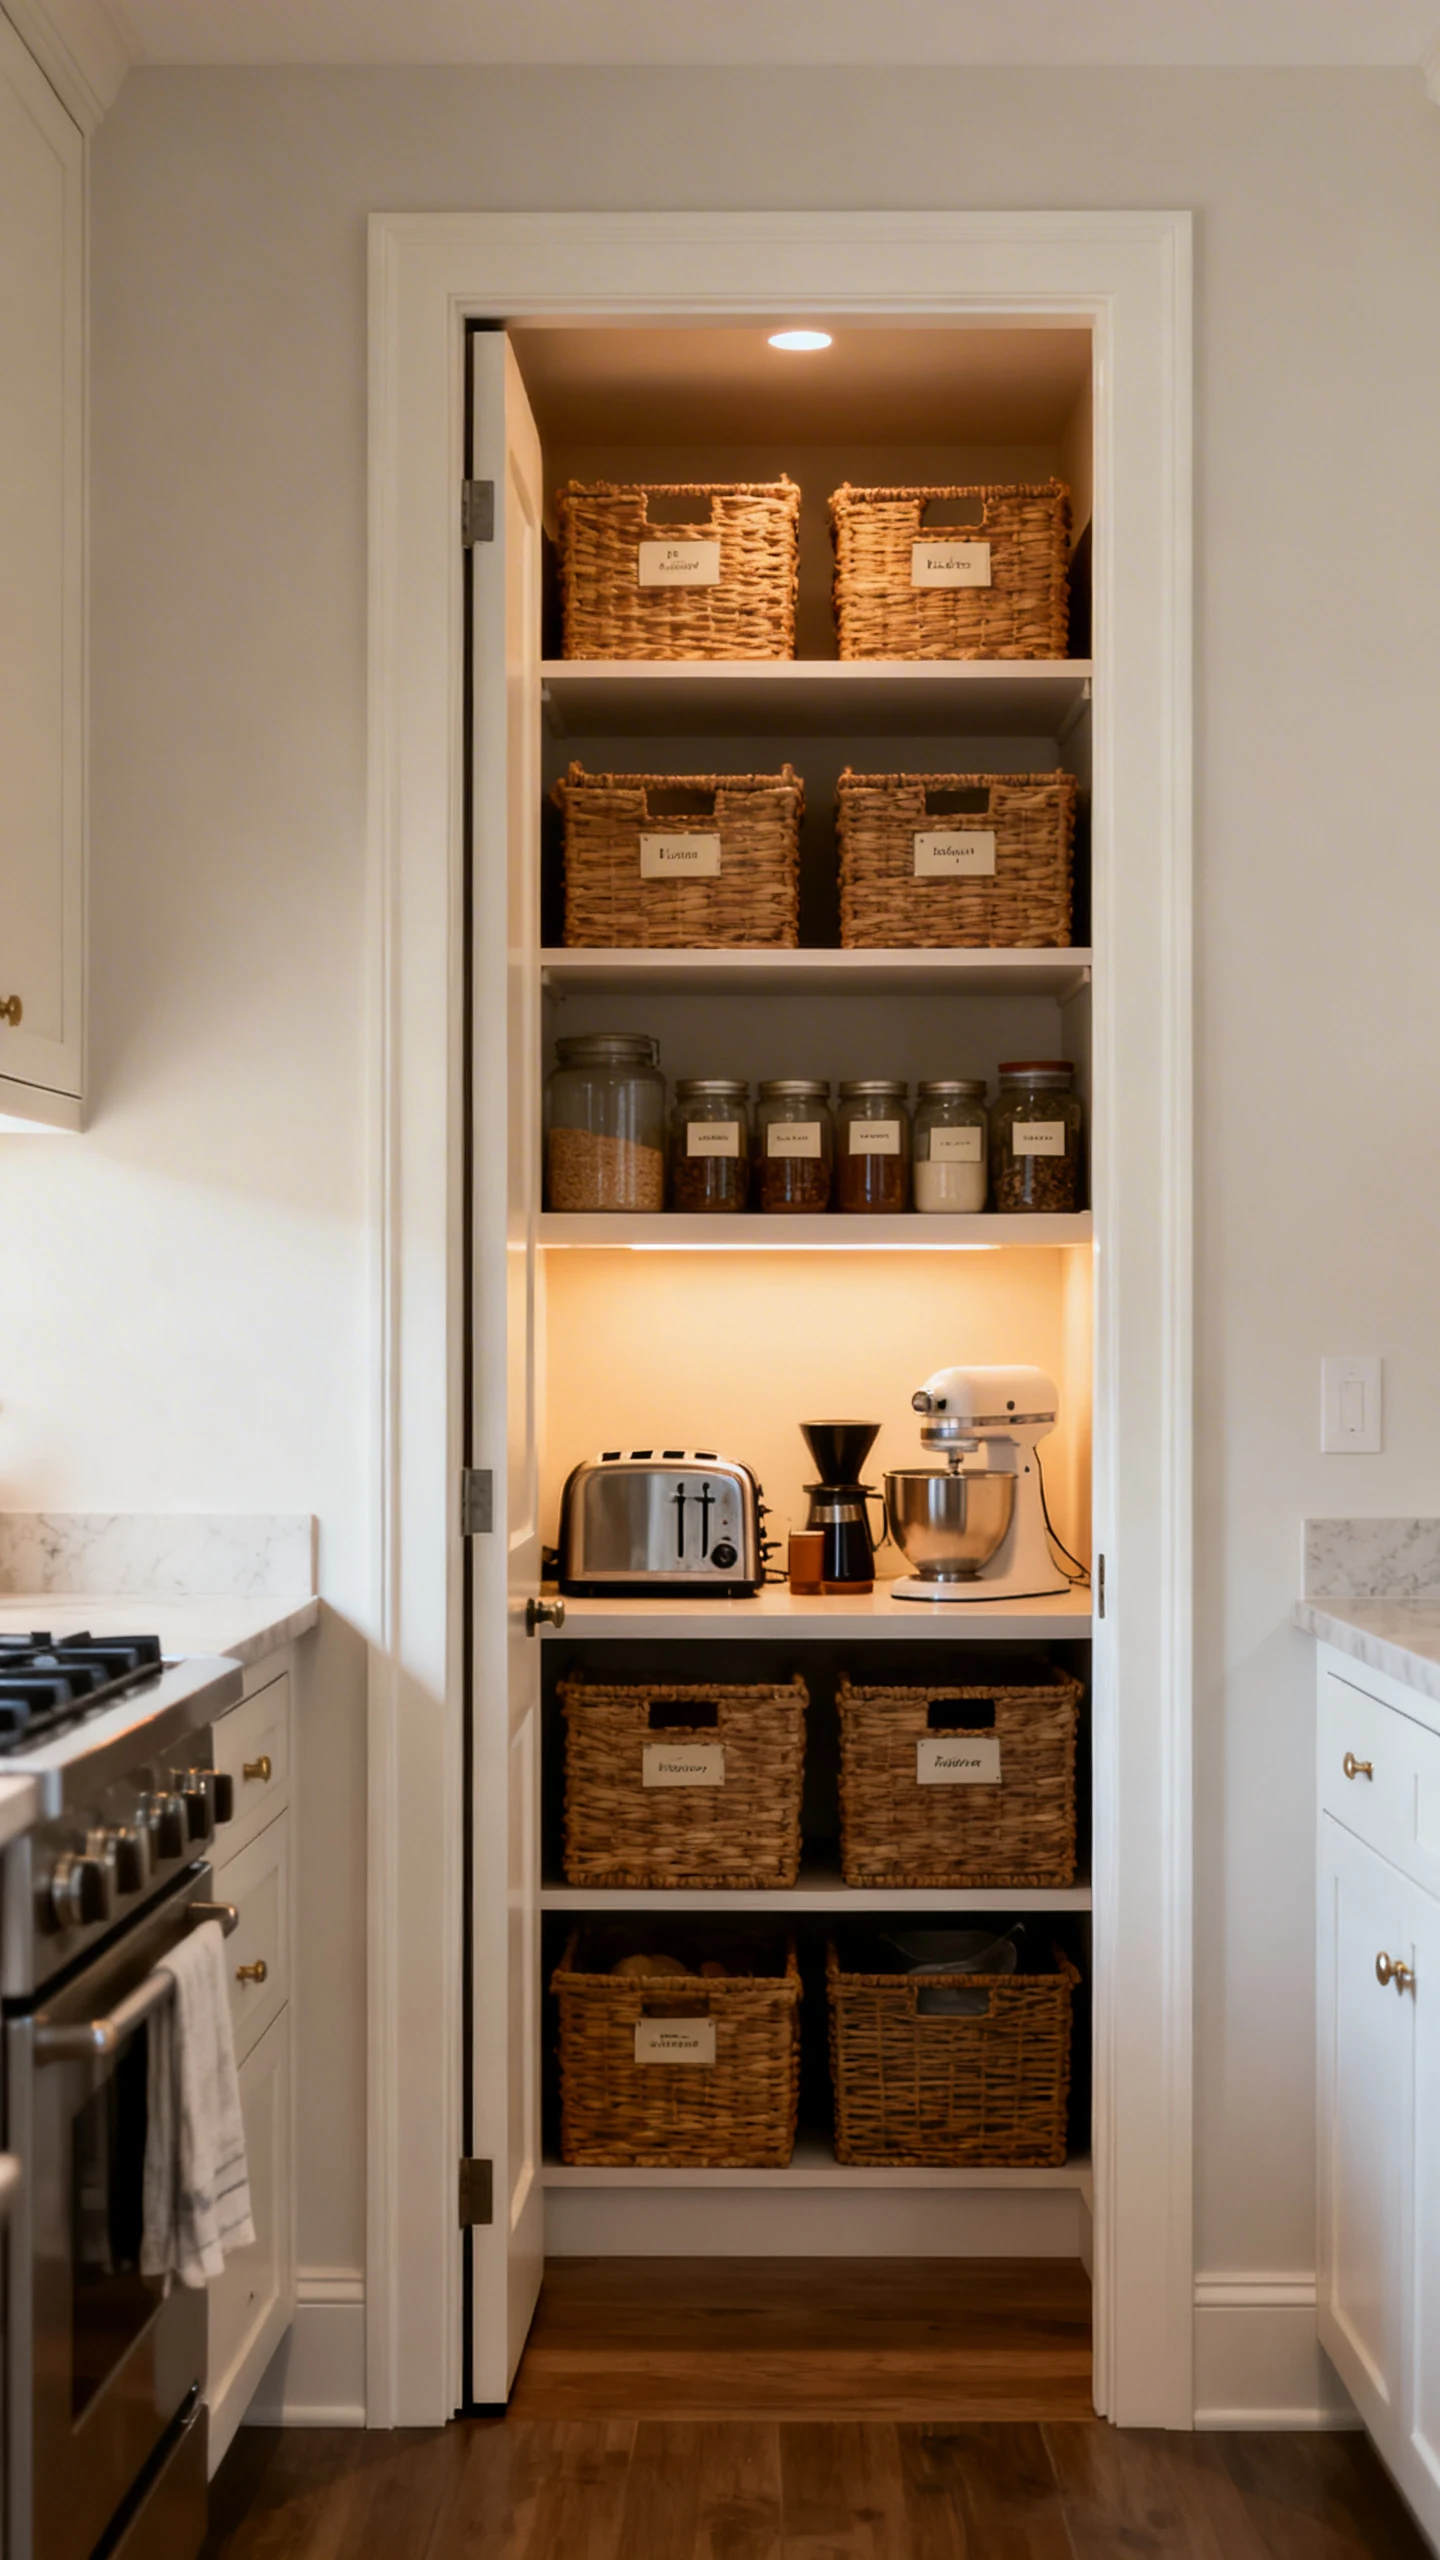
Big kitchen energy isn’t just about bigger counters. It’s about having spaces inside the space. A walk-in pantry (or even a mini hidden prep room) instantly makes your build feel like it belongs in a real house.
Plus, it gives you a place to shove all the messy stuff so your main kitchen stays photo-ready. Convenient, right?
Pantry Options Based On Your Space
You can go full luxury or fake it with clever layout. Both work.
- True walk-in pantry: A small room with shelves, storage, maybe a second fridge.
- Butler’s pantry: A hallway-style space with extra counters and cabinets.
- Hidden prep nook: Tucked behind a cabinet wall or sliding door.
If you’re doing a “hidden” room, make the entry feel intentional. A matching door, a framed opening, or even a subtle archway makes it look designed, not accidental.
Pantry Decor That Looks Real (Not Random Clutter)
This is where you can add detail without making it messy.
- Labeled jars and basket storage for a styled-organized vibe
- Shelves with height variation so everything doesn’t look flat
- Small appliance zone (toaster, mixer, coffee items)
- Warm lighting so it feels cozy, not like a storage closet
And yes, you can absolutely add a “snack shelf.” Your guests will hover there like moths to a flame. You’ve been warned.
5. Finish With Lighting, Texture, And A “Showpiece” Detail
Here’s the truth: the difference between a big kitchen and a stunning big kitchen is the finishing touches. Lighting, texture, and one dramatic showpiece make it feel complete.
This is where you stop building and start styling. And if you’re like me, this is also where you spend 45 minutes adjusting one light placement. Worth it.
Lighting Layers That Make Your Kitchen Look Expensive
One ceiling light in the middle is… a choice. A very budget choice.
- Pendant lights over islands for focus and style
- Recessed/ceiling lights for overall brightness
- Under-cabinet lighting for that soft, upscale glow
- Accent lighting inside glass cabinets or shelves for drama
Mix warm and neutral lighting carefully. Too cold and it looks like a hospital cafeteria. Too warm and suddenly everything is orange. Balance is the flex.
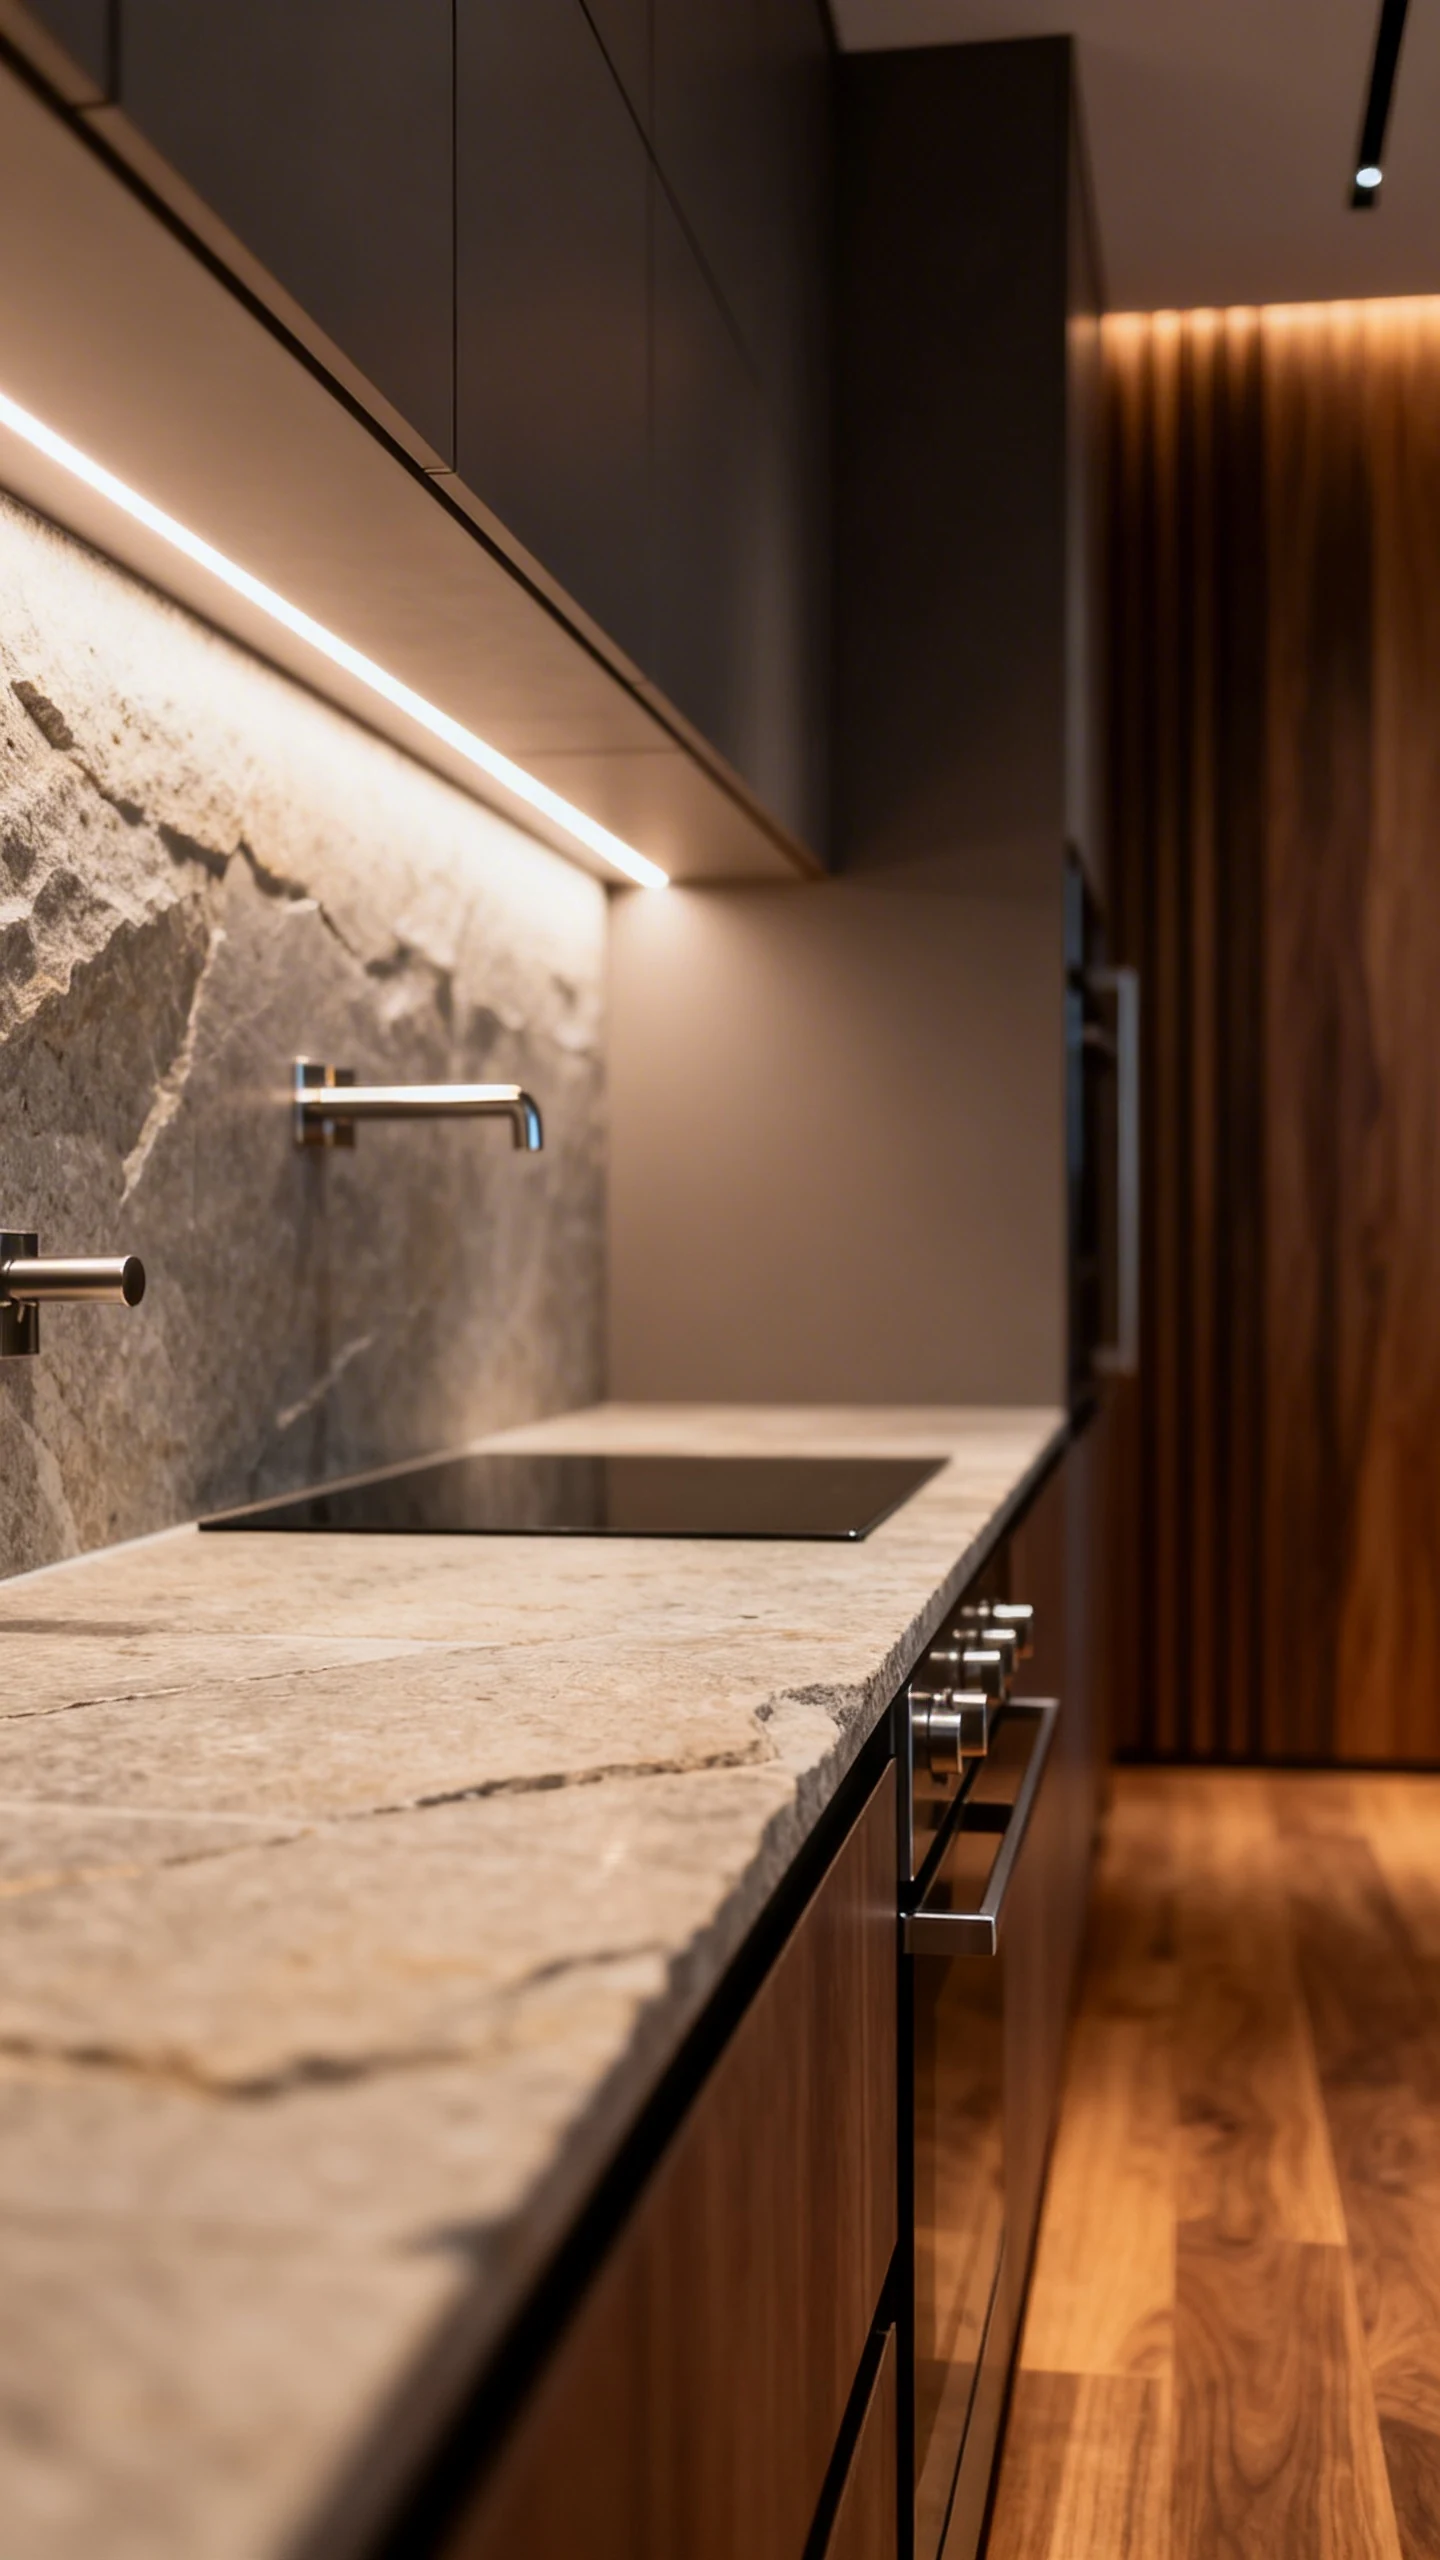
Texture Ideas That Keep It From Feeling Flat
Big kitchens can look plain if everything is the same material. Add contrast like you meant to.
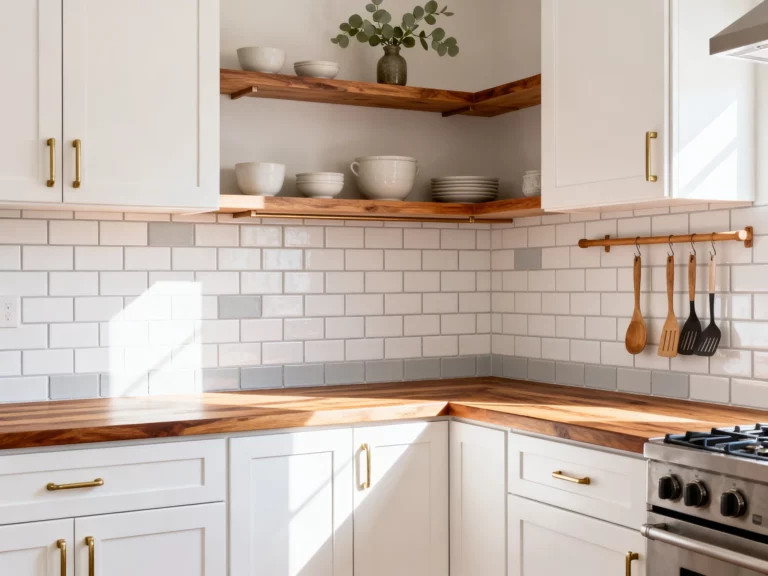
- Stone-look counters paired with a subtle backsplash
- Wood floors or warm wood accents to soften modern spaces
- Ribbed or paneled islands for dimension
- Metal accents (hood trim, hardware, fixtures) for a polished finish
Pick One Showpiece And Go All In
Every viral kitchen has one thing people remember. Choose yours and make it the star.
- Statement range hood (plaster, metal, or oversized modern)
- Floor-to-ceiling window wall behind the sink
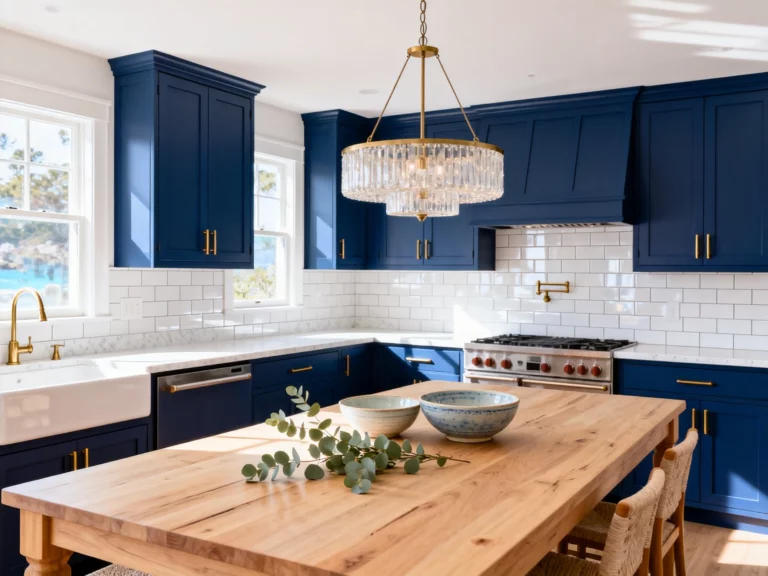
- Massive chandelier over the island (bold, but iconic)
- Feature backsplash that runs to the ceiling
Just don’t try to make everything the showpiece. That’s how you end up with a kitchen that looks like it’s yelling at you.
Now go build that big, gorgeous space. Start with a layout that flows, add those islands like you’re designing a luxury listing, and finish strong with lighting and texture. Your Bloxburg kitchen is about to be so good people will “randomly” stop by your house. Totally for the company. Definitely not for the vibes.